
Posted by Kristen Nelson and Leah Gardner on 10th Feb 2022
2022 Bow Along: DIY Knot Headband
Note from CKC: We are so pleased to share this post, perfect for any little one's precious hair, and originally from 2014, as part of our "Bow Along Sew Along" . In 2022, we will be highlighting posts from our old blog, knowing that they will gain new life here. And we are so thrilled to be putting many of our bows and hair accessories on the blog this week!
It's the Fourth Day of Christmas and today our free pattern comes from Leah Gardner, one of our baby pattern designers here at CKC. I'm sure you'll recognize her adorable baby. Here is Leah with today's tutorial:

These knot headbands are a favorite of mine. They’re super easy and fast to make. They also make perfect ear warmers during the colder months.
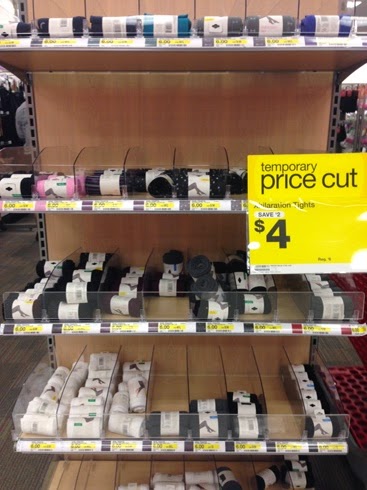
To get started first you’ll need some women's colored nylon tights. The tights have lots of stretch and they won’t fray. I like to get my tights from Target. They have tons of colors to choose from, and if you’re lucky sometimes you can get them on clearance!
For baby sizes newborn – 1 year, I like to use the women's S/M size tights.
For anyone older than 1 year, I like to use the women's M/L size tights.
.jpg)
.jpg)
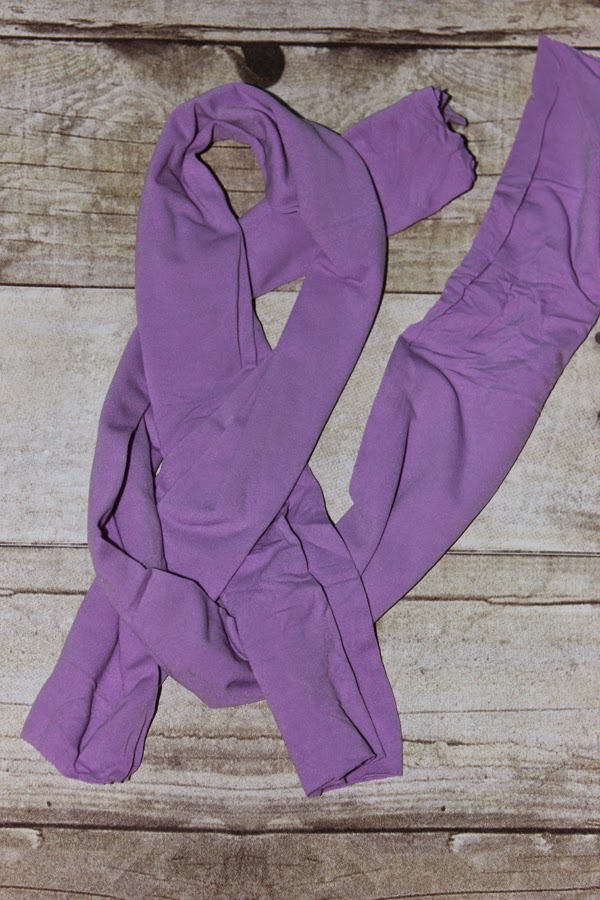
Now that we have our tights, we’re going to lay them out flat and cut off the legs. We’ll also cut off the feet or the band at the bottom if you’re using footless tights.

Take one of the legs and make a loop by crossing the right end over the left end.

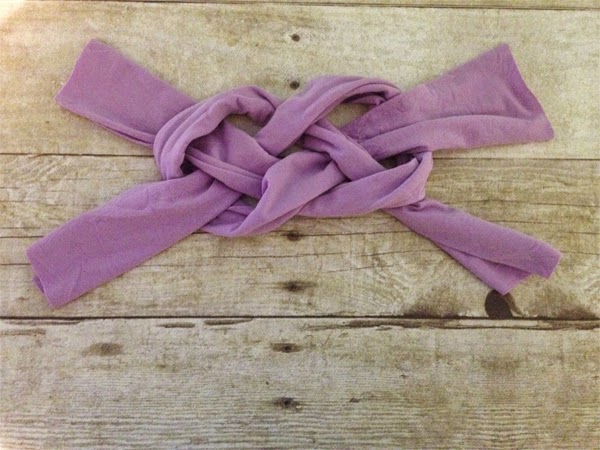
Next you’ll take the second leg and make a U on top of the loop you made. Place the right end of the bottom loop over the U like the picture.
Then take the left end of the U and curve it under the loop.
.jpg)
.jpg)
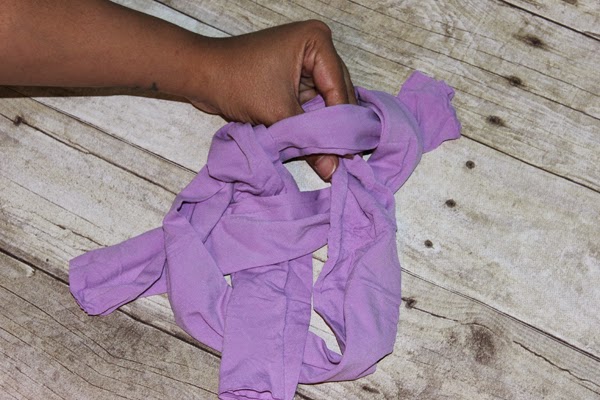
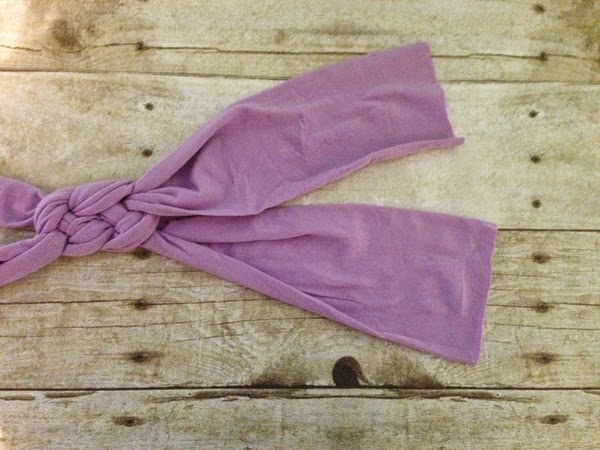
Here’s the trickiest part if you’re using smaller tights. Reach under the left end that you just placed under the loop. Grab the right end of the U and pull it through like the picture. Then grab all four ends and pull evenly.
.jpg)
.jpg)
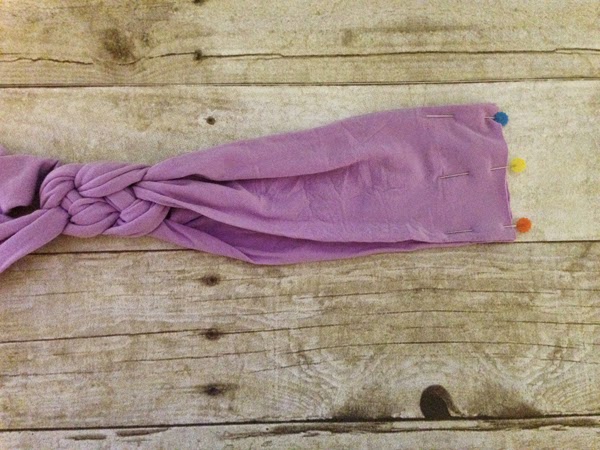
Now take the two ends and place one on top of the other and pin them together. One end won’t be as wide as the other. Just stretch while you’re pinning it. Repeat with the other side.

Place one of the pinned sides on top of the other and pin them together. You can now sew down the pinned ends and flip it right side out. Wasn’t that a super easy headband to make?!


Isn't Leah fabulous?! I can't wait to make some of these. We hope you enjoy today's freebie and don't forget to come back tomorrow for another one!
Let's Create! ~ Kristen