Posted by Starr Gloss on 19th Aug 2022
Bag Clip for Headband "Ears" and Baseball Caps
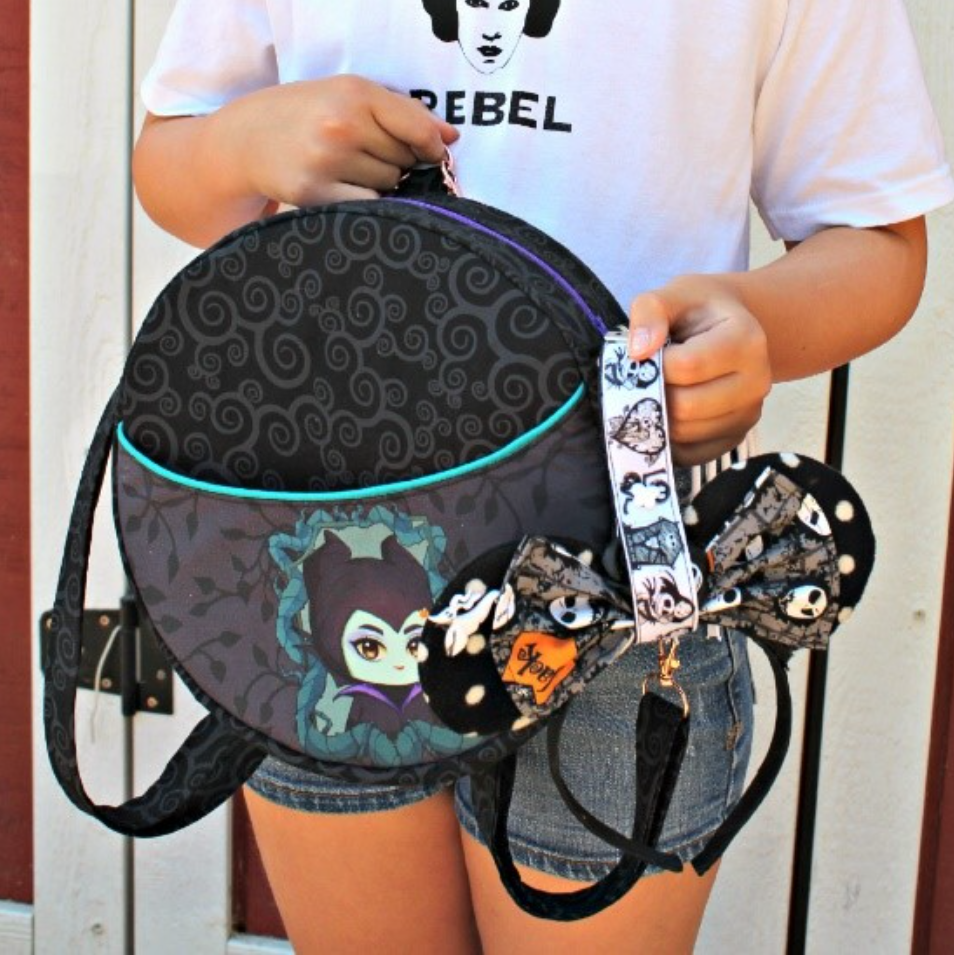
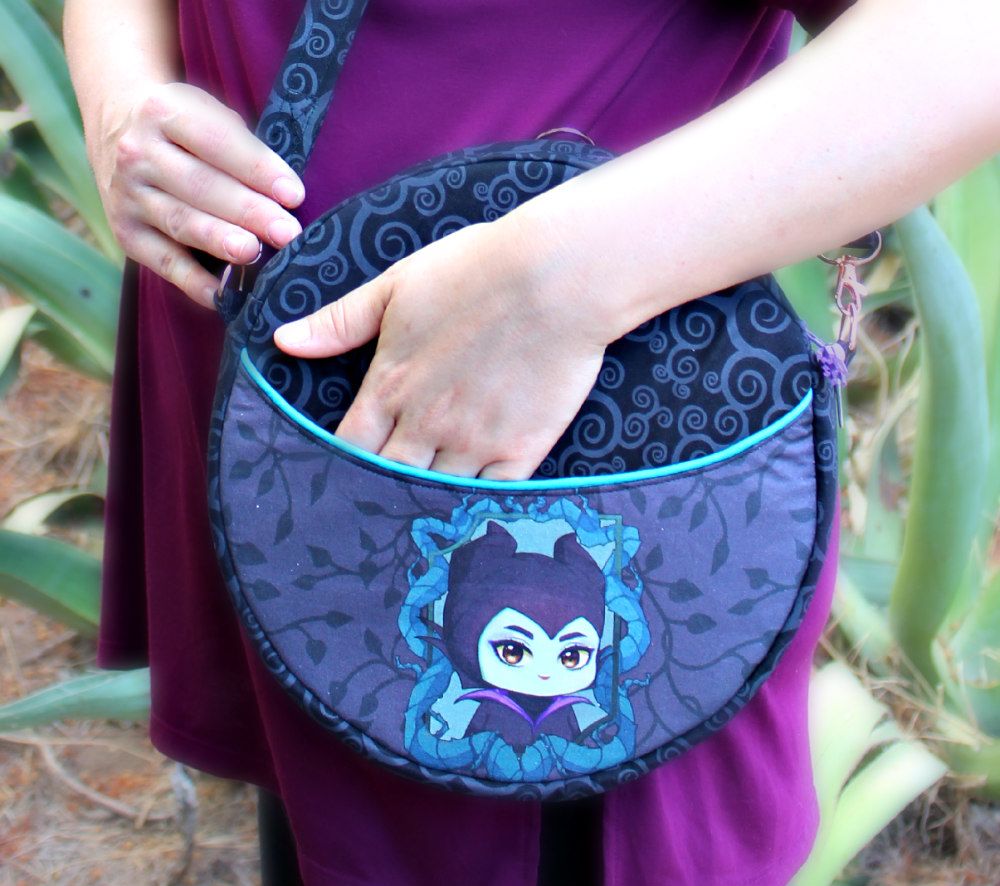
Have you seen Redonda? No really, HAVE YOU SEEN REDONDA?! CKC's newest bag release is so amazing that we cannot stop talking about it. It's a grab-your-long-hoarded-fabric kind of sew. It has everything-- 2 size options, an option to add ears, an option to make it convertible...
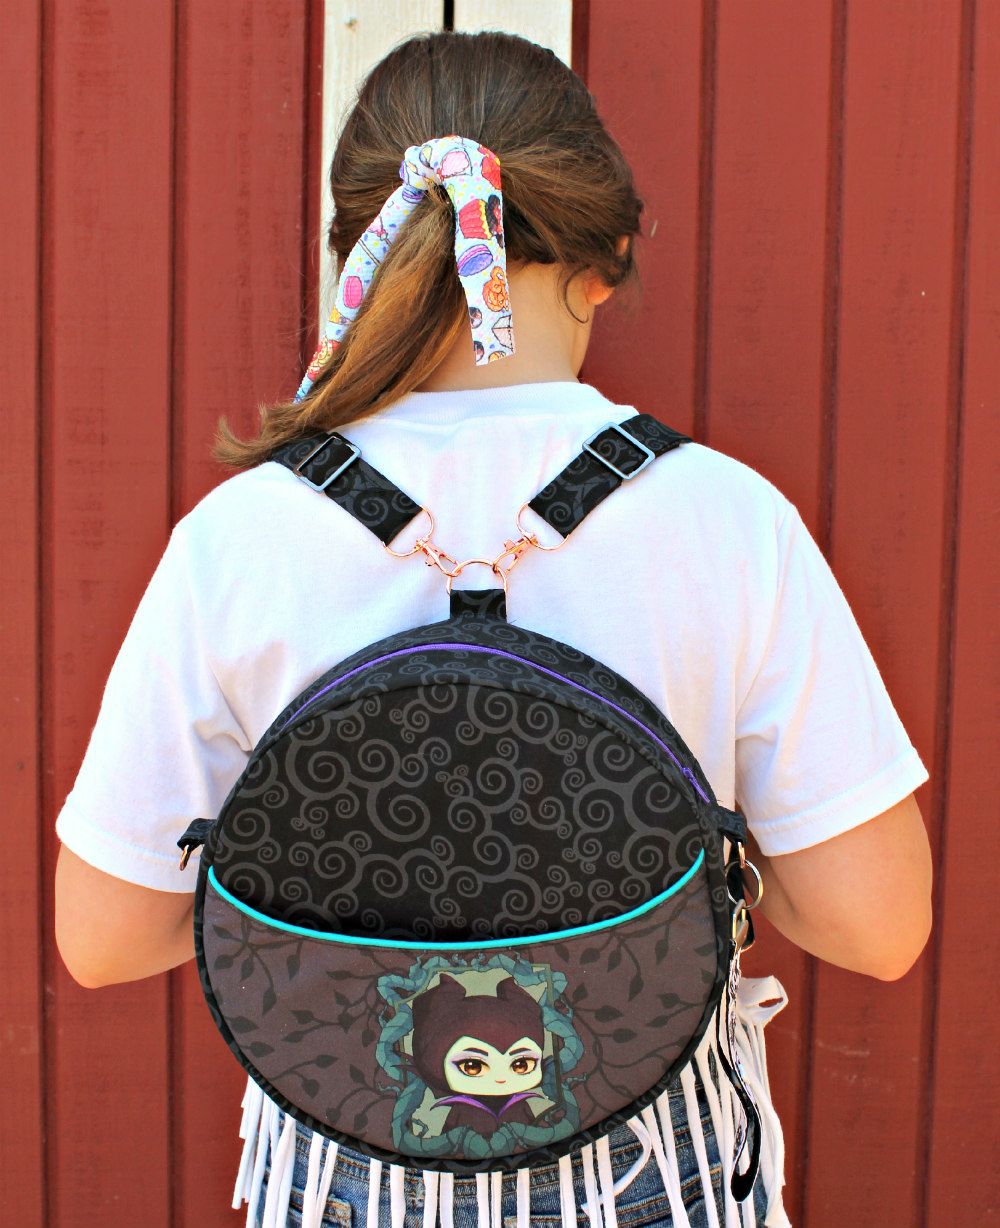
Do you know what would make it even more perfect? If there was a way to carry your theme park headbands or baseball caps! Our designer, Starr has already thought that through! Here is a simple tutorial to have you vacation ready with your Redonda!
Want a super cute and easy ear or cap holder for your Redonda, or really any bag or backpack? Well jump right in and let’s get started.
You’ll need –
- Scissors or Rotary Cutter
- Cutting Mat if using Rotary Cutter
- Ruler
- Pins
- Sewing Machine
- Iron
- Light-Medium weight Interfacing if using fabric
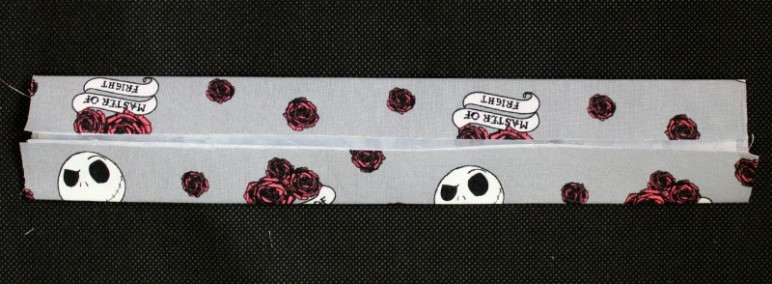
- A scrap of woven fabric that measures 4” L x 12” W, or you could use webbing or strong ribbon that measures 1” x 12”
- 1” key fob hardware
1. Let’s get started – cut a piece of interfacing the same size, or slightly smaller, than your piece of fabric. Adhere the interfacing to the fabric according to manufacturer's directions.
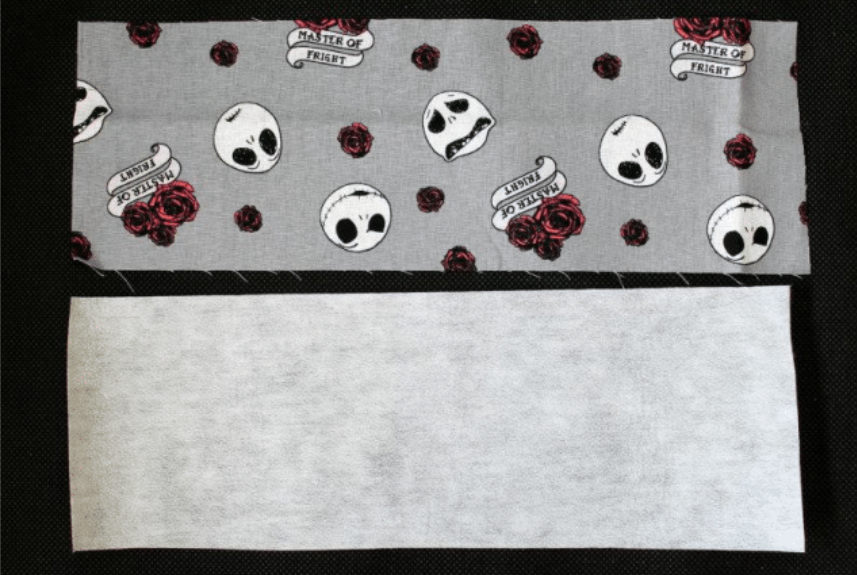
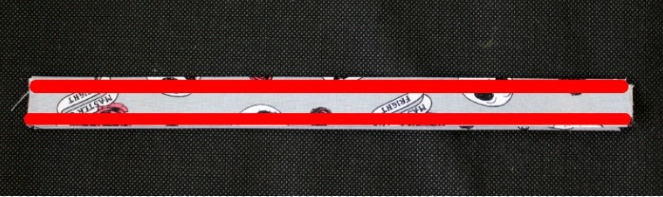
2. You are now going to press your fabric. Fold it in half along the 12-inch side so you have a piece measuring 12 inches by 2 inches and press along the fold. Open the fabric, then fold along the length to the middle fold you have just pressed and press again. Repeat with the other side. This is done as if you were making bias tape.
3. Now fold in half again so the raw edges are enclosed inside and press once more. You will now topstitch along both long sides, 1/8” from the edge.
4. To keep the strap in place for the next step, fold your strap in half and match the two short ends. Baste your ends together as shown.
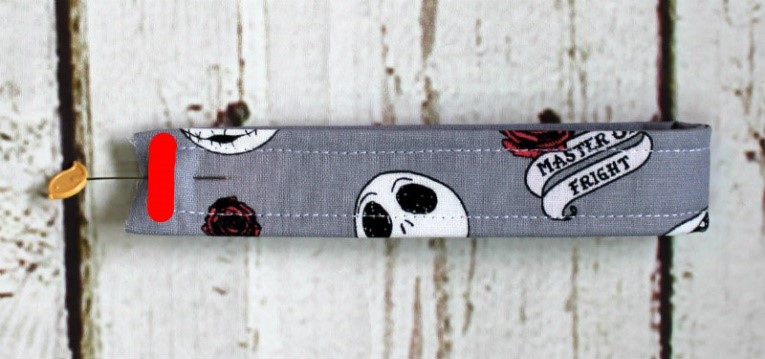
5. Time to apply the hardware. If you don’t have a special key fob set of pliers, you can use normal pliers. You will need a thick piece of fabric to place over the hardware ends to ensure the pliers don’t scratch the metal. Slide the fabric raw ends into the hardware, use the pliers to press well so the serrated edges clamp into the fabric, securing the key fob hardware into place. Attach the split ring of the key chain to the bar, if it didn’t come assembled, and you are almost done.
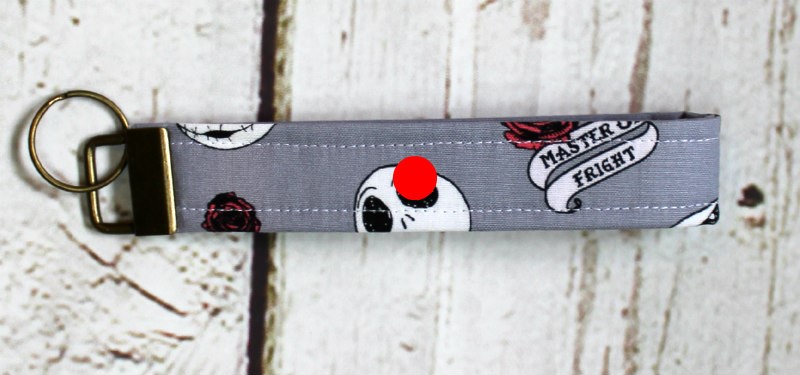
6. Next, we’ll add a snap. Measure your keychain to find the center point. This is where you will install your snap according to the manufacturer’s instructions, shown with a red dot above.
You’re all done and ready to clip it to your favorite bag or backpack!