
Posted by Starr Gloss, Patty O'Brien, Meg Hess on 19th Jan 2022
Bestie's Shared Heart SVG File and Applique Tutorial
Valentine's Day is right around the corner and Kenlie is such a fun and fast pattern that is just perfect for grown ups and kiddos alike!
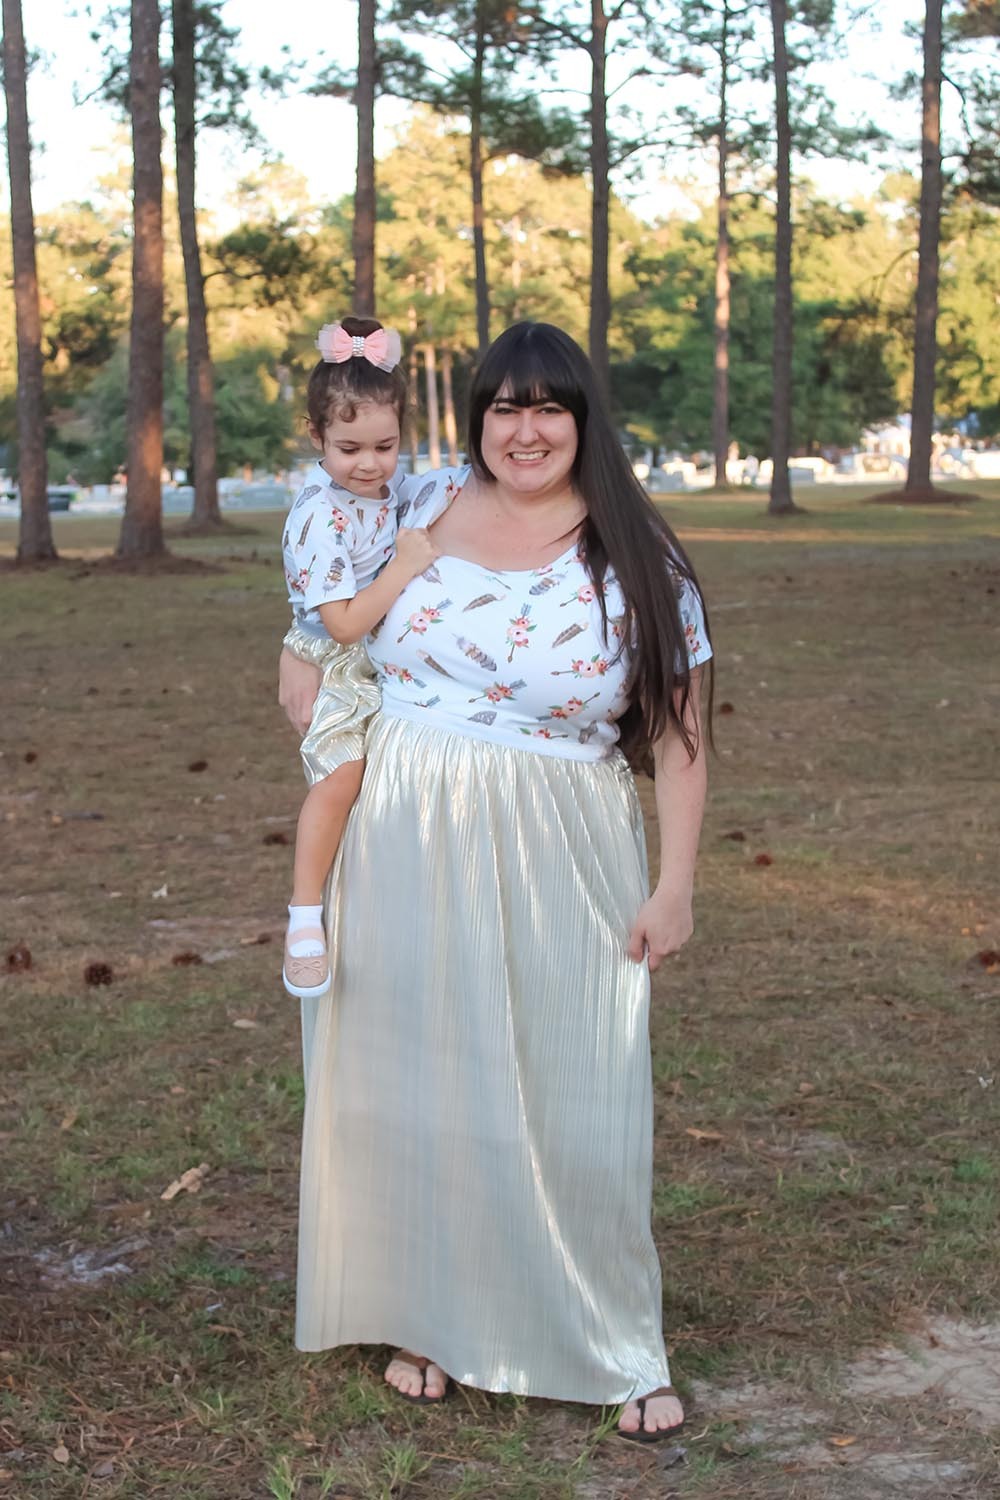
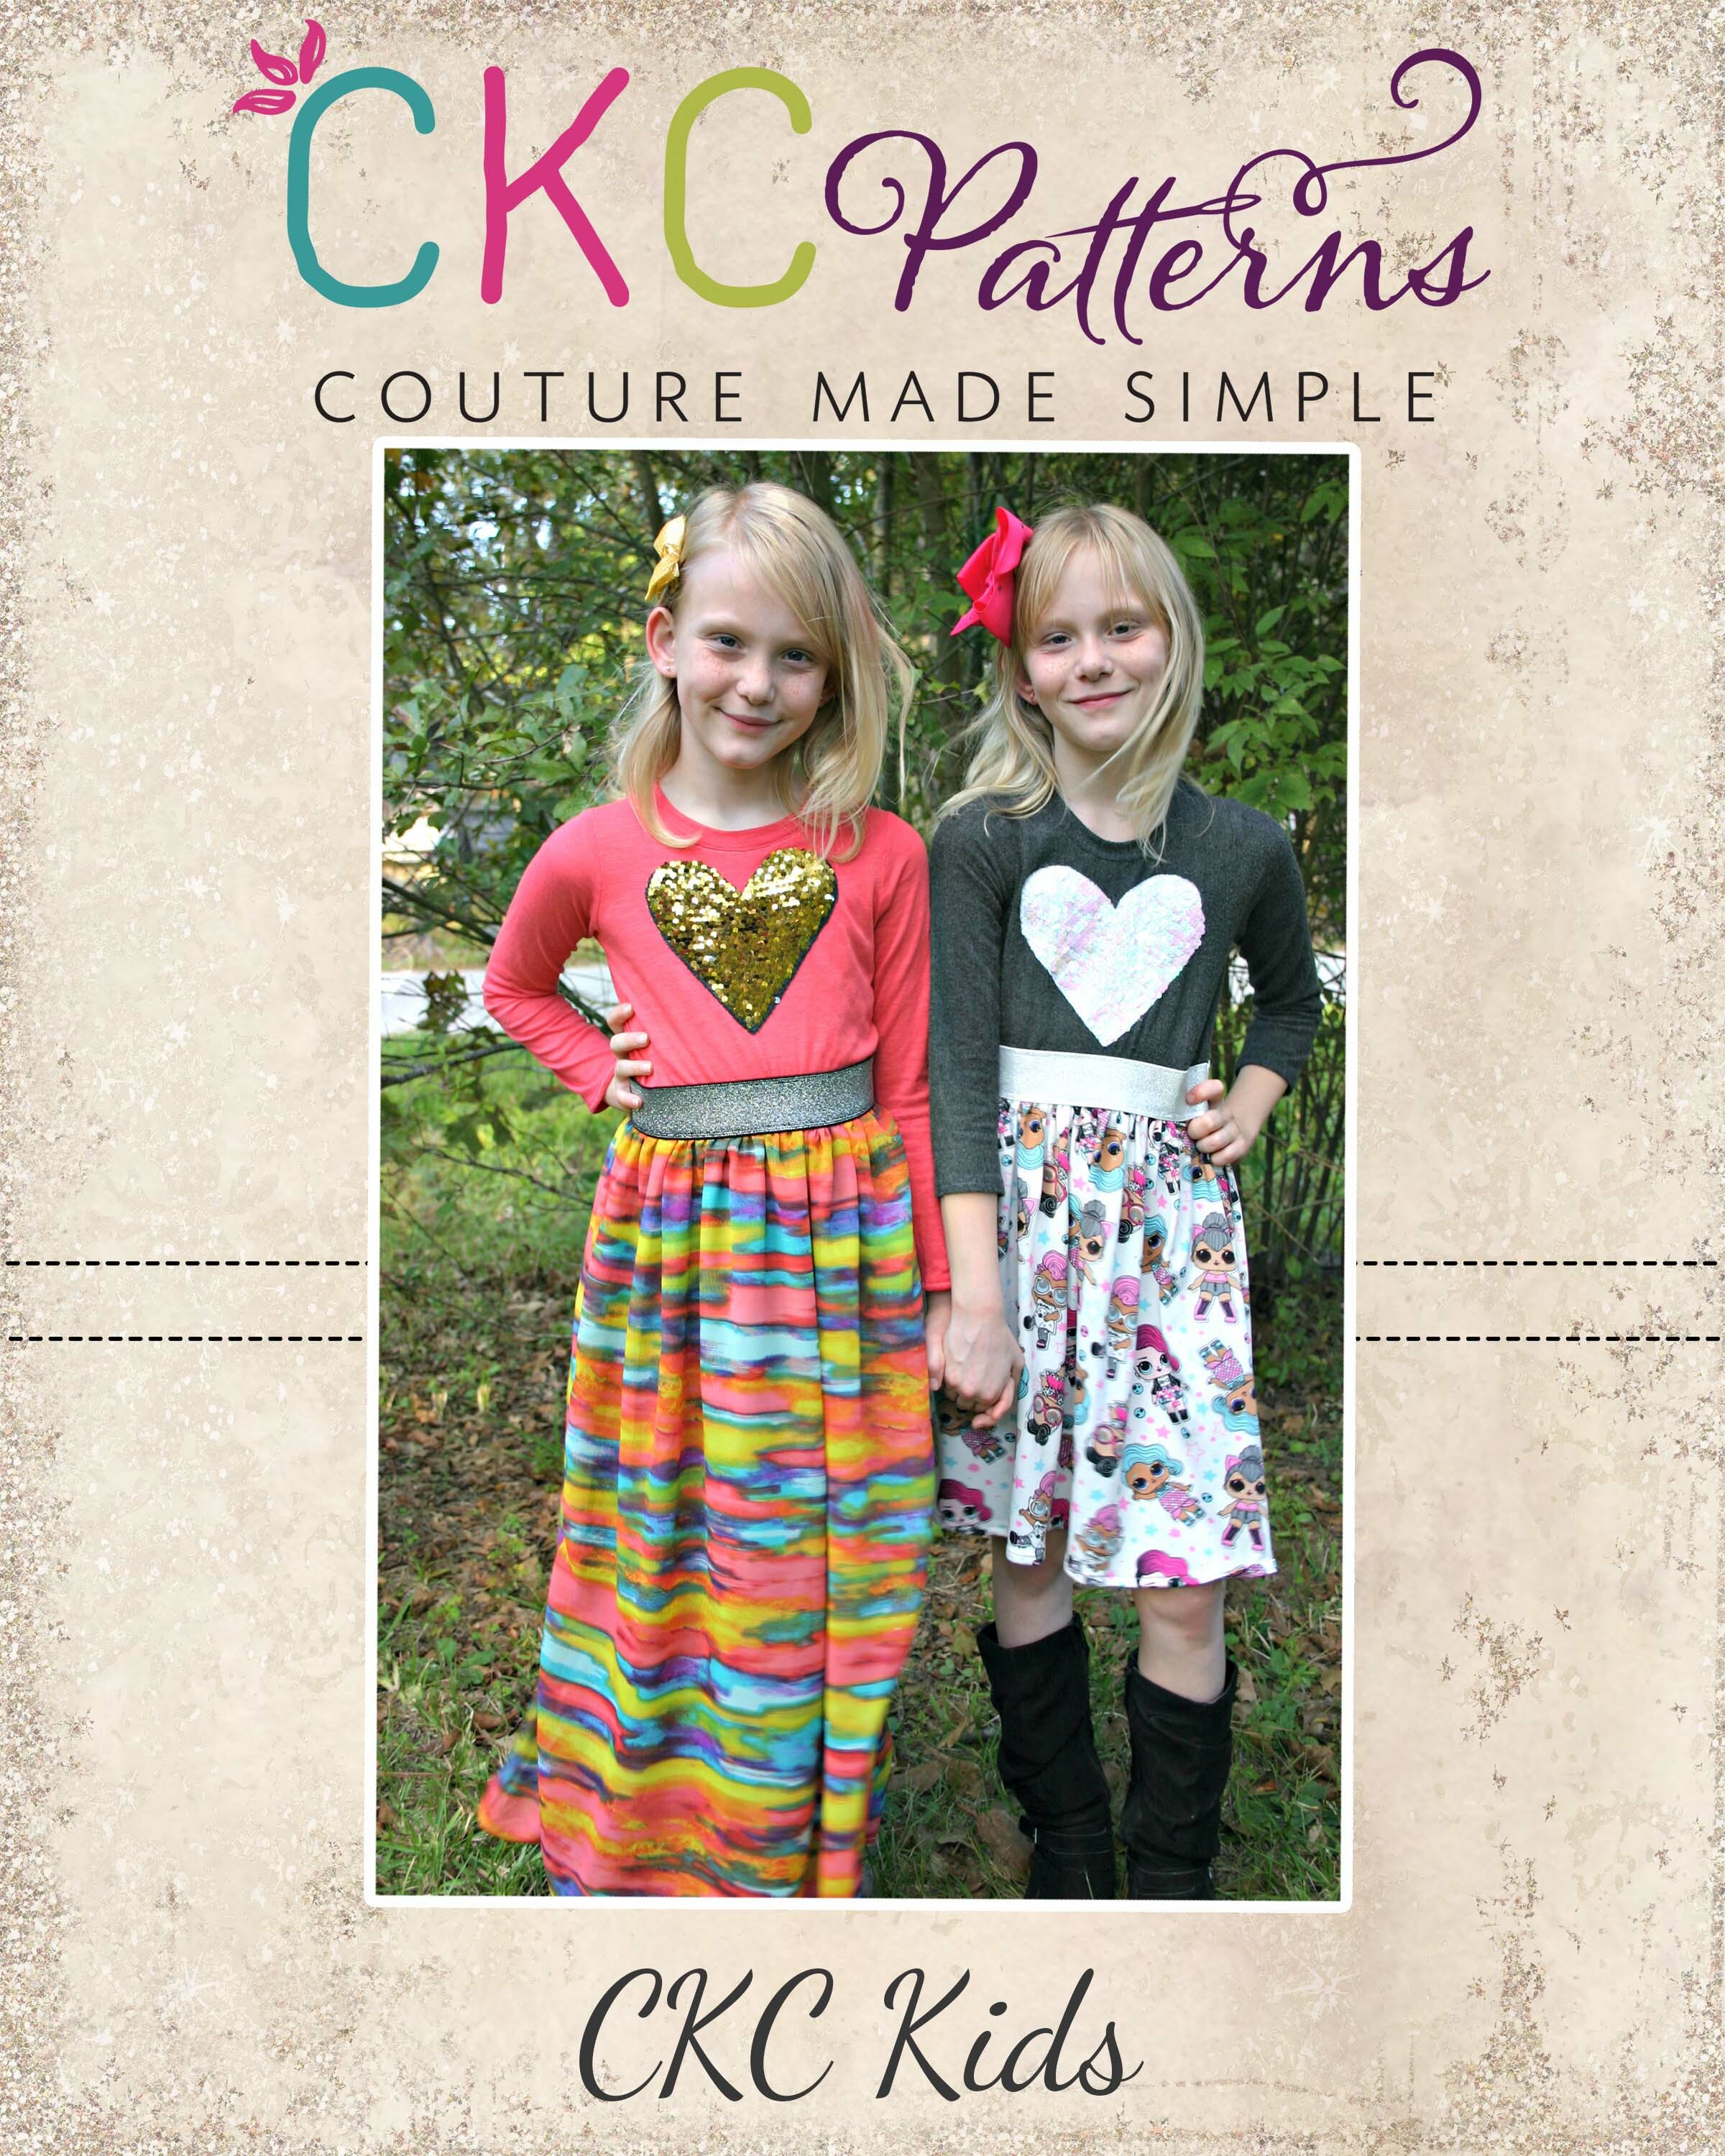
In fact, it would be a great pattern for you... and your bestie! Just ask our Kenlie cover cuties!
The designers of Kenlie, Starr and Patty, wanted to highlight just how precious friends (and not just love interests) are this time of year, so they created this awesome freebie SVG file (for your Cricut) and applique pattern! It has SVG files and PDF pattern pieces for two half-hearts, one that says "Best" and the other that says "Friends," so you and your bestie can share the love, literally! (Special thanks to our lovely designer, Lindsey, for turning this into an SVG file for us!)
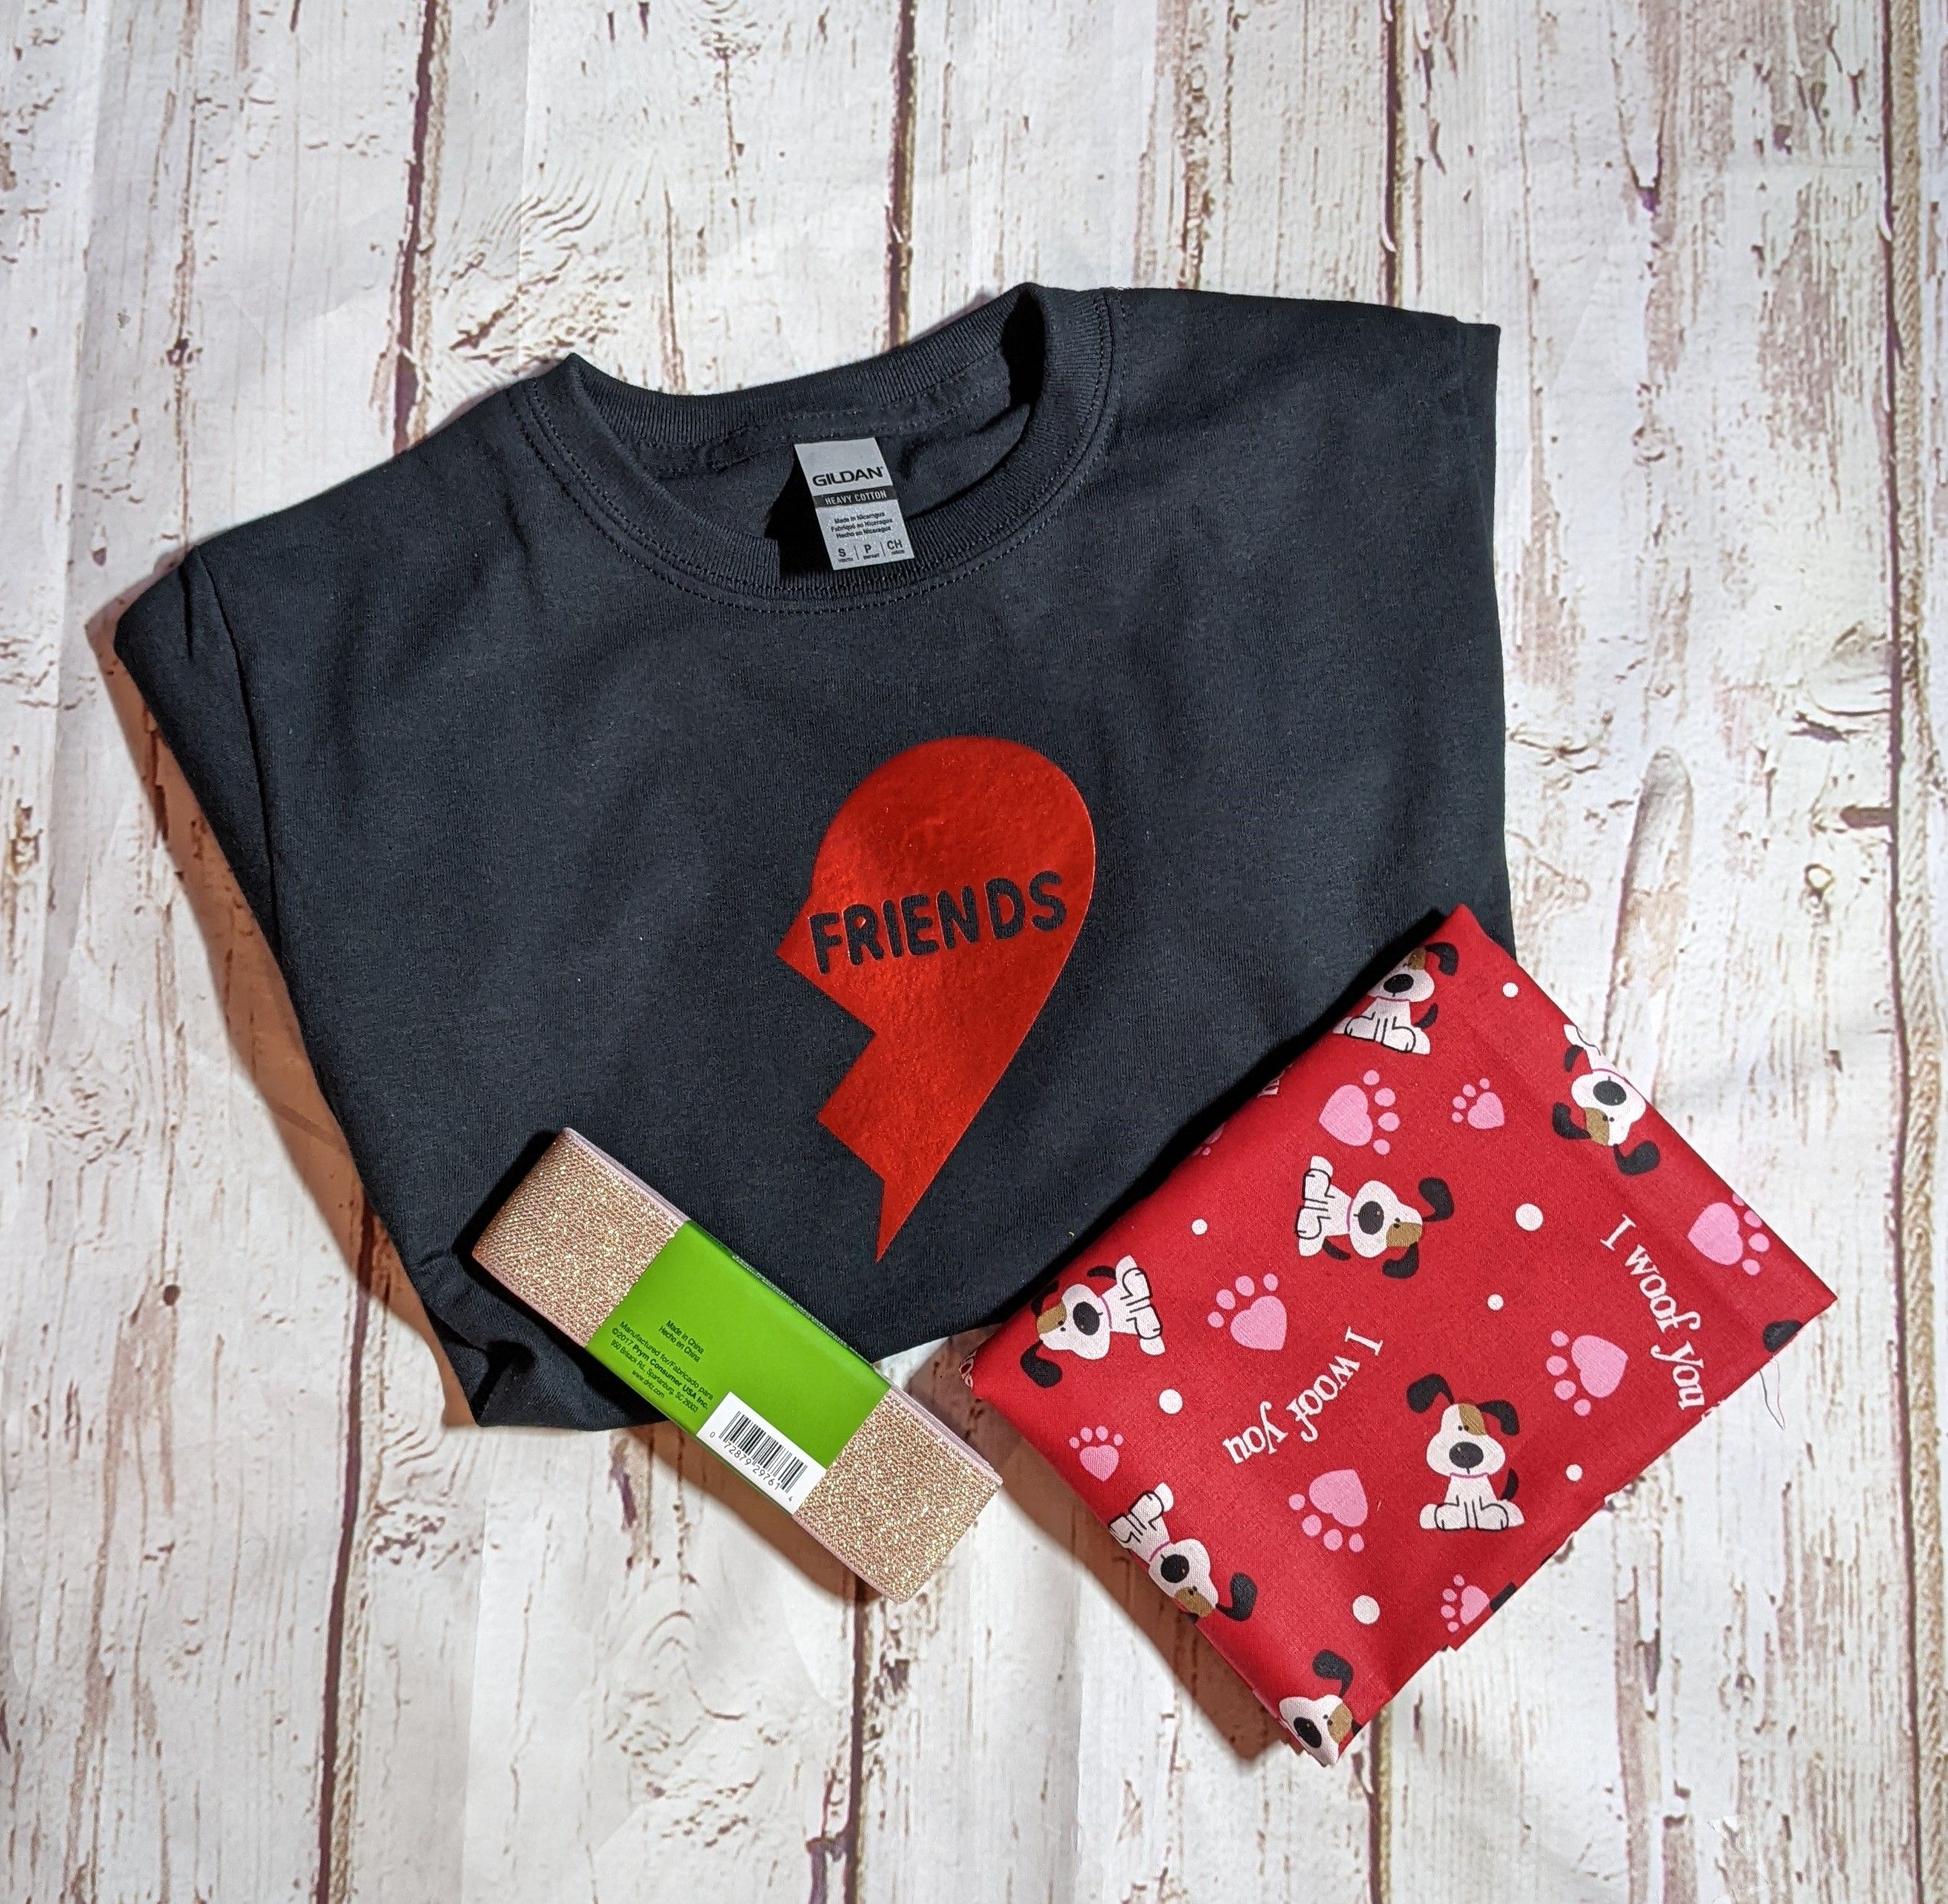
It would be an adorable addition to Kenlie (which has a sew along coming up next week and is currently on sale), or any of our other patterns! (Would this be the cutest vinyl ever on matching Adalee purses? Yes. Yes it would.)
You can download the SVG file and get started right here!
Don’t have a cutting machine and still want to use this cut file?
No problem!
Download the PDF file and you can print and use the templates to make appliques.
What you will need to make this an applique:
- Scissors, small rotary cutter, or small cutting blade (X-ACTO Knife)
- Pins
- Sewing machine or needle and thread
- Iron
- Double-sided iron-on adhesive (such as HeatnBond Soft Stretch Lite)
- Fabric for applique (knit is preferred because it won’t fray)
1. First you will bond your adhesive to the back side of your applique fabric according to the manufacturer’s instructions. Make sure you are creating a fused piece big enough to cut your template out of.
2. Cut out the template (DO NOT cut the letters yet) and pin it to your fabric (with the adhesive). The bottom will be the paper covering the other side of the adhesive.
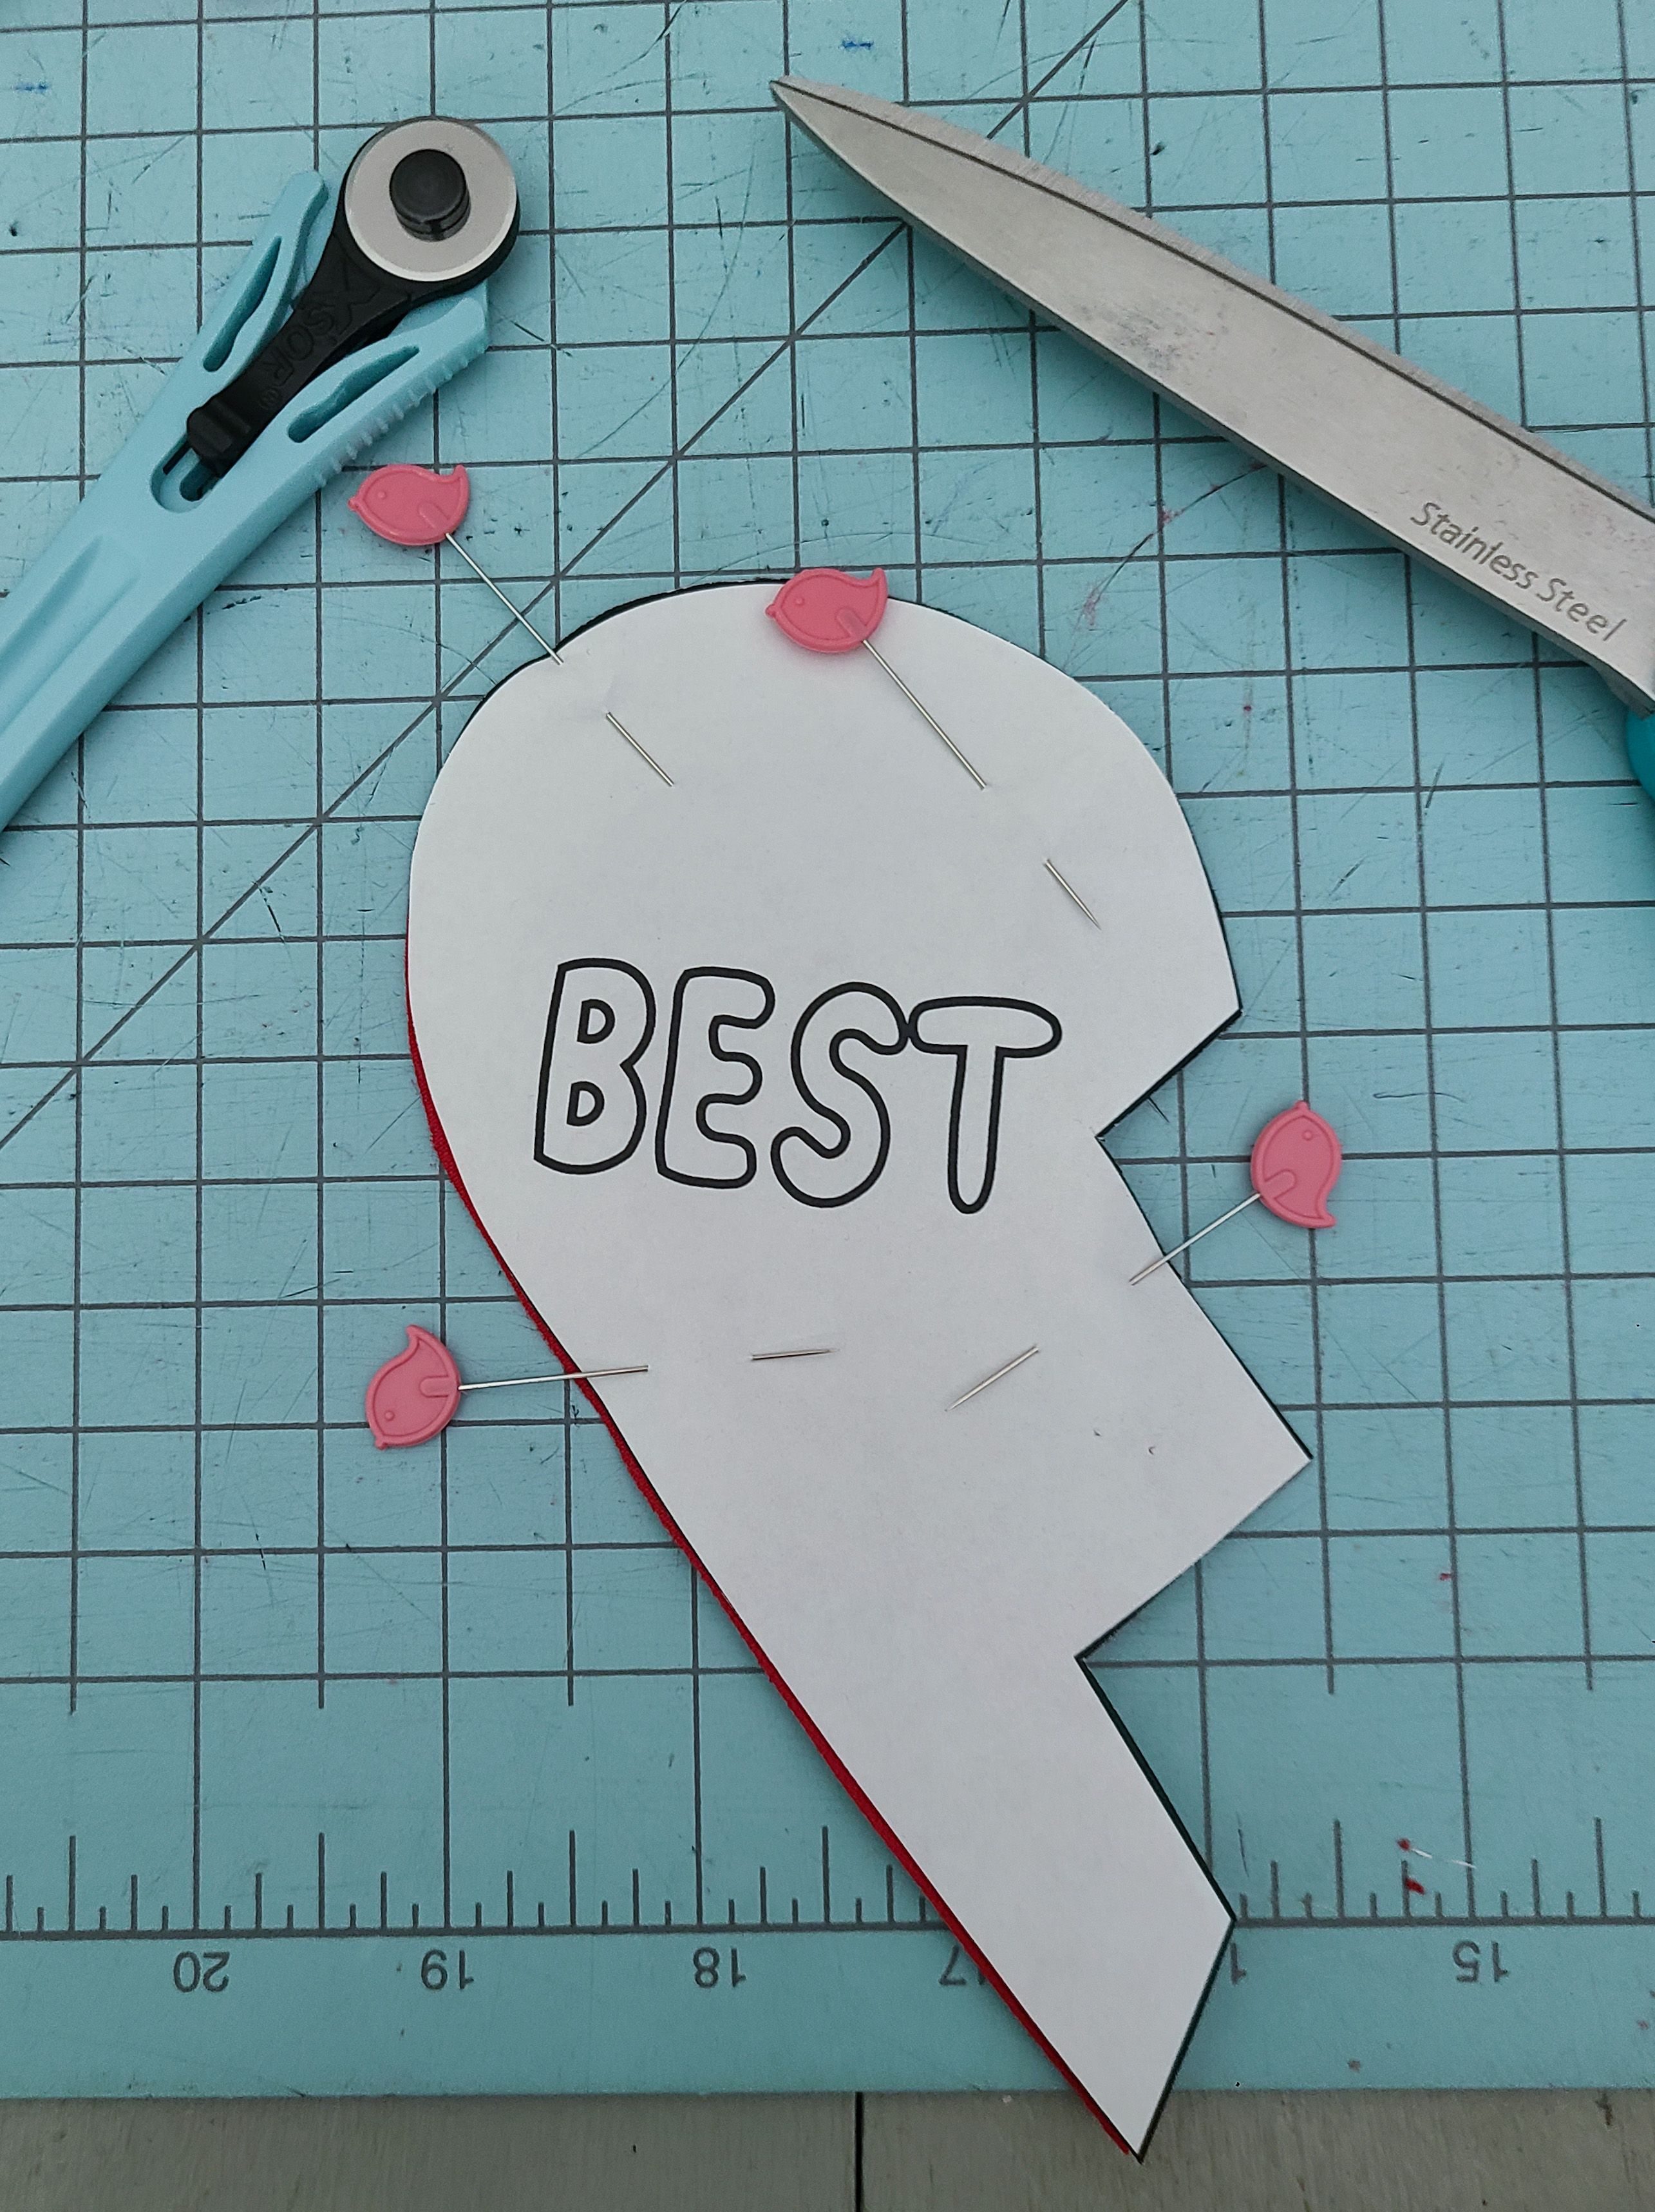
3. Use your chosen cutting tool to carefully cut out the letters. It won’t be as perfect as a Cricut, but it will have charm!
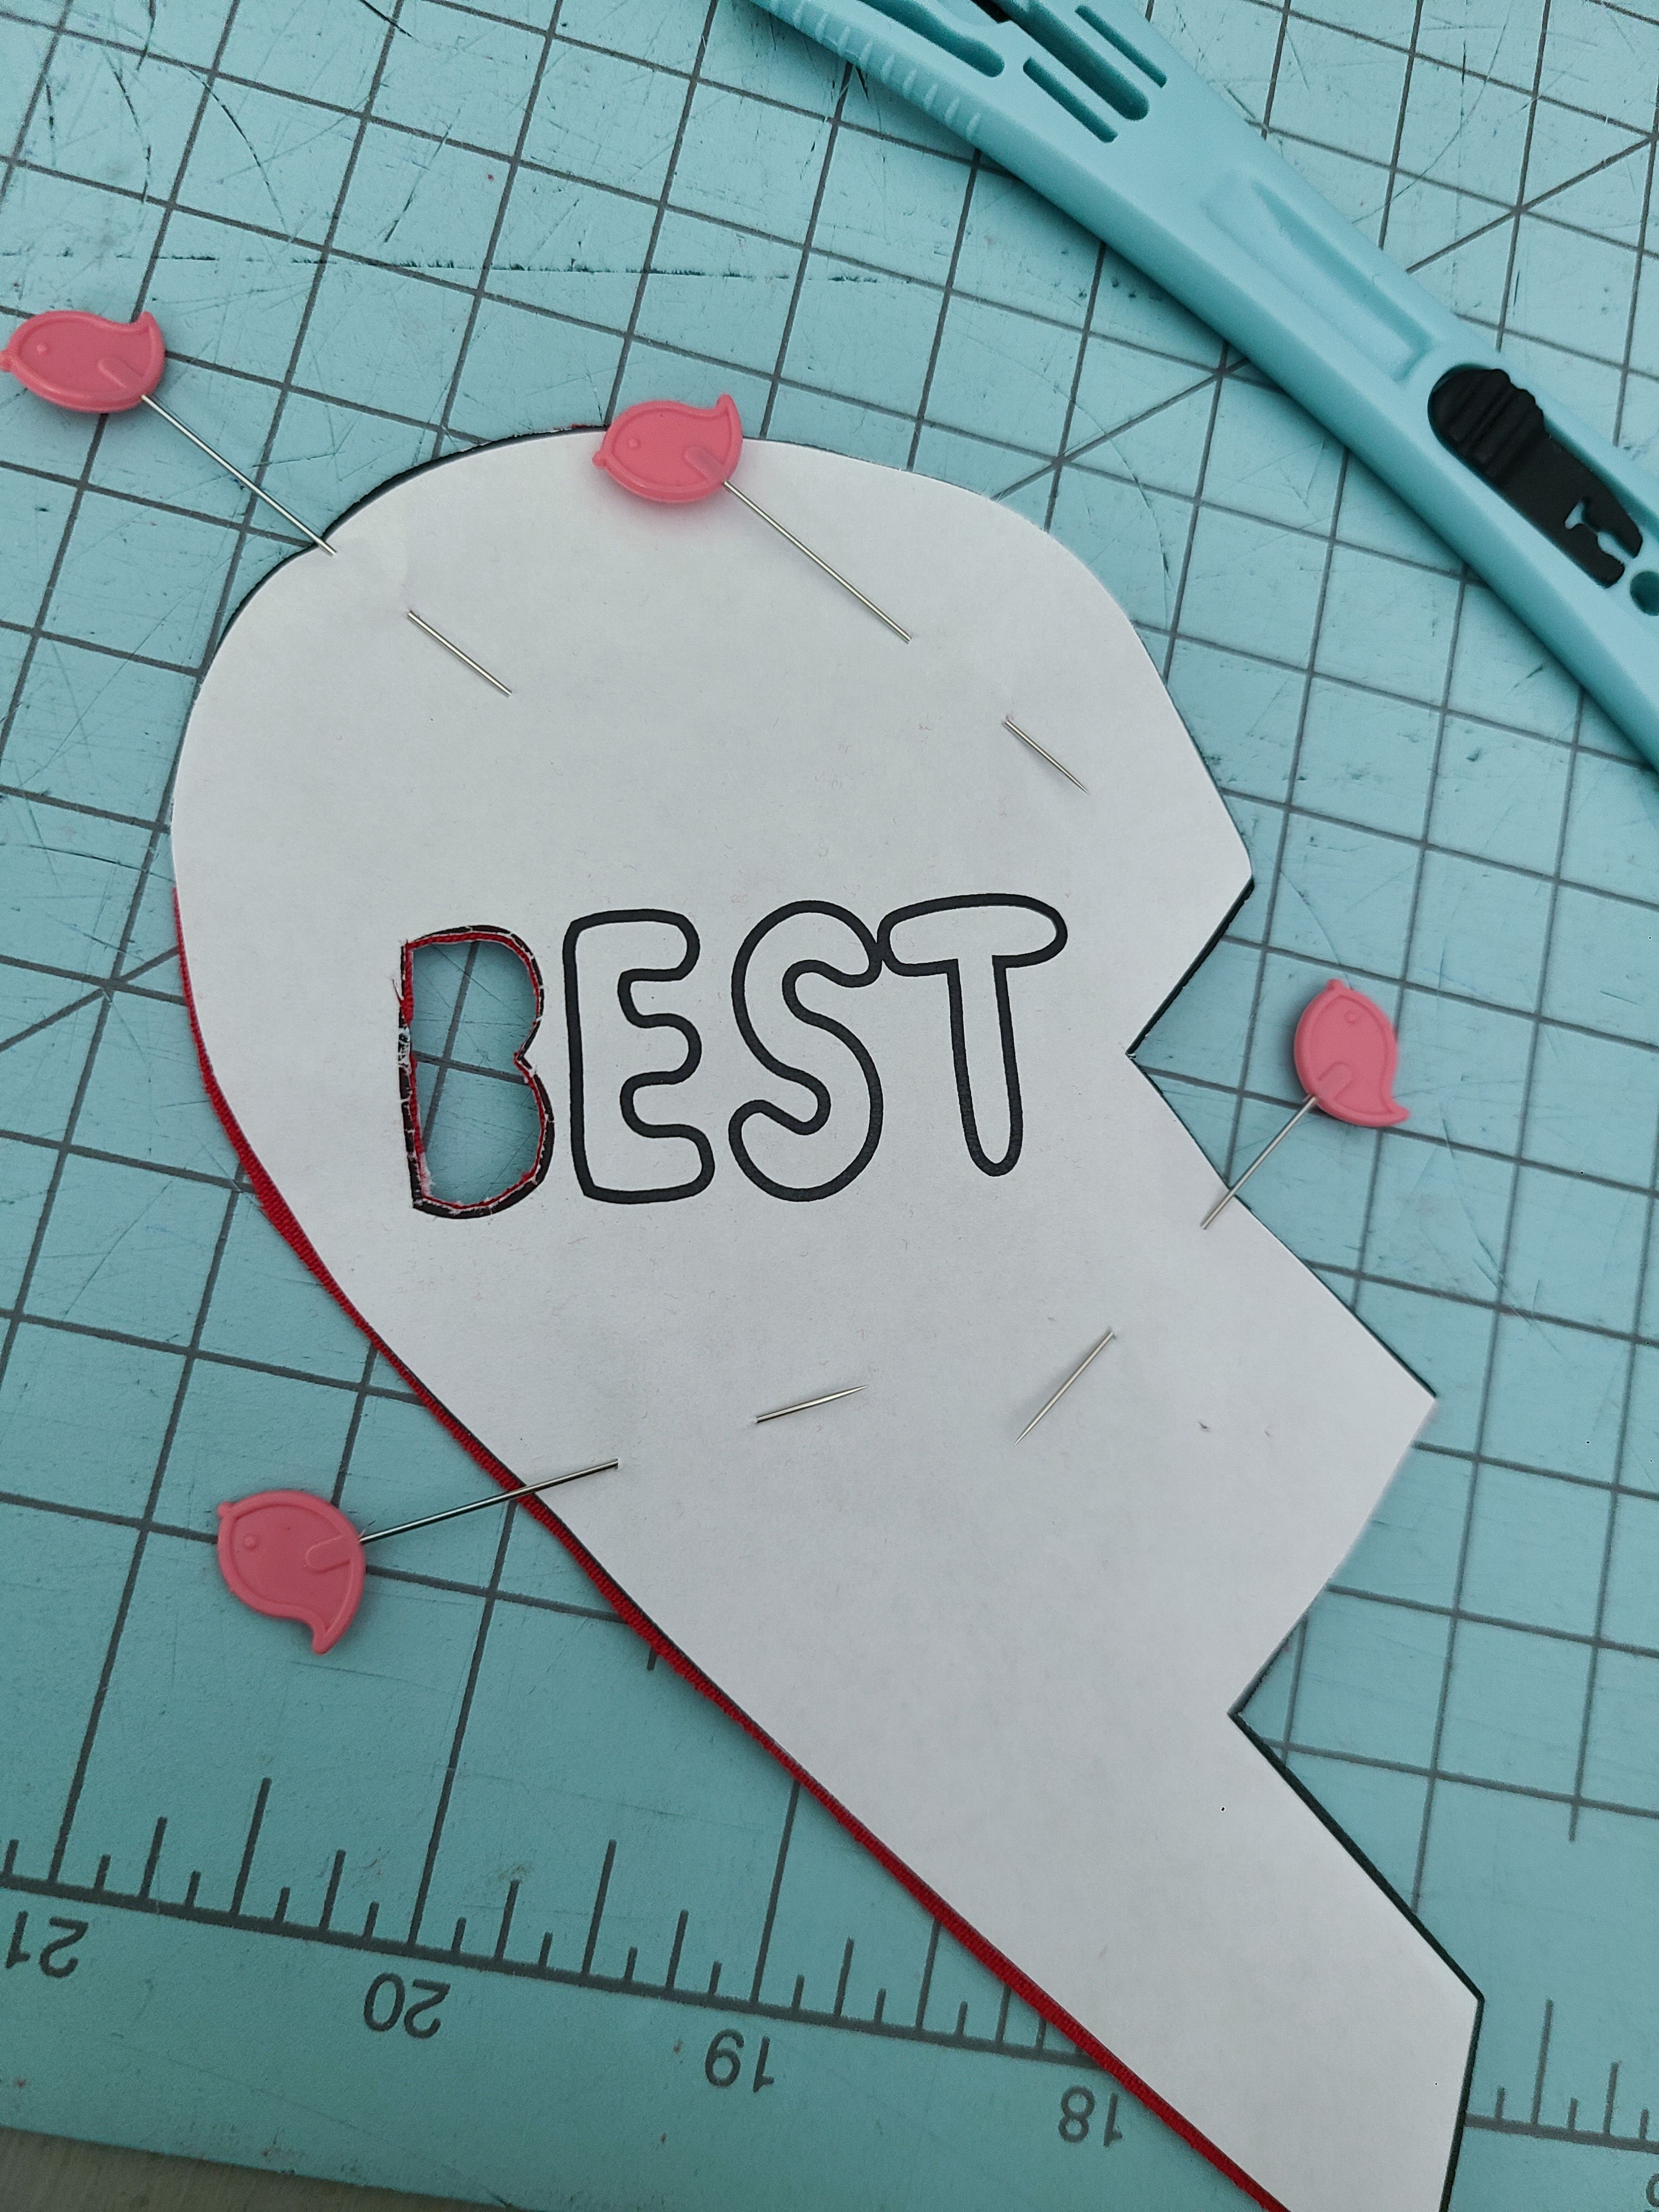
4. You can choose to cut out the little holes of the letters B, R, & D and place them back in place before ironing. Or, just leave them hole-less.
5. Remove the backing paper and follow the manufacturer instructions for fusing your adhesive to your garment.
6. Stitch around the edges (for woven, you will need to do an overcast stitch).

You did it!
We cannot WAIT to see what you create!
--Starr, Patty, and Meg