
Posted by Meg Hess on 22nd Dec 2022
Family Craft Series: Berries in the Snow Garland
Today is day 12 of our 12 days of freebies and also our second installation of our Family Craft Series!

Our Family Craft Series focuses on family-friendly crafts that are meant to last, with support for how to do this with a wide range of abilities and ages in your home. This craft came out of a very really desire to continue a tradition I did with my mother as a kid: stringing popcorn and cranberry garland. When we tried the traditional method of real popcorn and real cranberries and a needle and thread the other night, my elementary schooler and husband got bored and frustrated real fast (I think between the two of them, we needed to rethread their needles a dozen times). My preschooler liked sitting with me and picking out which popcorn and cranberries to put on the string, but couldnt do this independently. After about 15 minutes, my preschooler proudly displayed the garland that "he" had definitely strung "on his own" and my husband and daughter had long given up.
So, we switched gears to make our own that everyone would be able to do! Here is how we did it!
You will need:
-Lacing string (or yarn and scotch tape)
-Wooden beads
-Red acrylic paint
-A food storage container, shoe box and lid, or something similar
-Paper straws
-White craft foam (we used 3 sheets to make 2 garlands)
-Scissors
-A hot glue gun
-Optional: glitter
We did this in 2 parts and you most likely will, too, if you plan on painting your beads, as they will need drying time.
Here is PART 1:
We began by painting our wooden beads. I learned something important while prepping for this activity: wooden craft beads are expensive, but pre-made garland that uses wooden beads is cheap! We found wooden bead garland in the home decor section of Dollar Tree for $1.25 and it came with about 30 beads on it. We found wooden craft beads that were the same size in the craft section and it was a $1.25 for 12! The same thing happened at Joann's! We found a garland in the clearance section for $4 with 45 large beads on it. In the wooden craft section, a pack of 12 wooden beads was (insanely) $6.50! So, I HIGHLY recommend checking for garland with wooden beads on it and just destroying the garland for the beads.

Place your beads in a large food storage container.
.
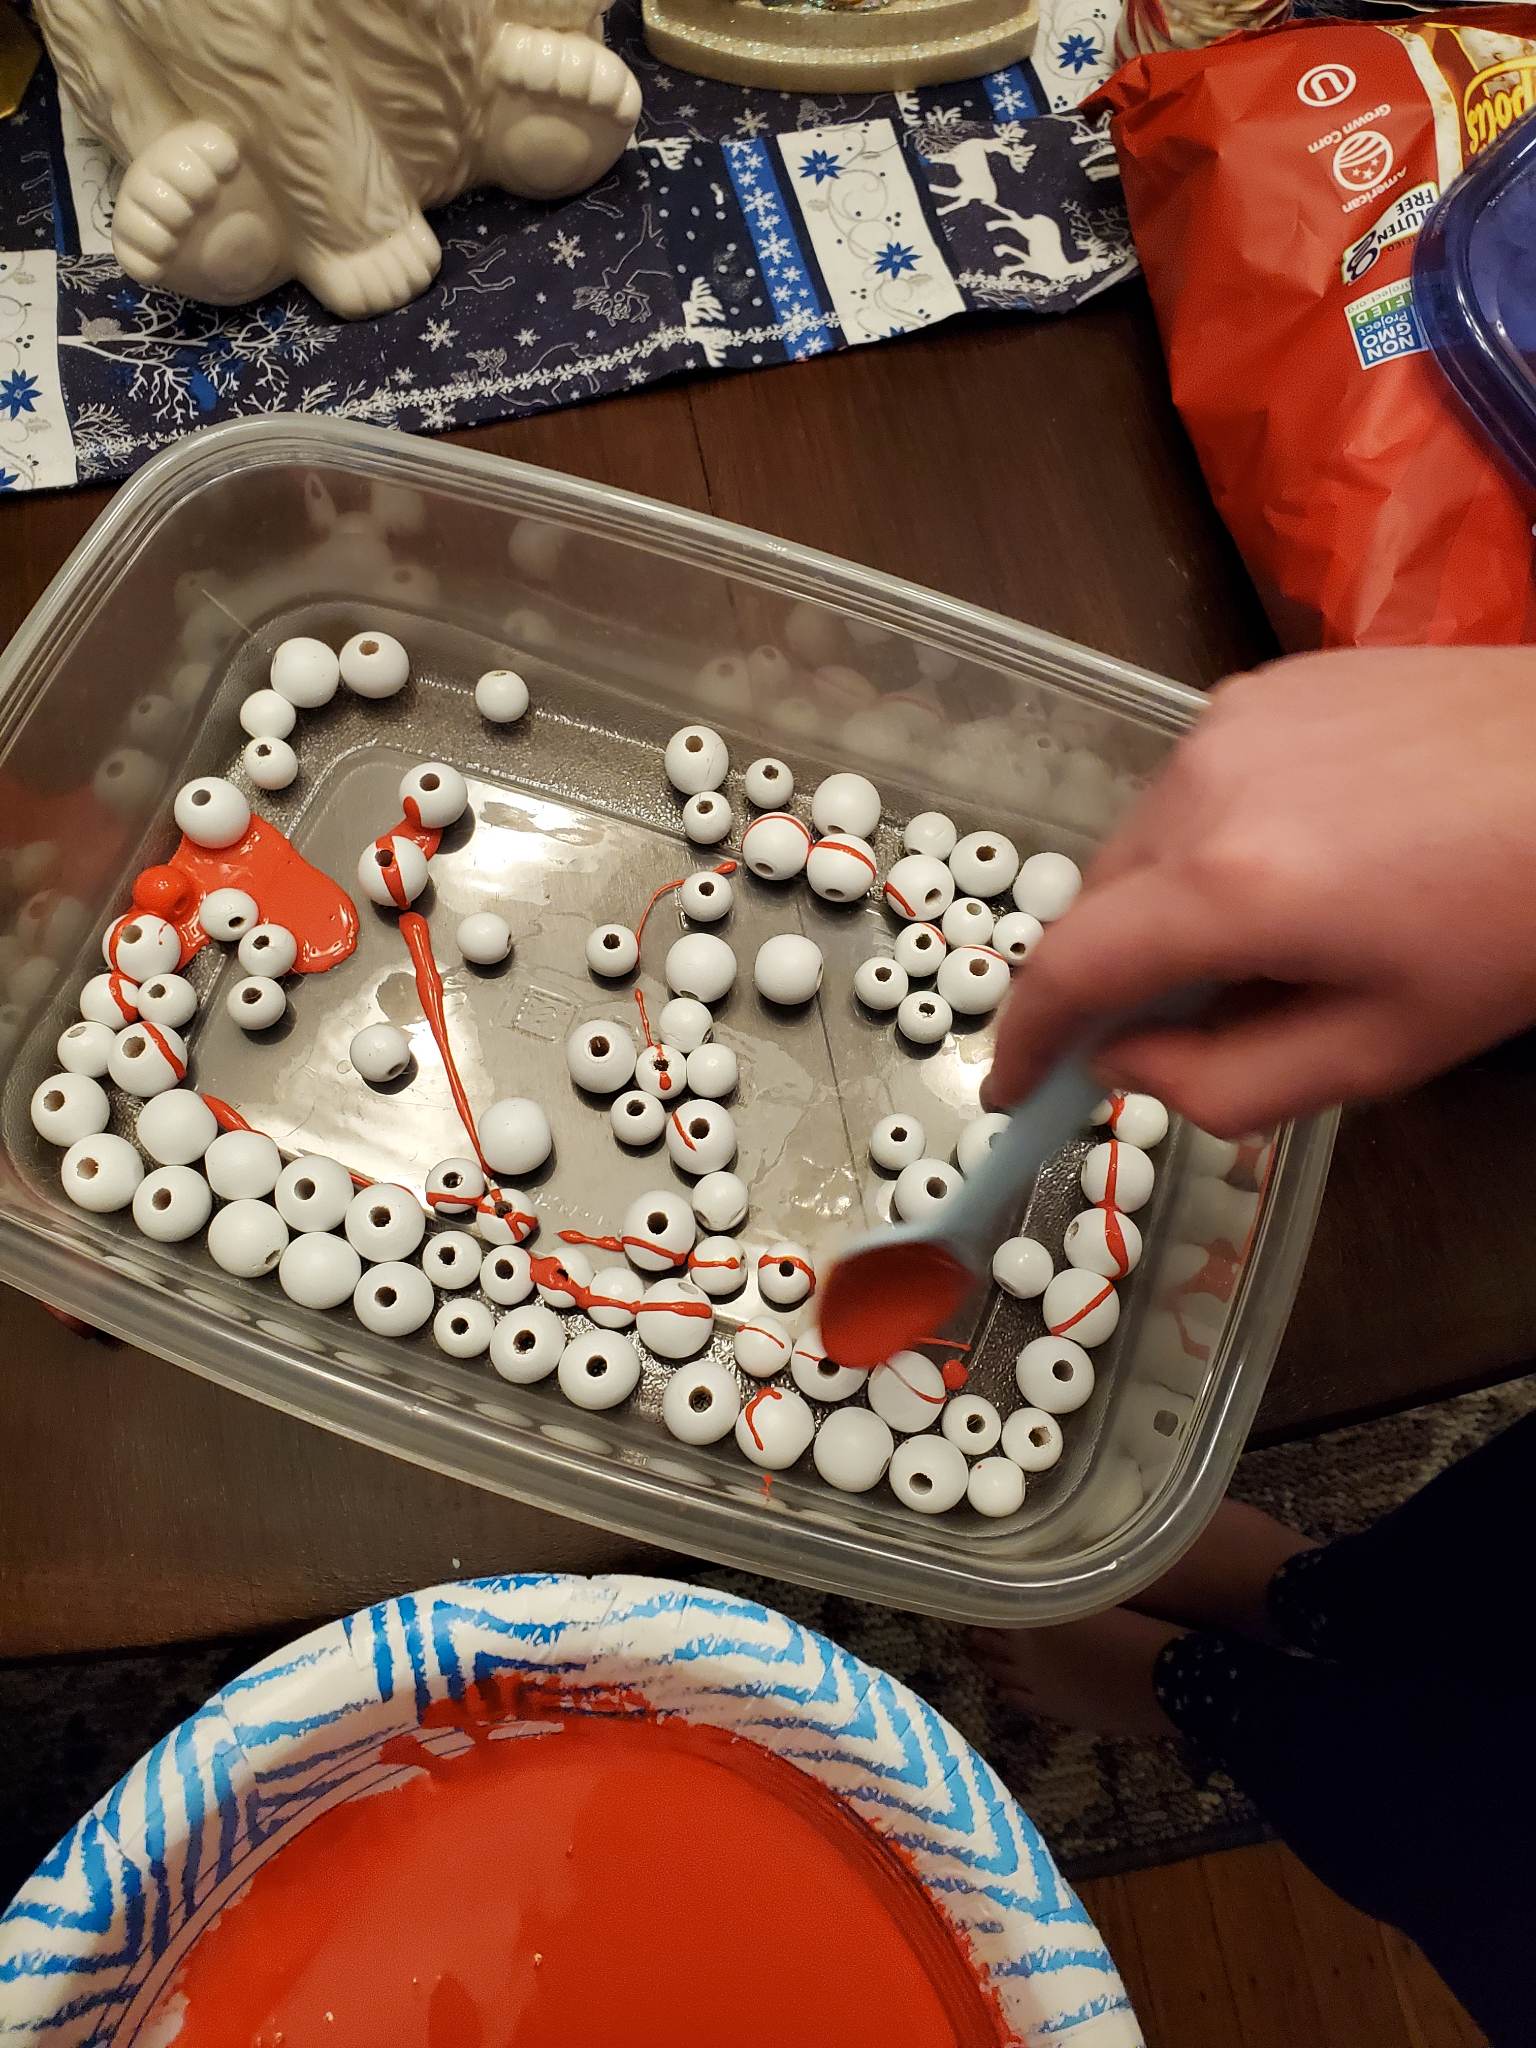
Dilute a few tablespoons of red acrylic paint with a small amount of water. You want the paint to move a little easier, but not be too runny. A splash of water was plenty for us. Spoon the paint over the beads.
.
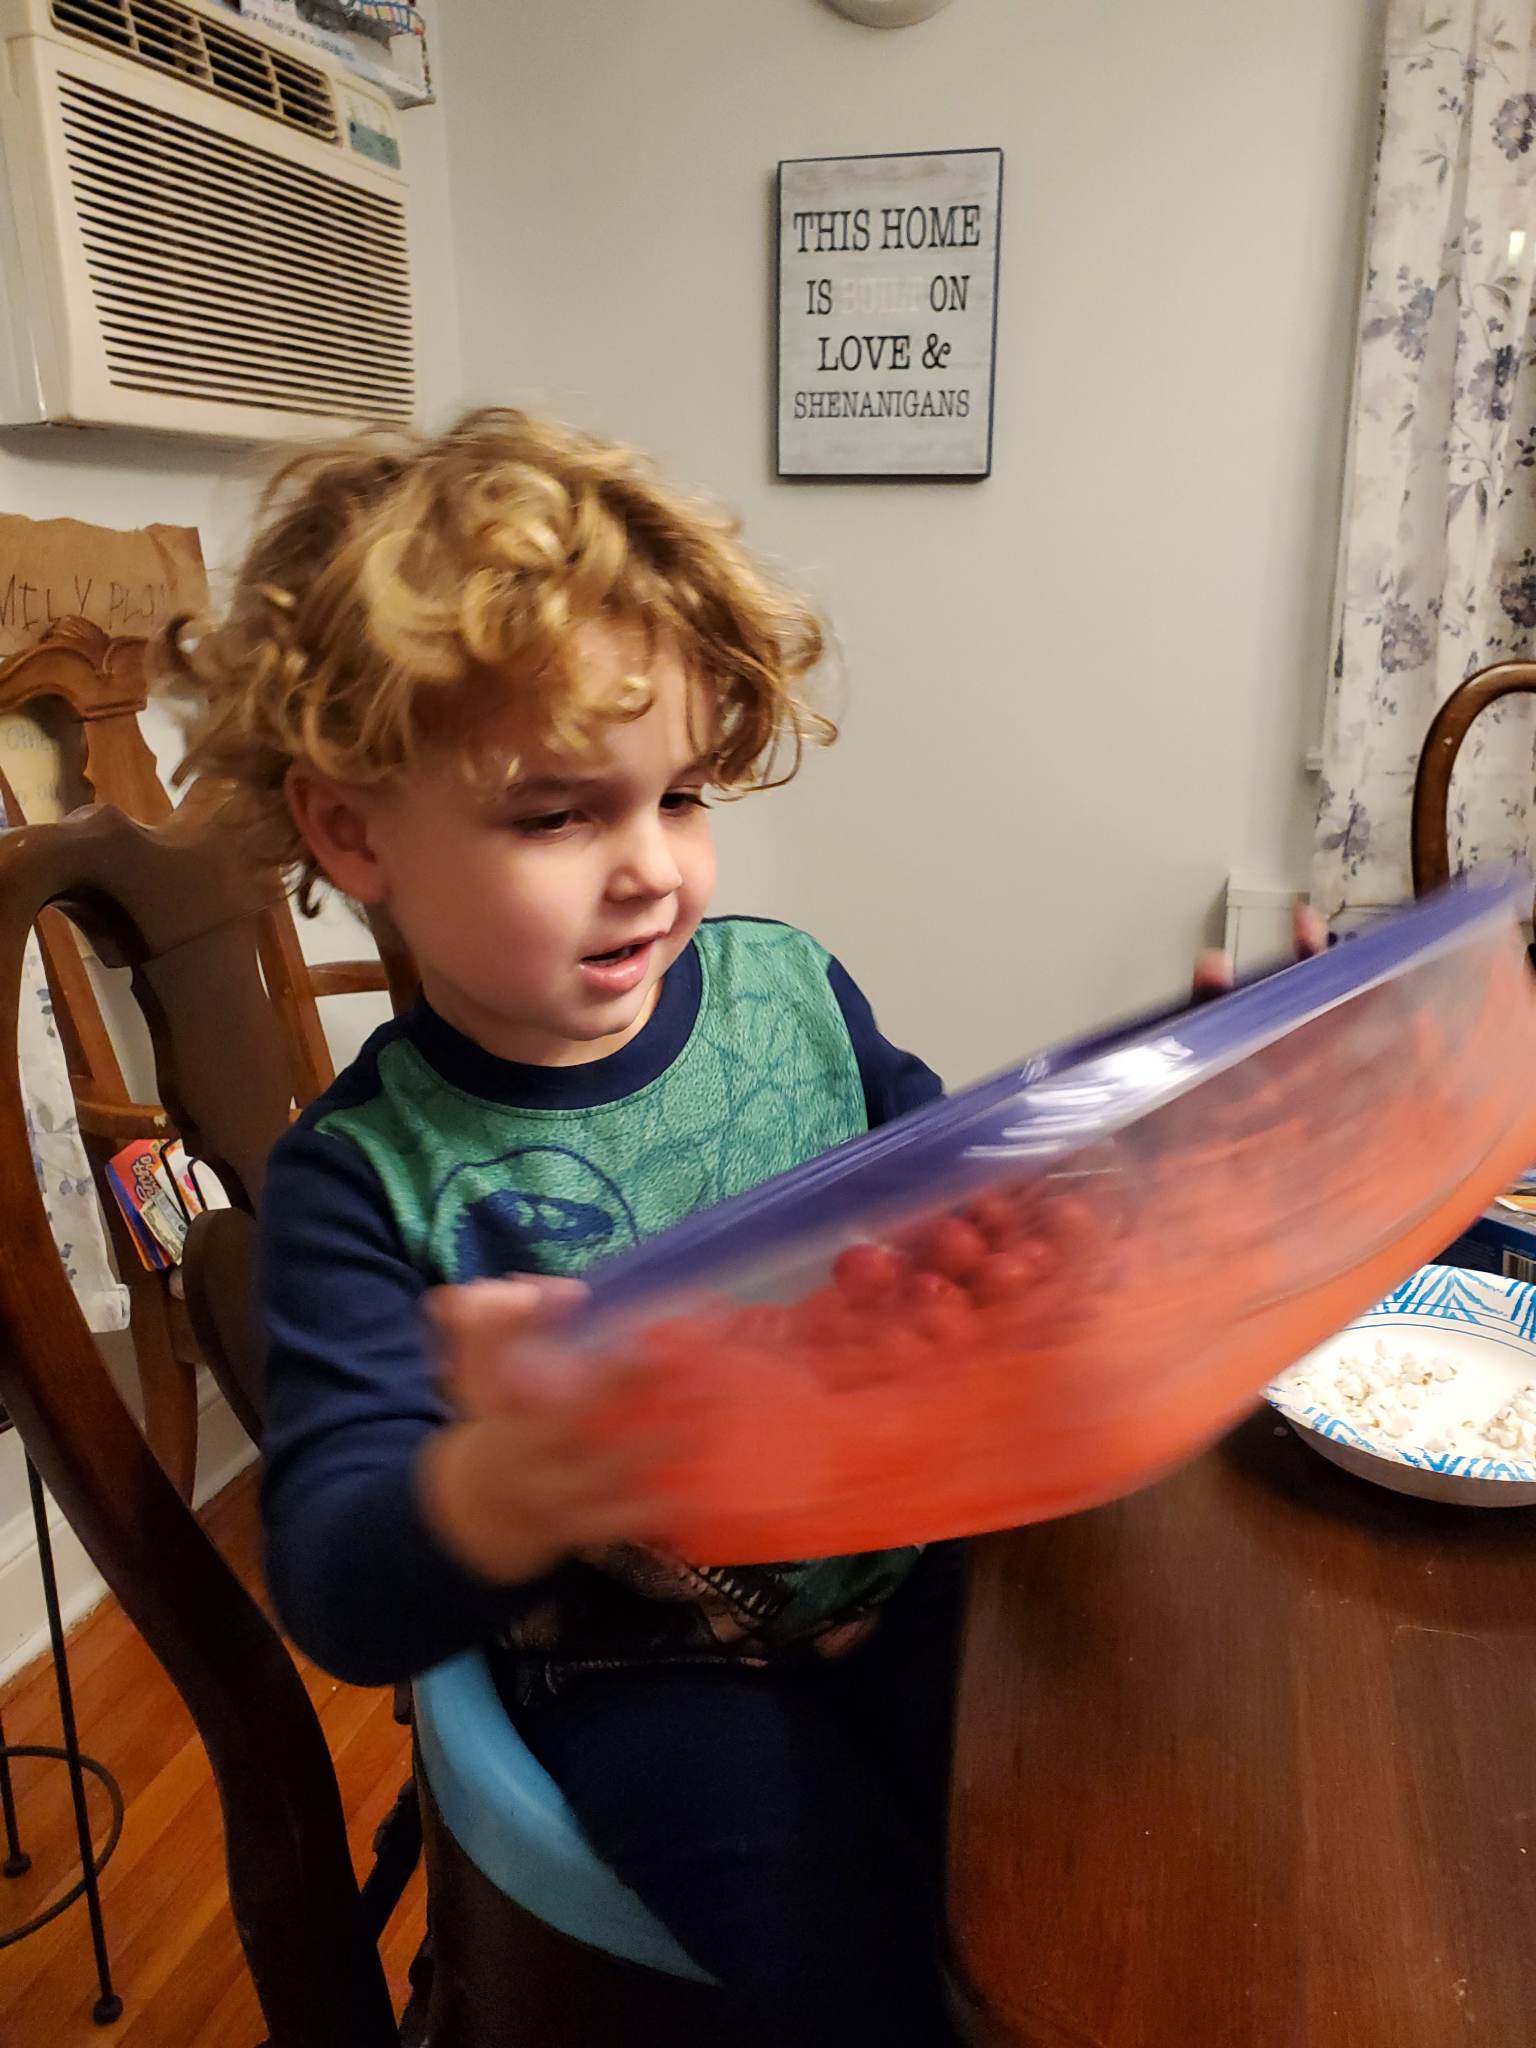
Now comes the fun part! Seal the food storage container well and SHAKE IT! Both my kids liked taking a turn with this.
.
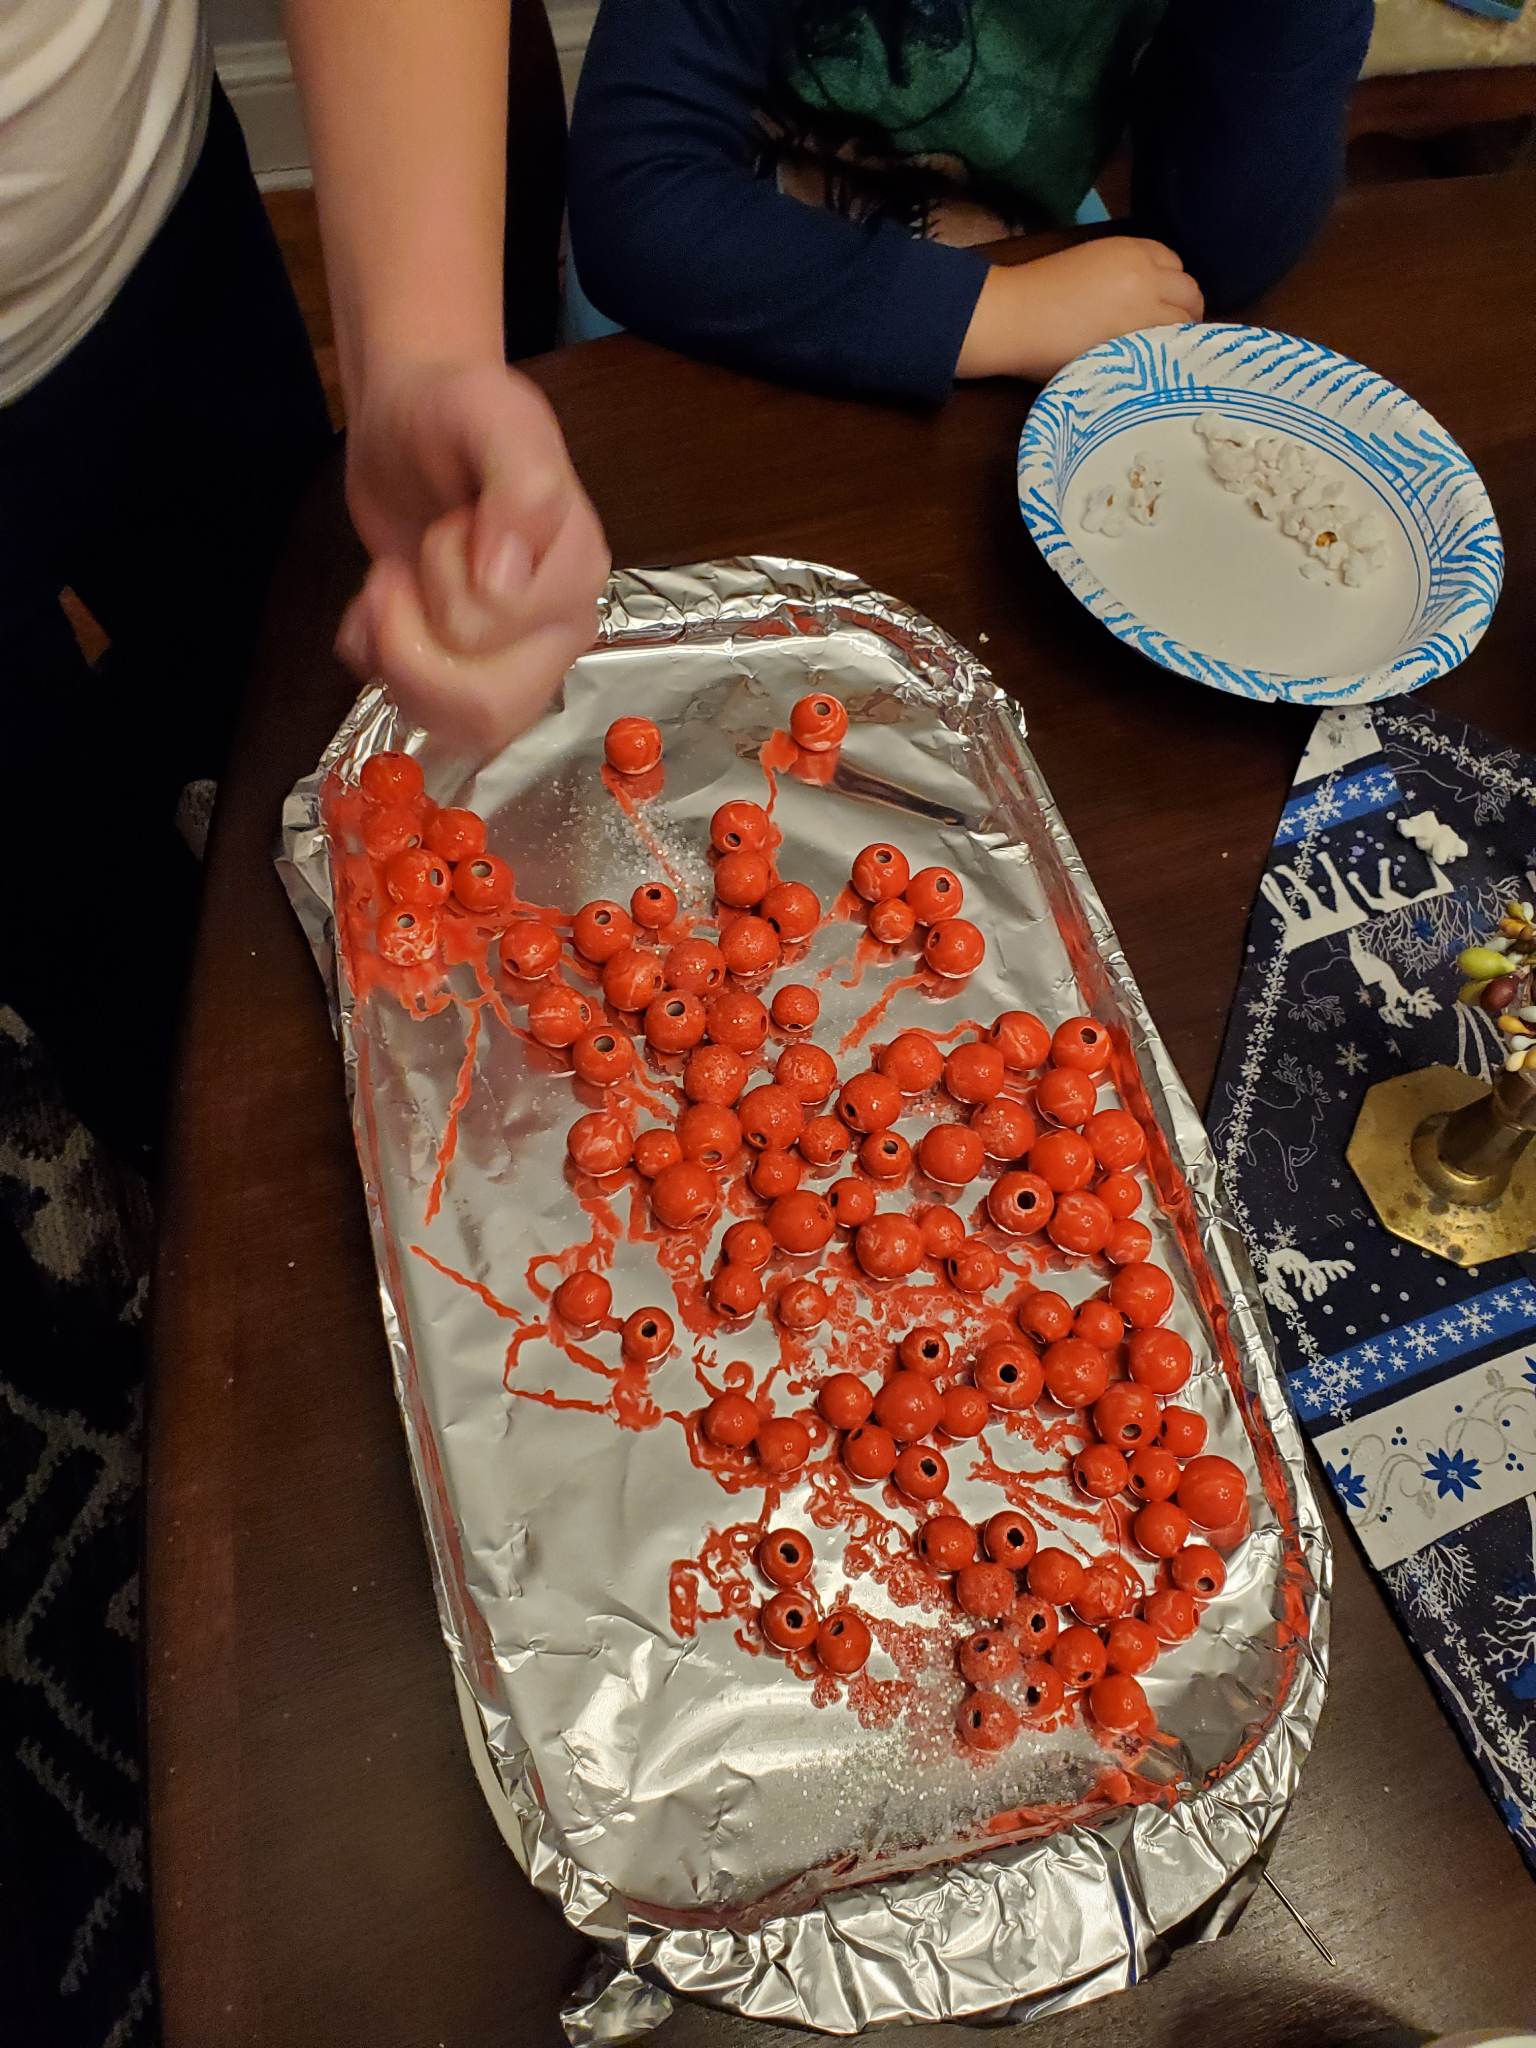
Pour the beads onto a cookie sheet to dry. This next part is optional, but we loved it! We added glitter to our beads while the paint was still wet. It made our beads look like they had sugar on them and gave them a really interesting texture.
.
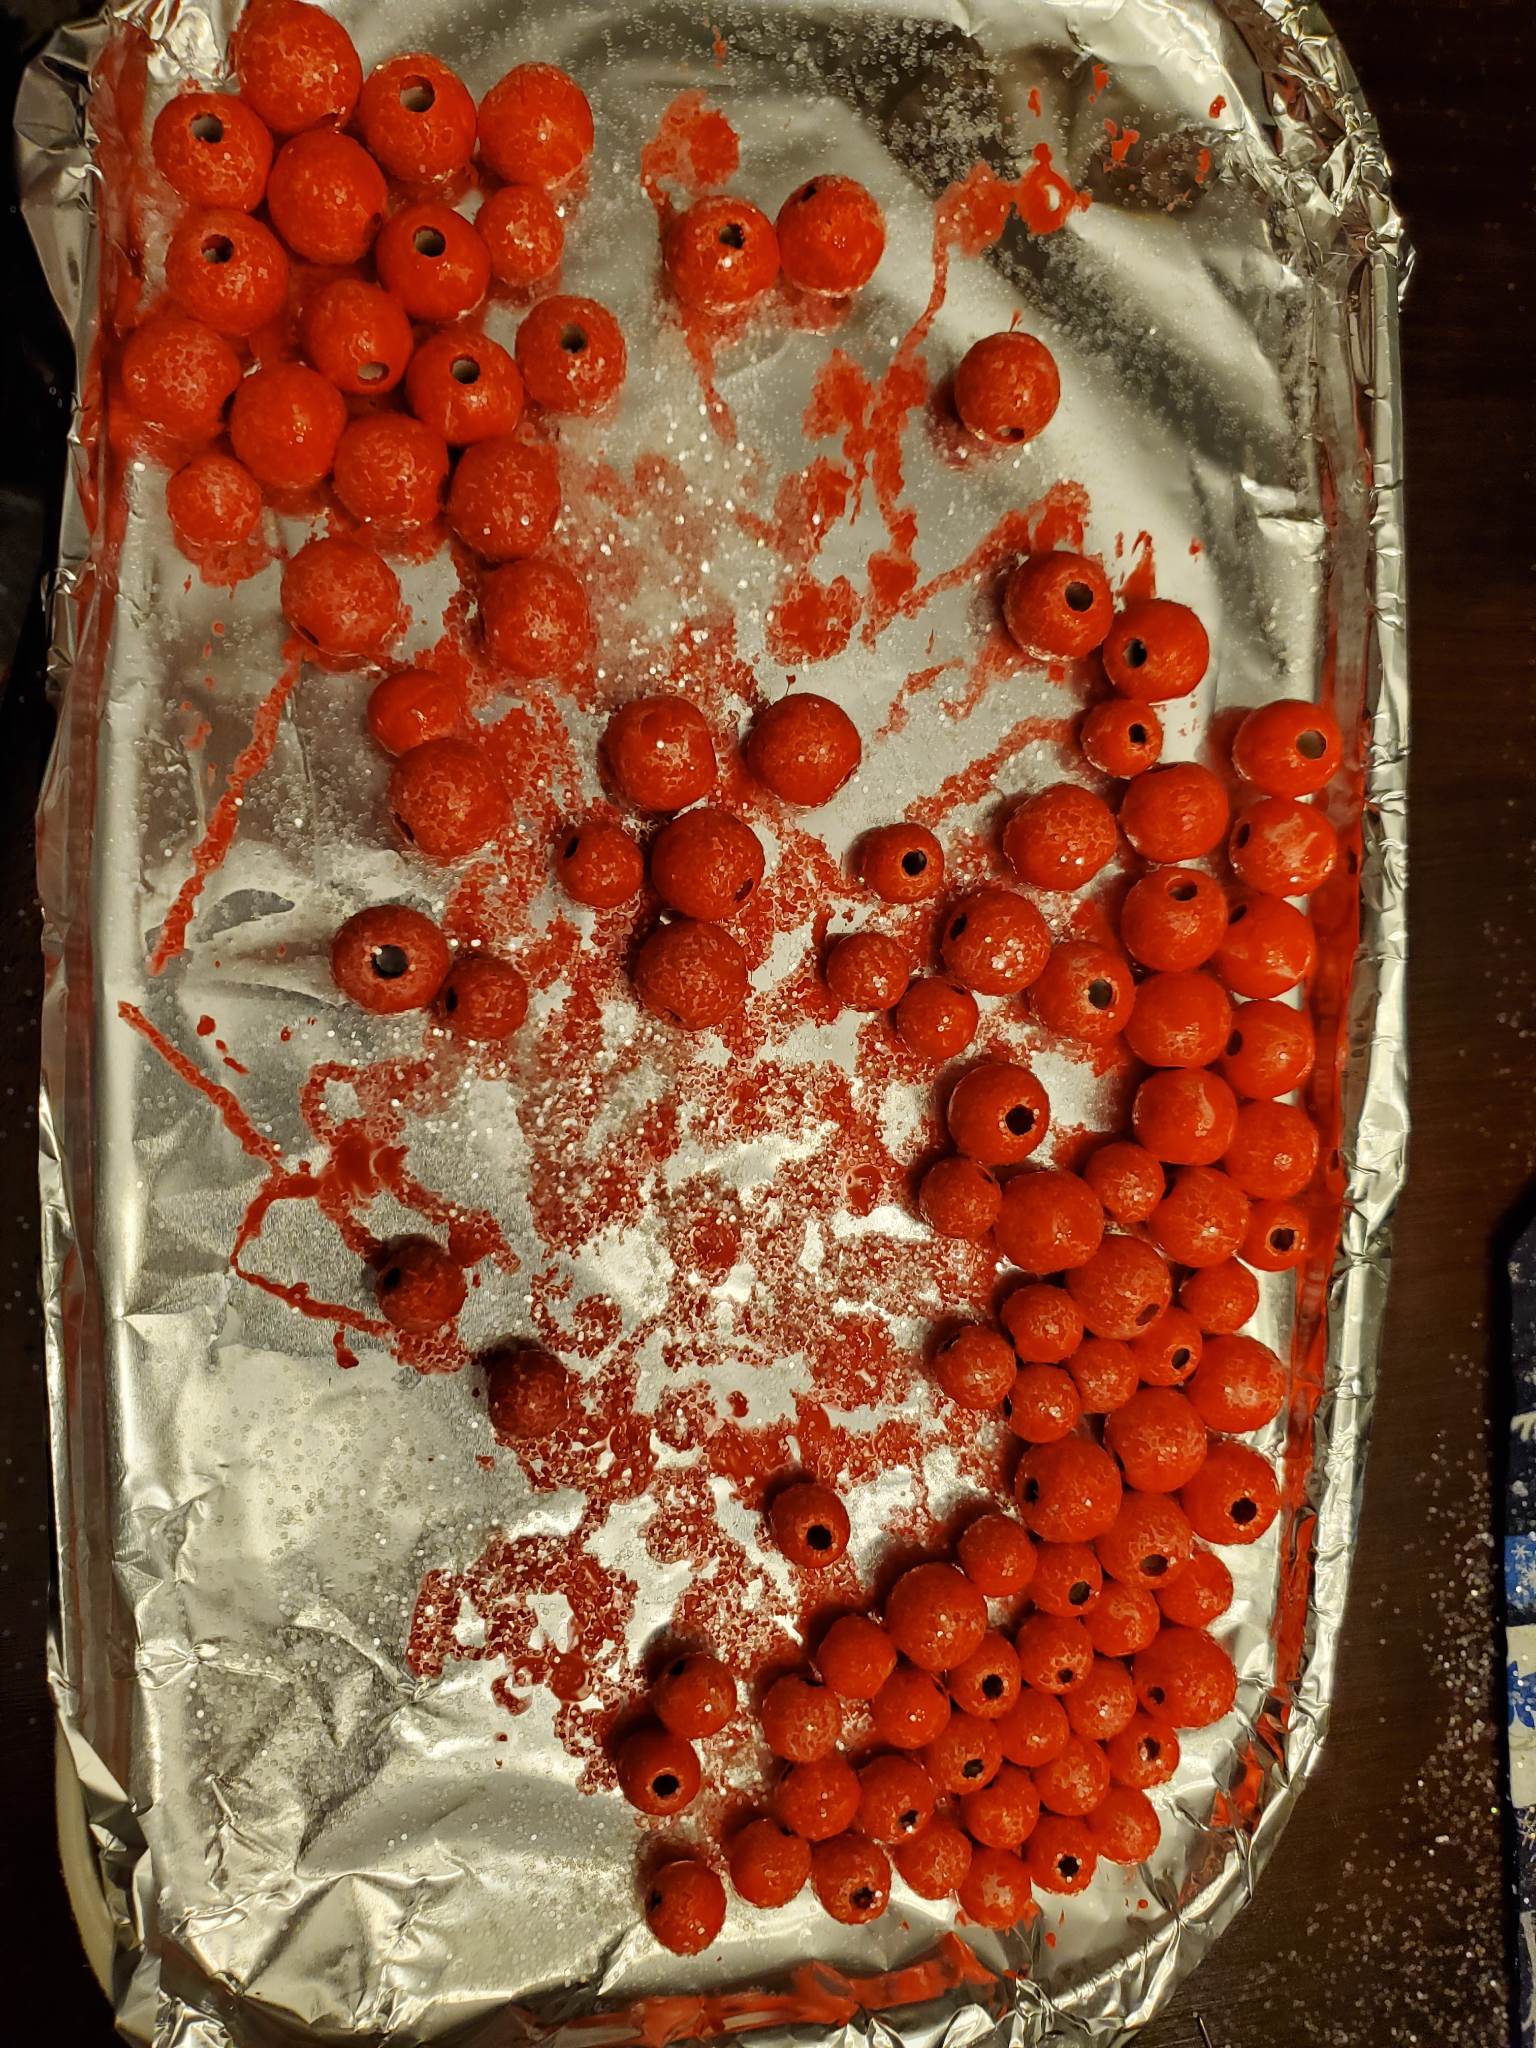
Leave them to dry. We left ours overnight, but they probably only needed a few hours.
.
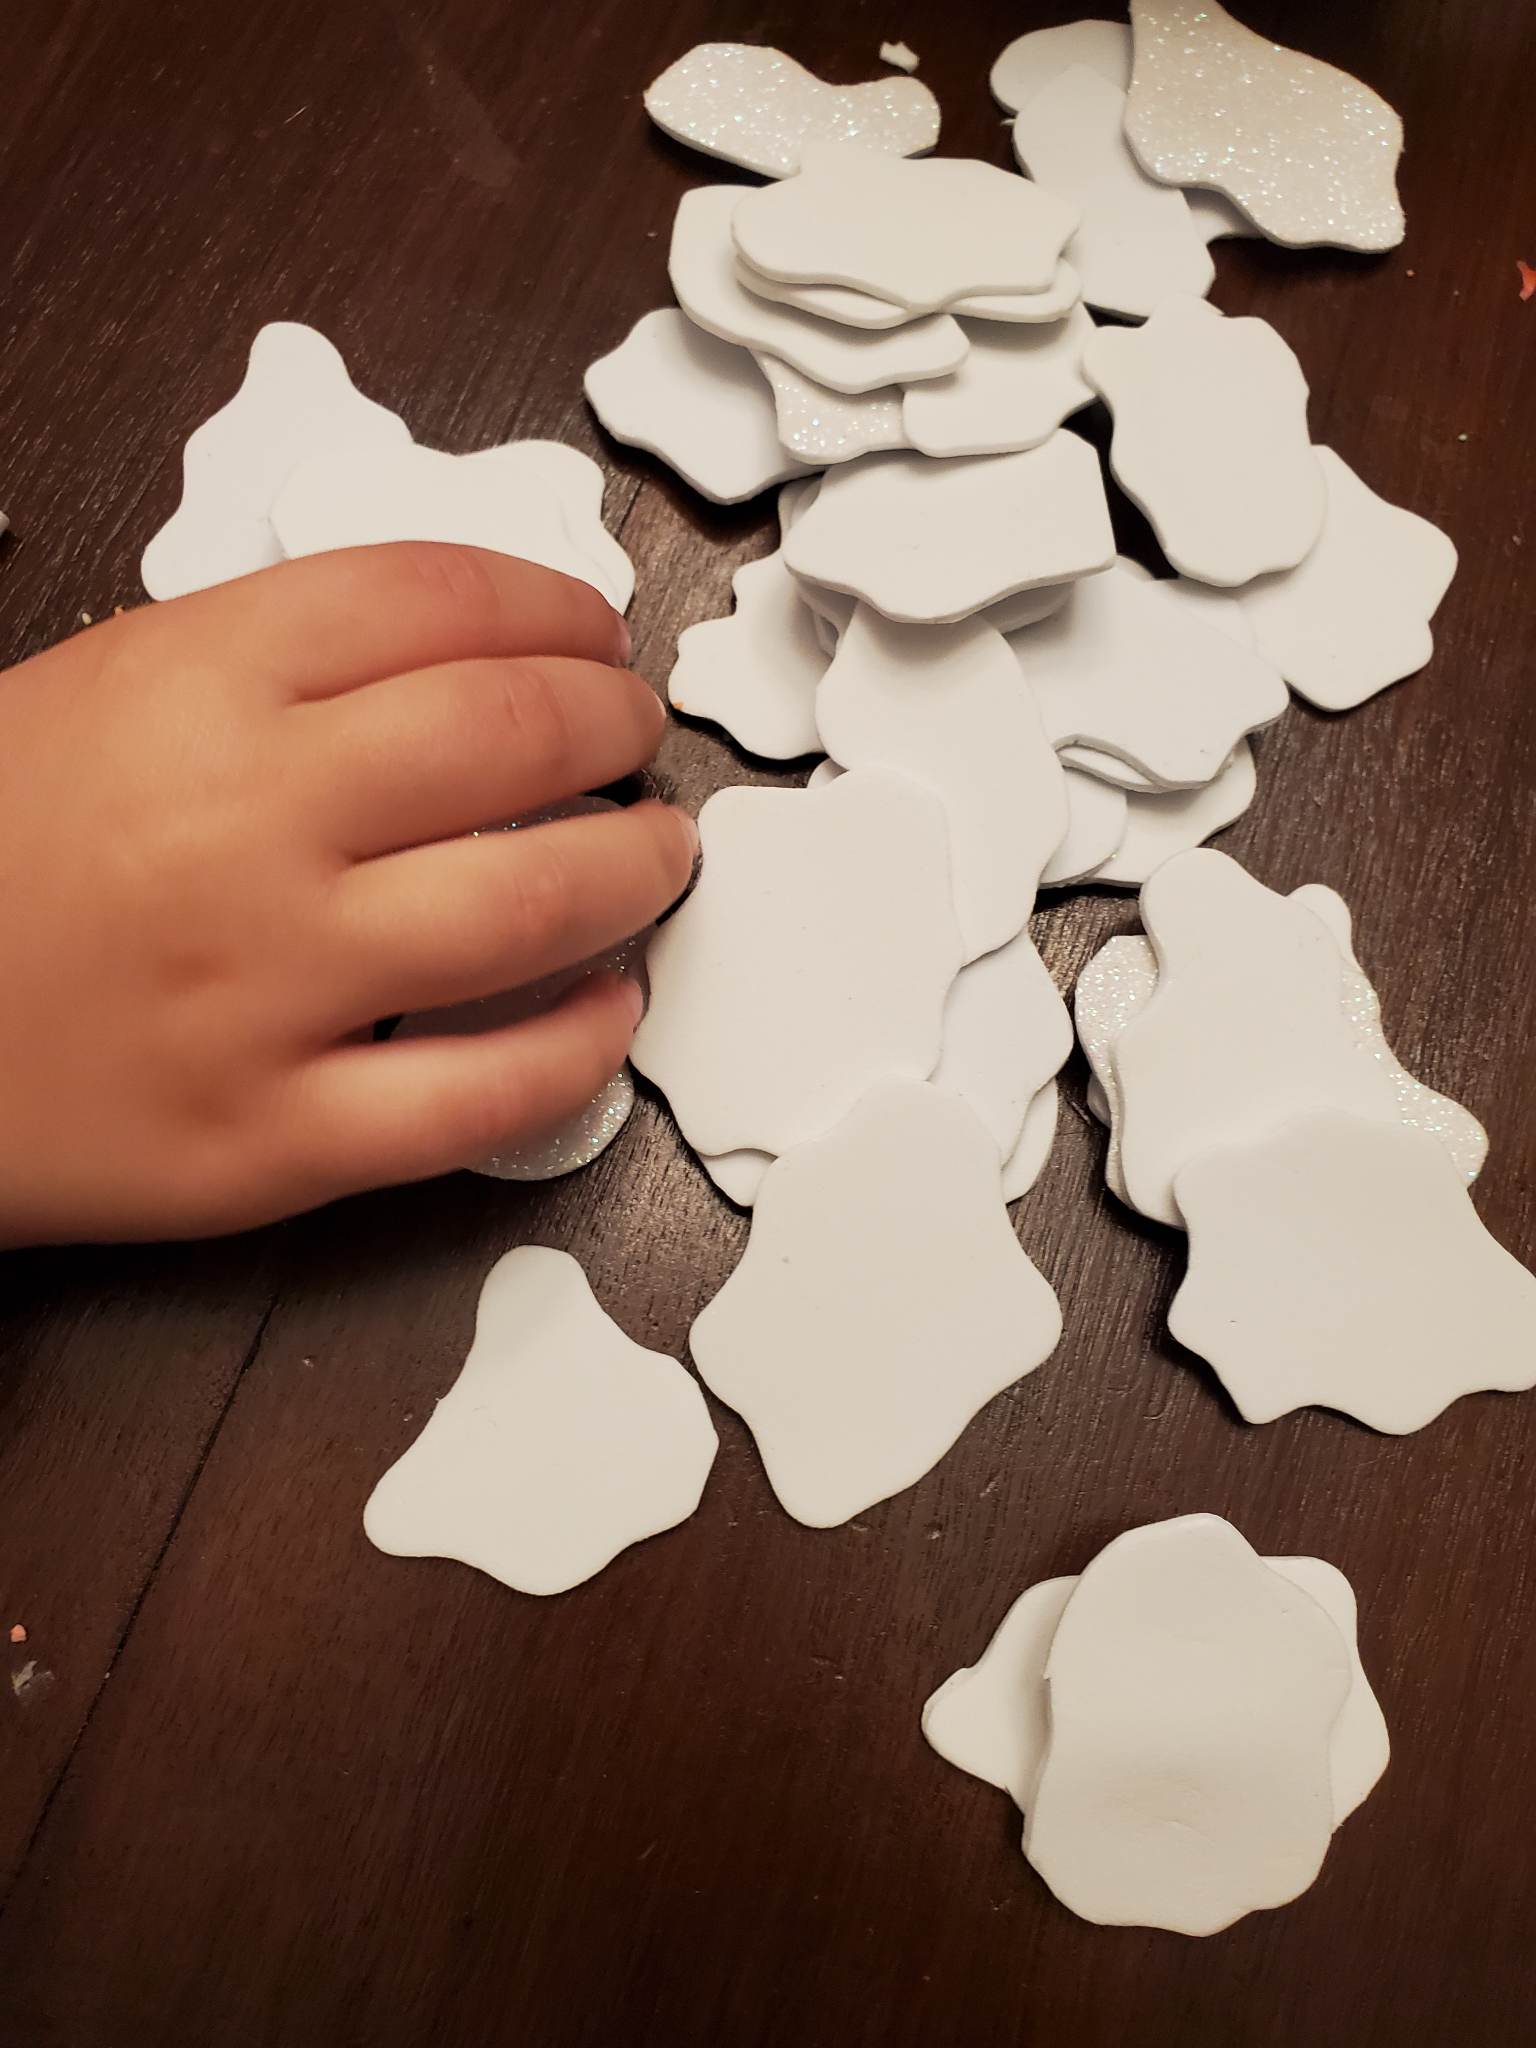
We will prepare our popcorn now, too. My daughter and I really examined popcorn and determined that it is a lumpy-bumpy shape and very few pieces look alike. So, we just cut shapes out of craft foam that were about 1.5-2" wide. My daughter cut the big shapes and then I went in and cut bumps and details. It was a good activity to do while watching a show. We put on a short Christmas special. My son couldn't really help with this, other than offer his opinions.
.
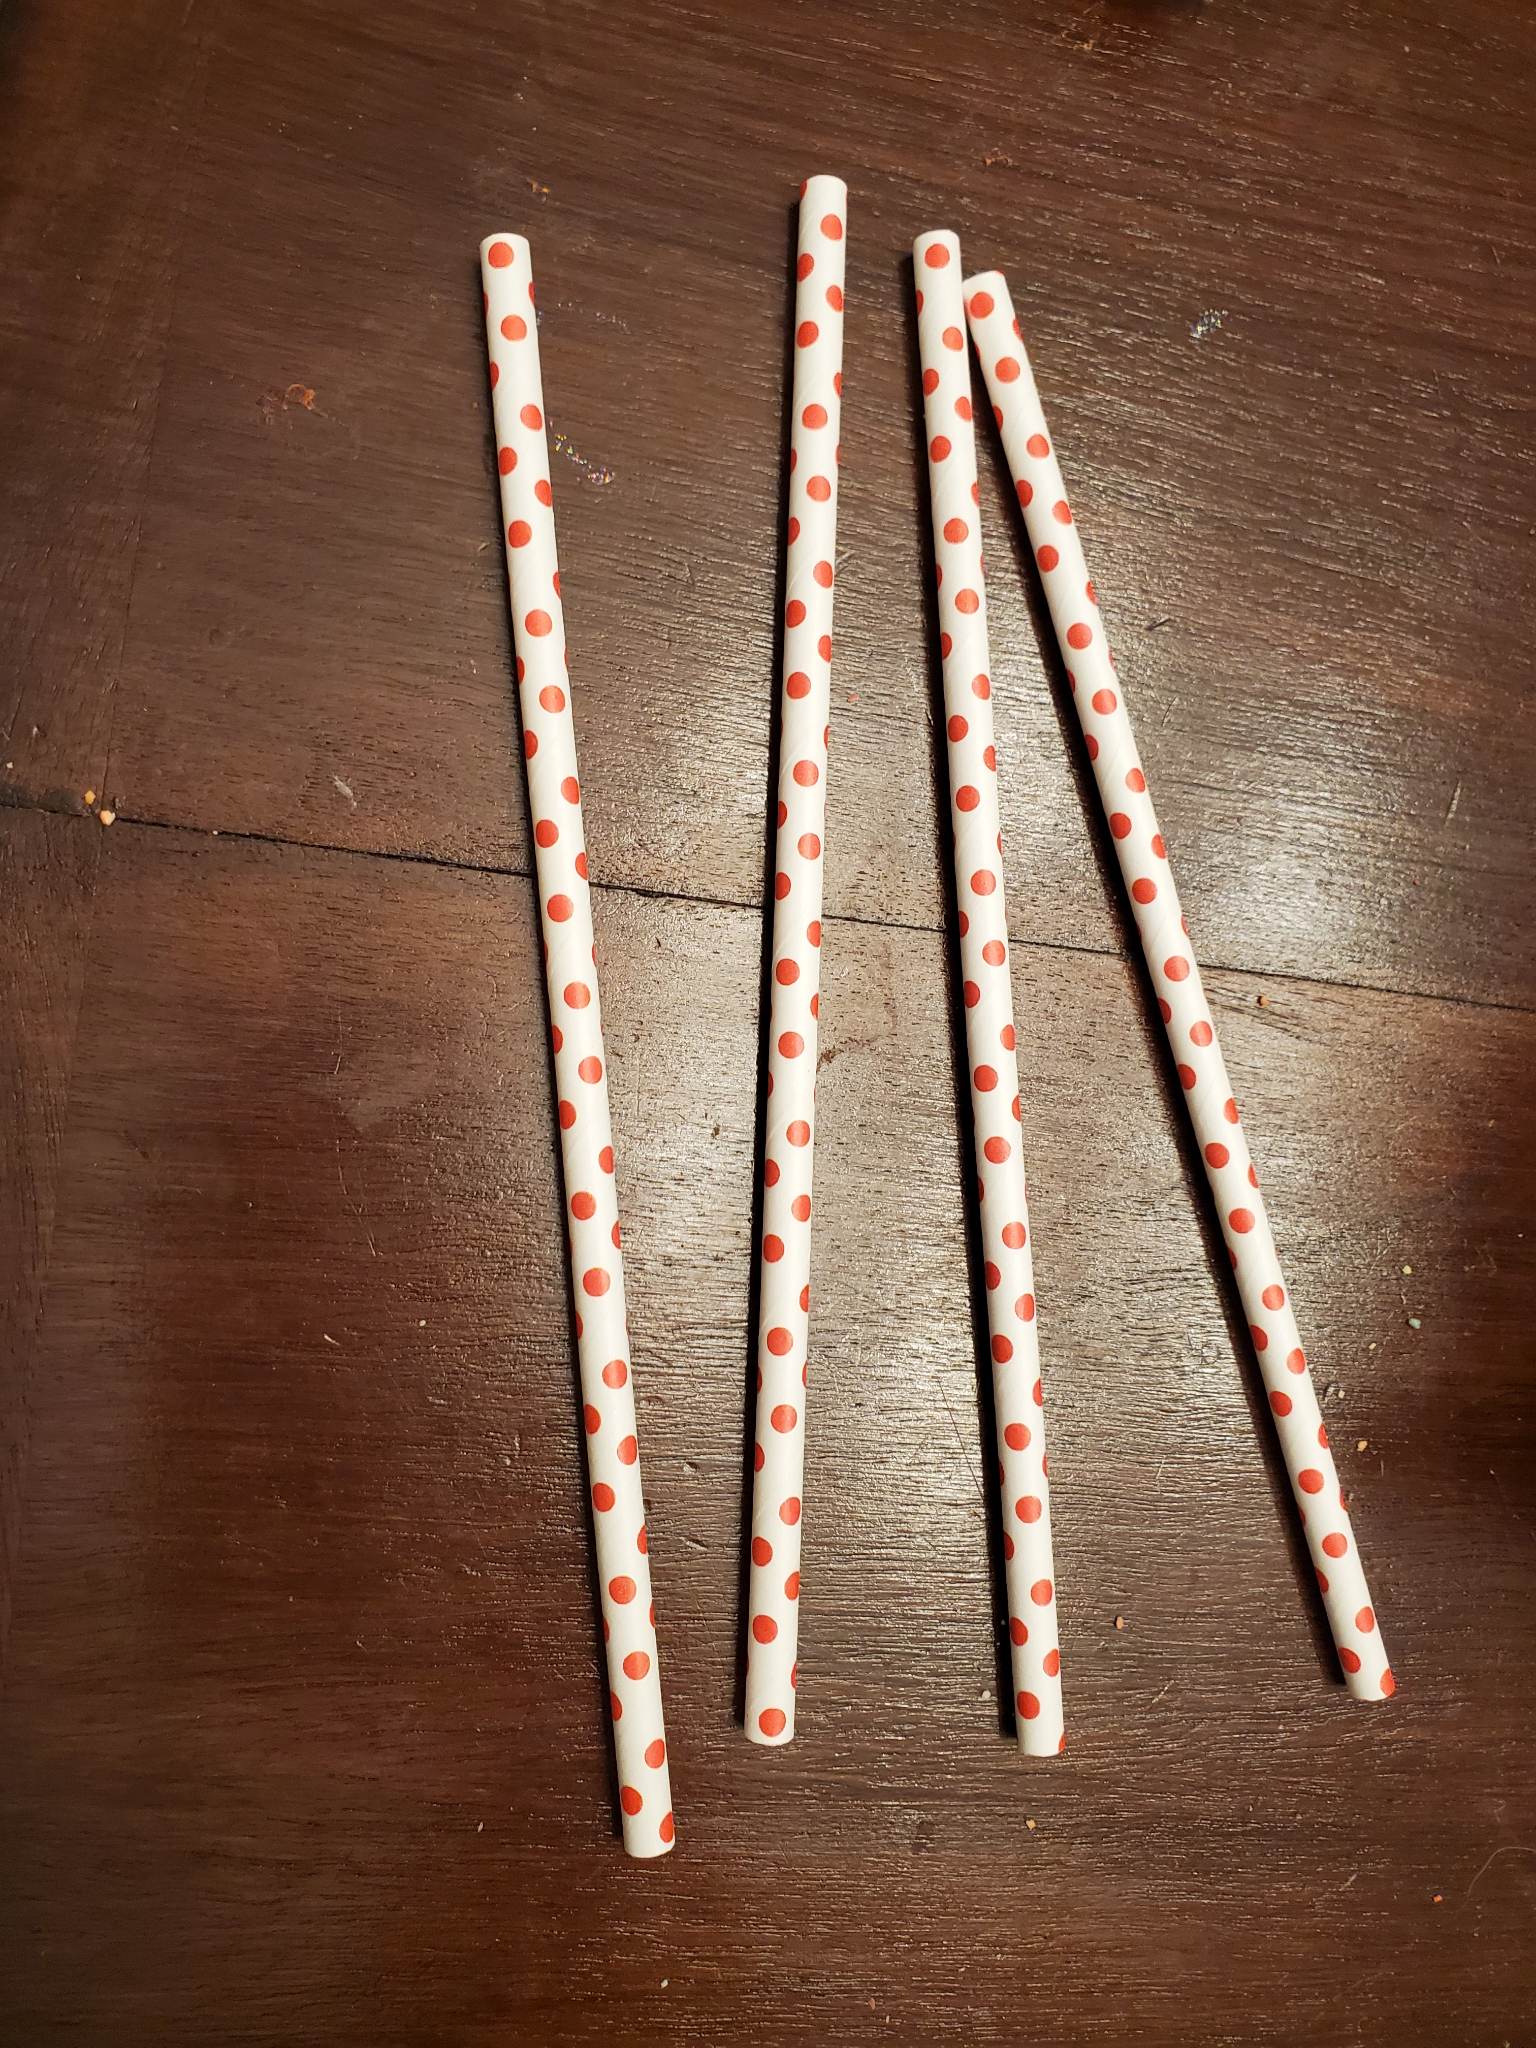
I cut some paper straws with scissors into approximately 1" pieces.
.
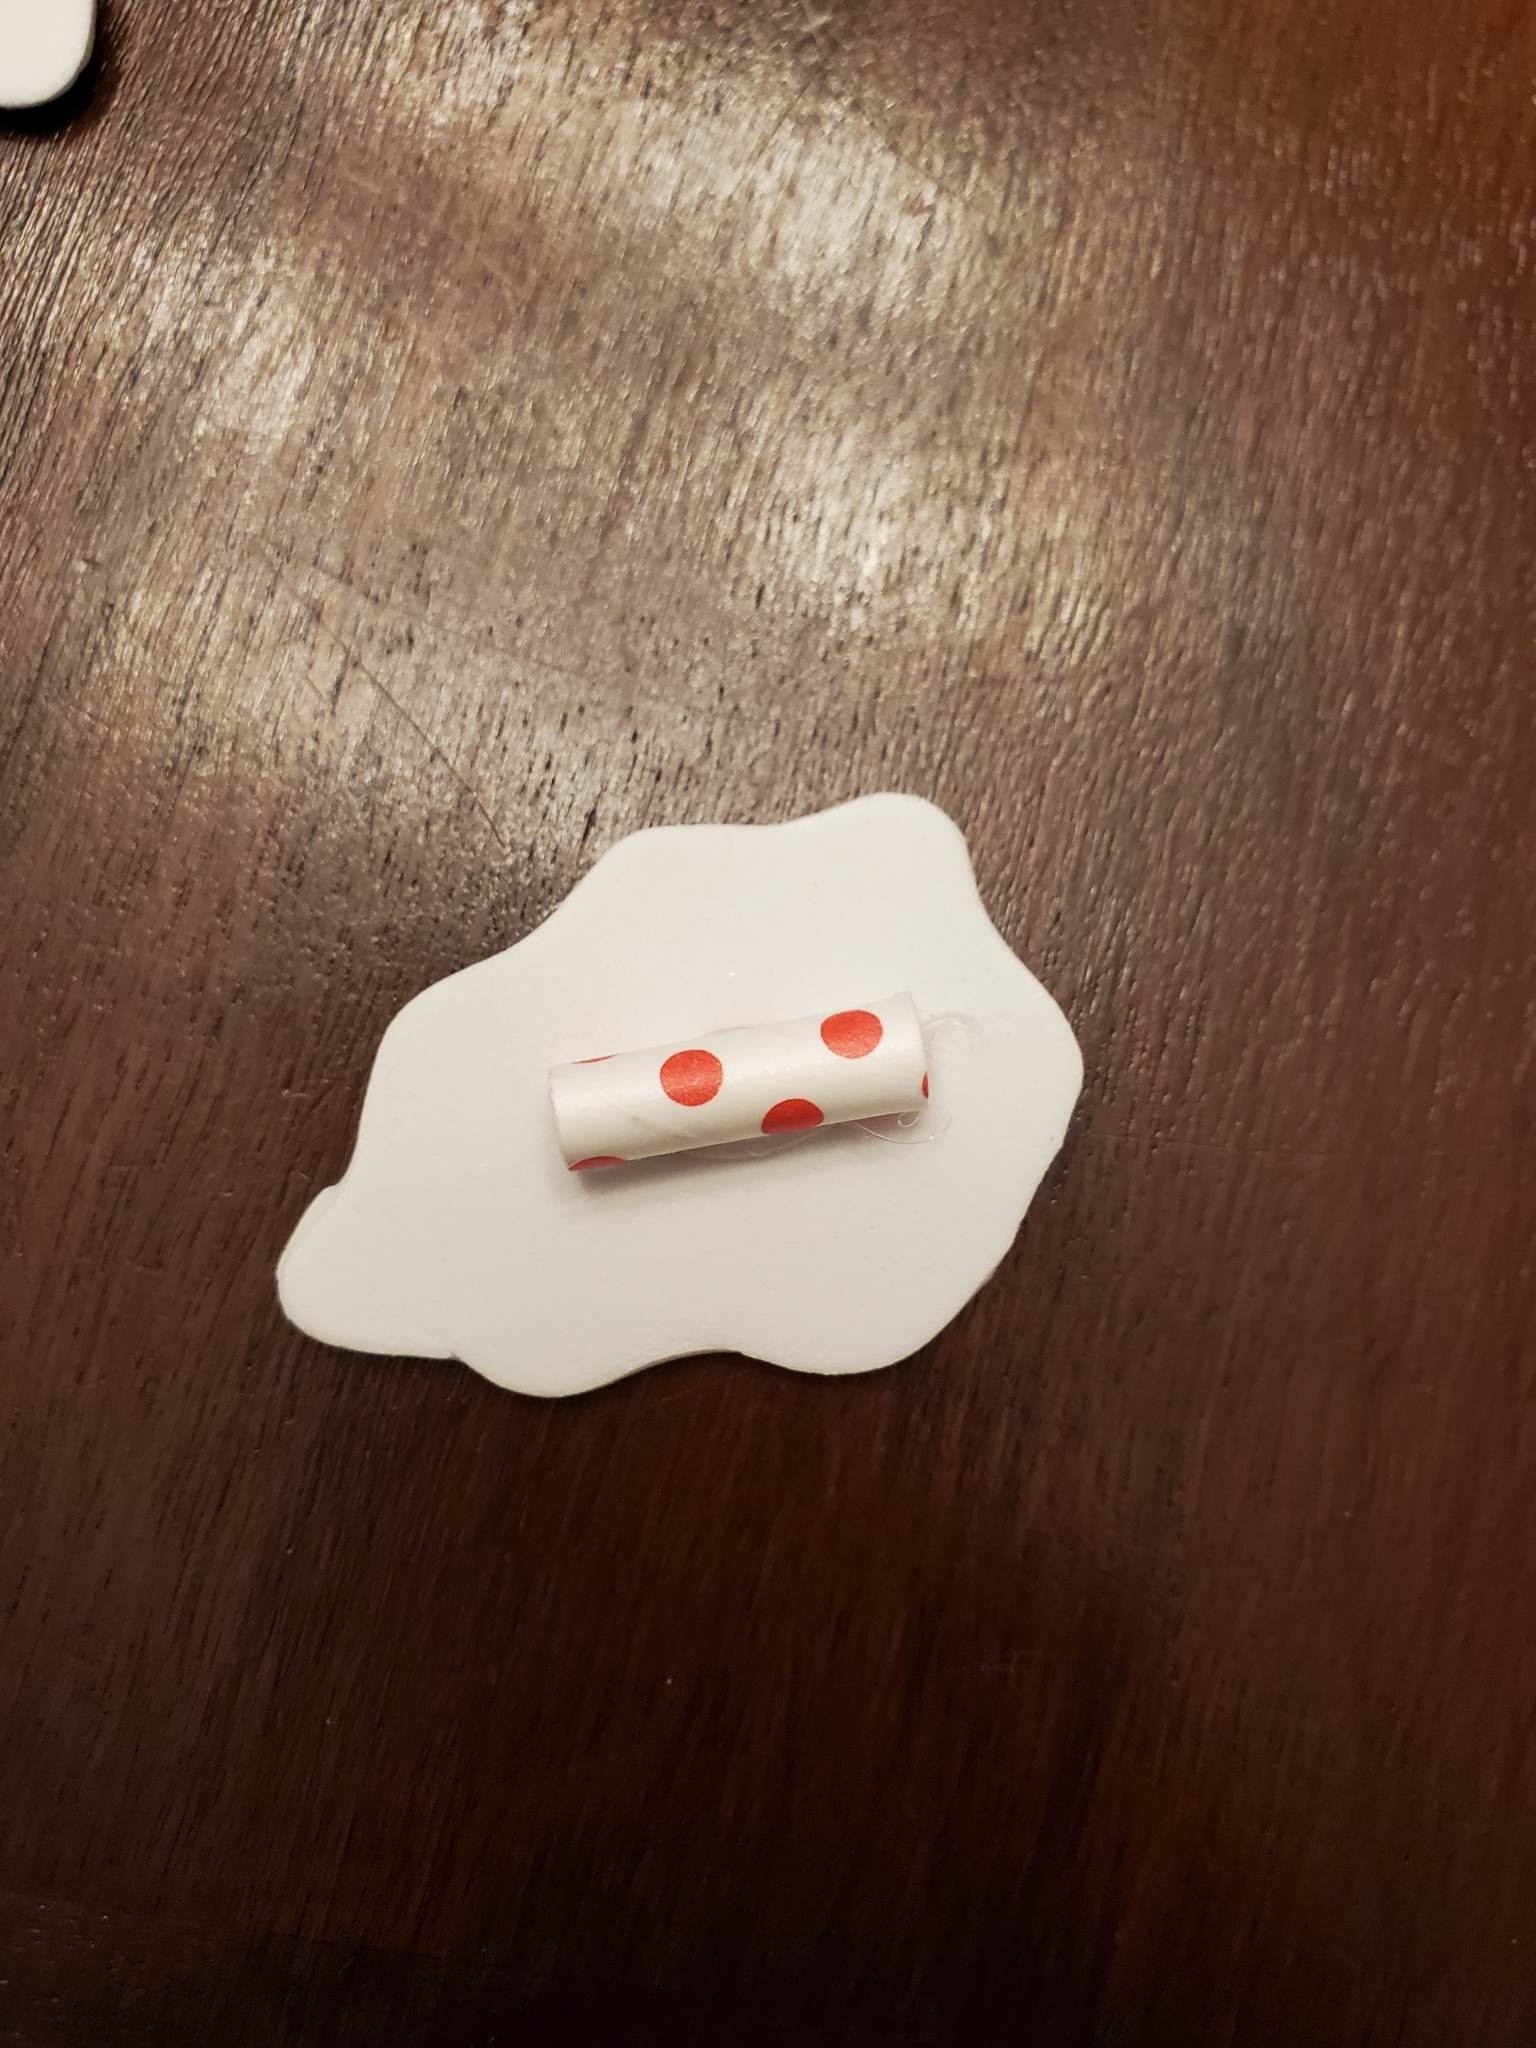
My daughter is always eager to help with the glue gun and this was kinda a great thing for her to help out with because it was very simple gluing over a fairly large surface. We started by making a line of hot glue where the straw would go on one piece of craft foam.
.
Then we squirted glue all over the top of the straw and above and below the straw. The rule was, "don't touch the sides of the straw!" We wanted to keep the openings to the straw nice and clear so it would act like a bead.
.
Last, we chose another piece of foam to sandwich the straw. We wanted to hide the straw in our "popcorn", but again, we didn't smush the sides!
Then we just kept going until we had a little collection of popcorn beads. With 2 of us working together, this didn't take that long! With our popcorn and cranberries prepared, we called it a night.
Here is PART 2:
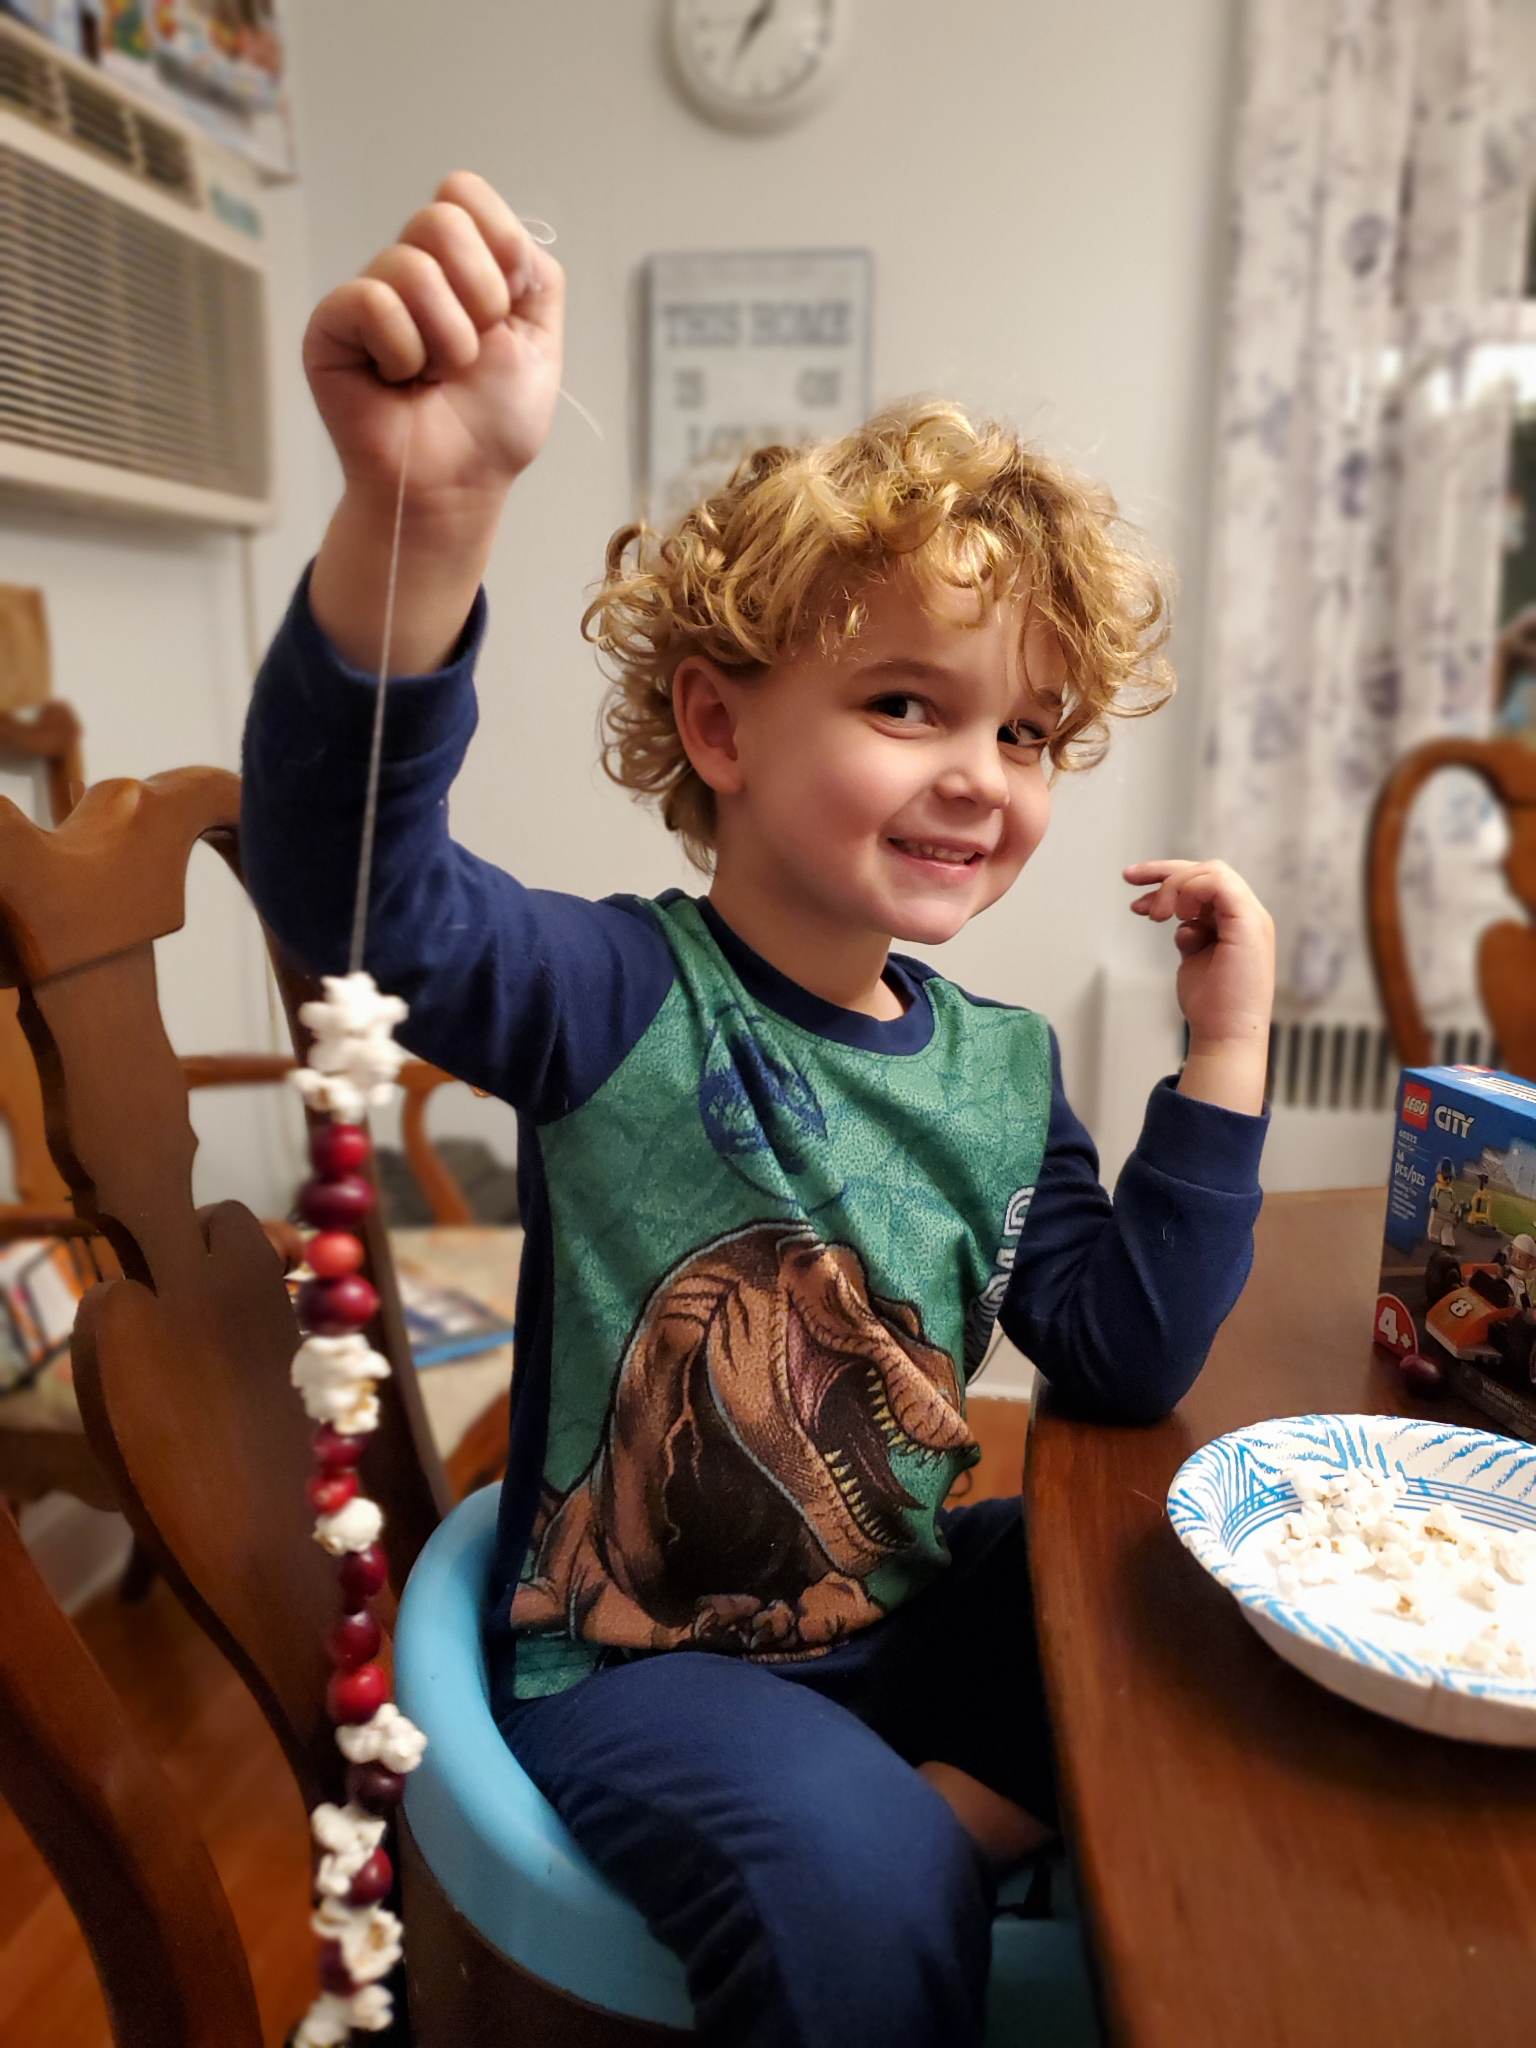
Then, the next day, it was time to string out beads. This was a really easy and fast part of the activity, and the differences from doing a needle and thread with real popcorn and cranberries were so obvious! Because we used lacing string (with aglets, the plastic part like at the end of a shoelace), there was no need to use a needle (so no rethreading!) This meant my daughter could work independently. My son still needed help, but could enthusiastically string the beads if I held the aglet for him! If you do not have lacing string, consider yarn or rope with tape wrapped around the end.
And then we tied a knot and all that was left to do was to hang it on our tree!
I may biased, but I think its really beautiful! I was expecting the outcome to be a bit childish, but the garland sparkles in the lights and we were all really proud of it! When I asked my daughter what to name this tutorial, she said "Berries in the Snow Garland" and I thought, with our oversized popcorn and glistening berries, that was a great name!
If you and your family make a garland with the kiddos in your life, be sure to share it with us on Instagram or in our Facebook group! We cannot WAIT to see what you create!
-Meg