
Posted by Meg Hess on 5th Jan 2022
Grammie's Christmas Card Upcycle and Memory Book
When I was little, the gift tags attached to my Christmas presents were always really special. They were cut up pictures from last year's Christmas cards! My Grammie started this tradition in our family, but now my mom and I make our Christmas gift tags every year in January for the next year. It has become such a fun way to honor our love of this special correspondence over the Christmas season while not wasting the cards!
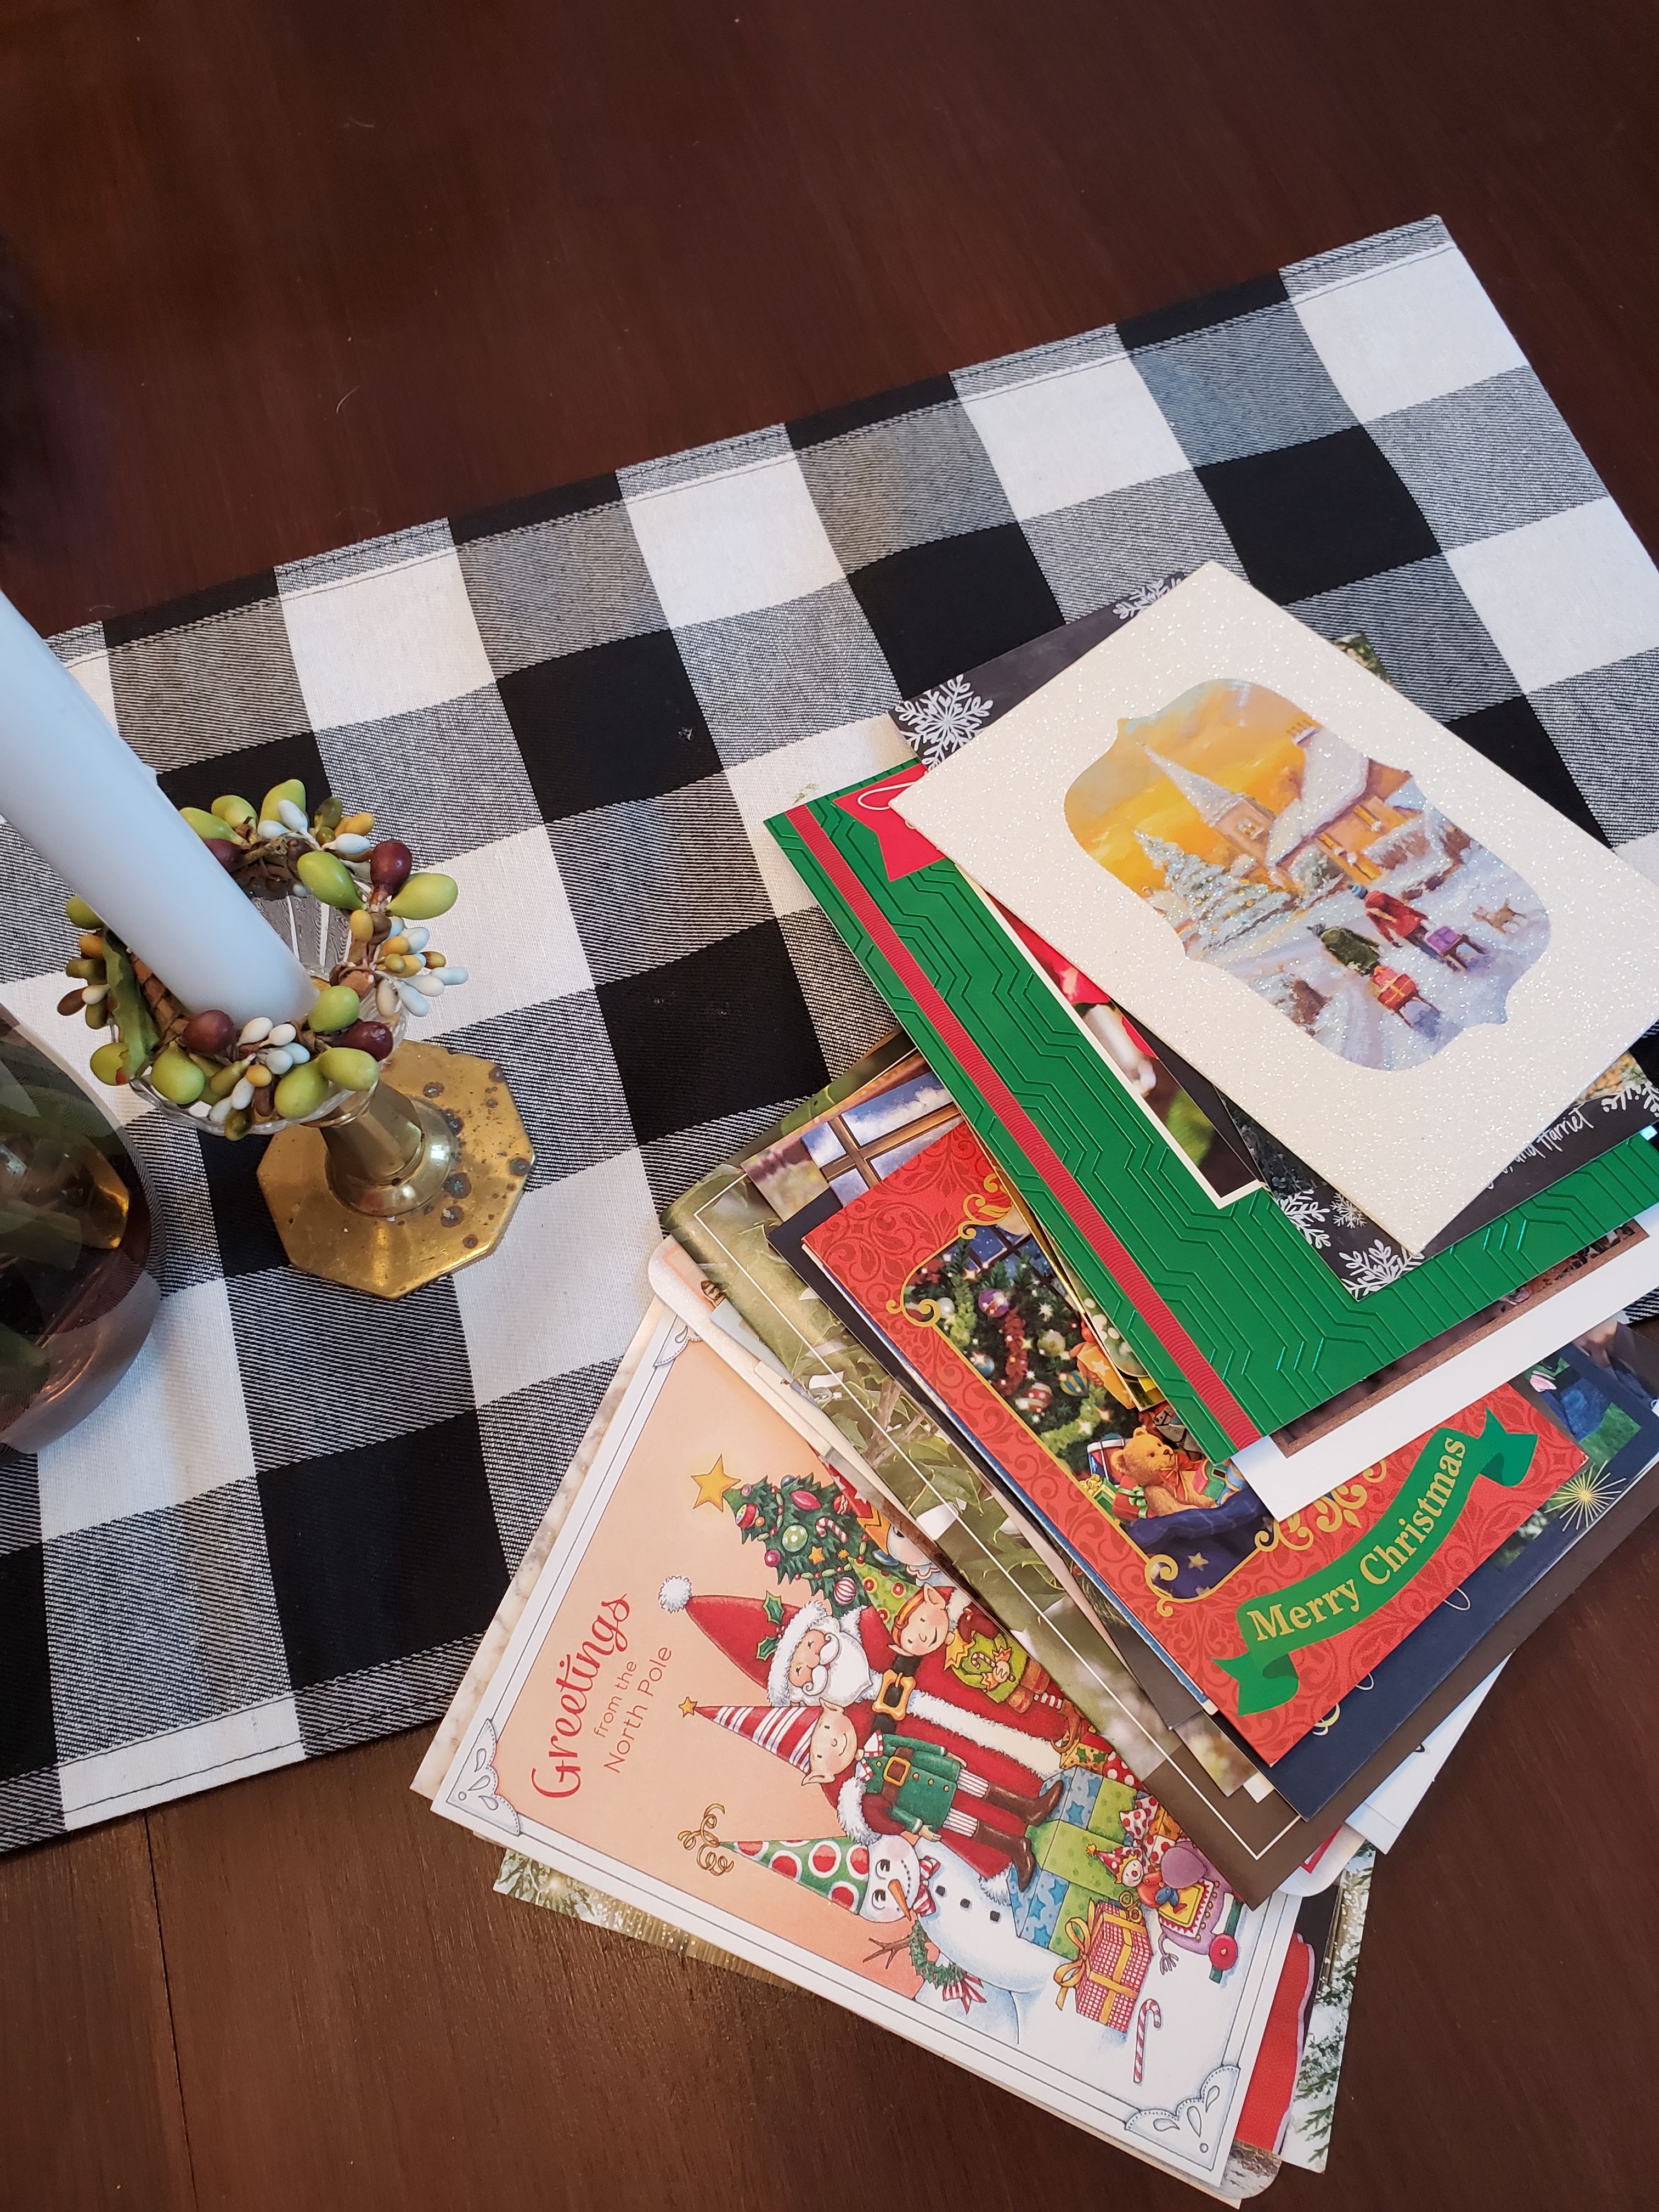
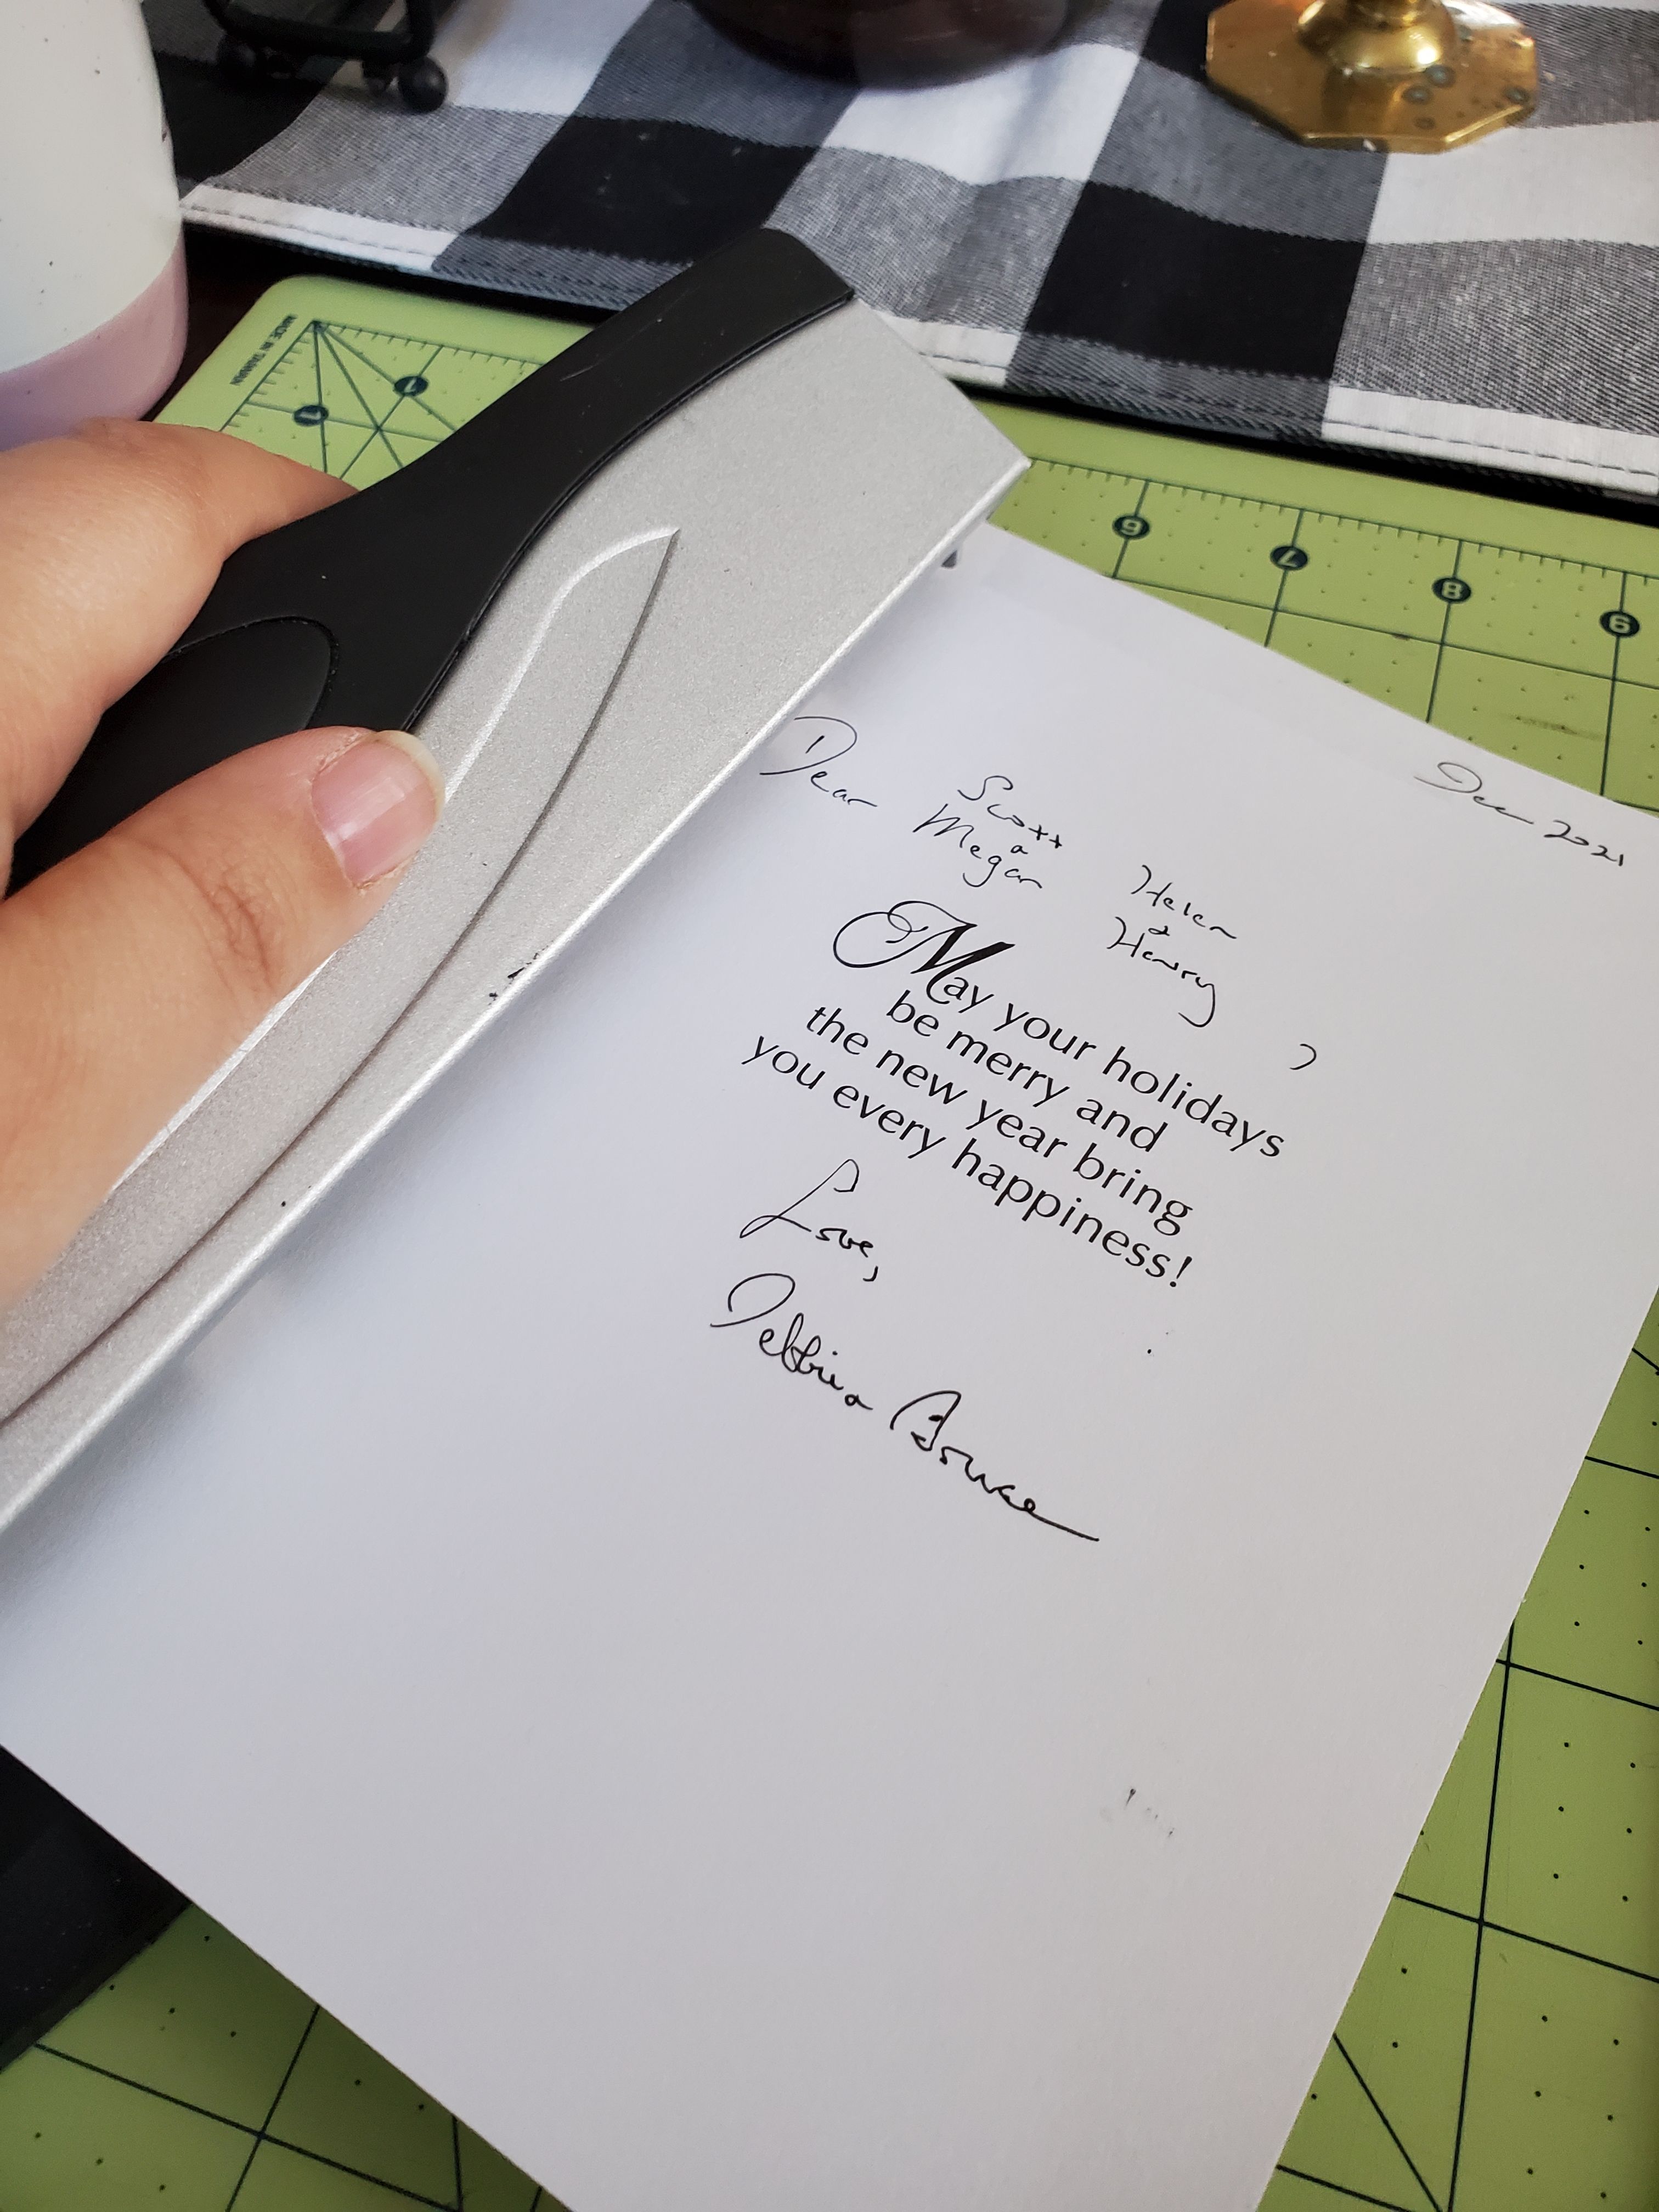
This year, I noticed that we got mostly picture cards from friends and loved ones. I was reminded of the years we have spent apart from people we care about and these picture cards now more than ever held special meaning to me. I wanted to create a way to save these special cards so I could look back on them and see kids who grew up and families that grew. Just as pictures have become special to me this year, signatures also hold a special meaning. I love looking at the familiar loopy handwriting of my Grammie, which is so distinct that my daughter now looks at the envelopes and says, "This one is from Grammie!" And I think about the box of cards in my attic that is filled with my Nana's slanty signature and Bible quotes. It's all special, is what is true!
So, my new year tradition changed a little this year and I wanted to share both ideas here!
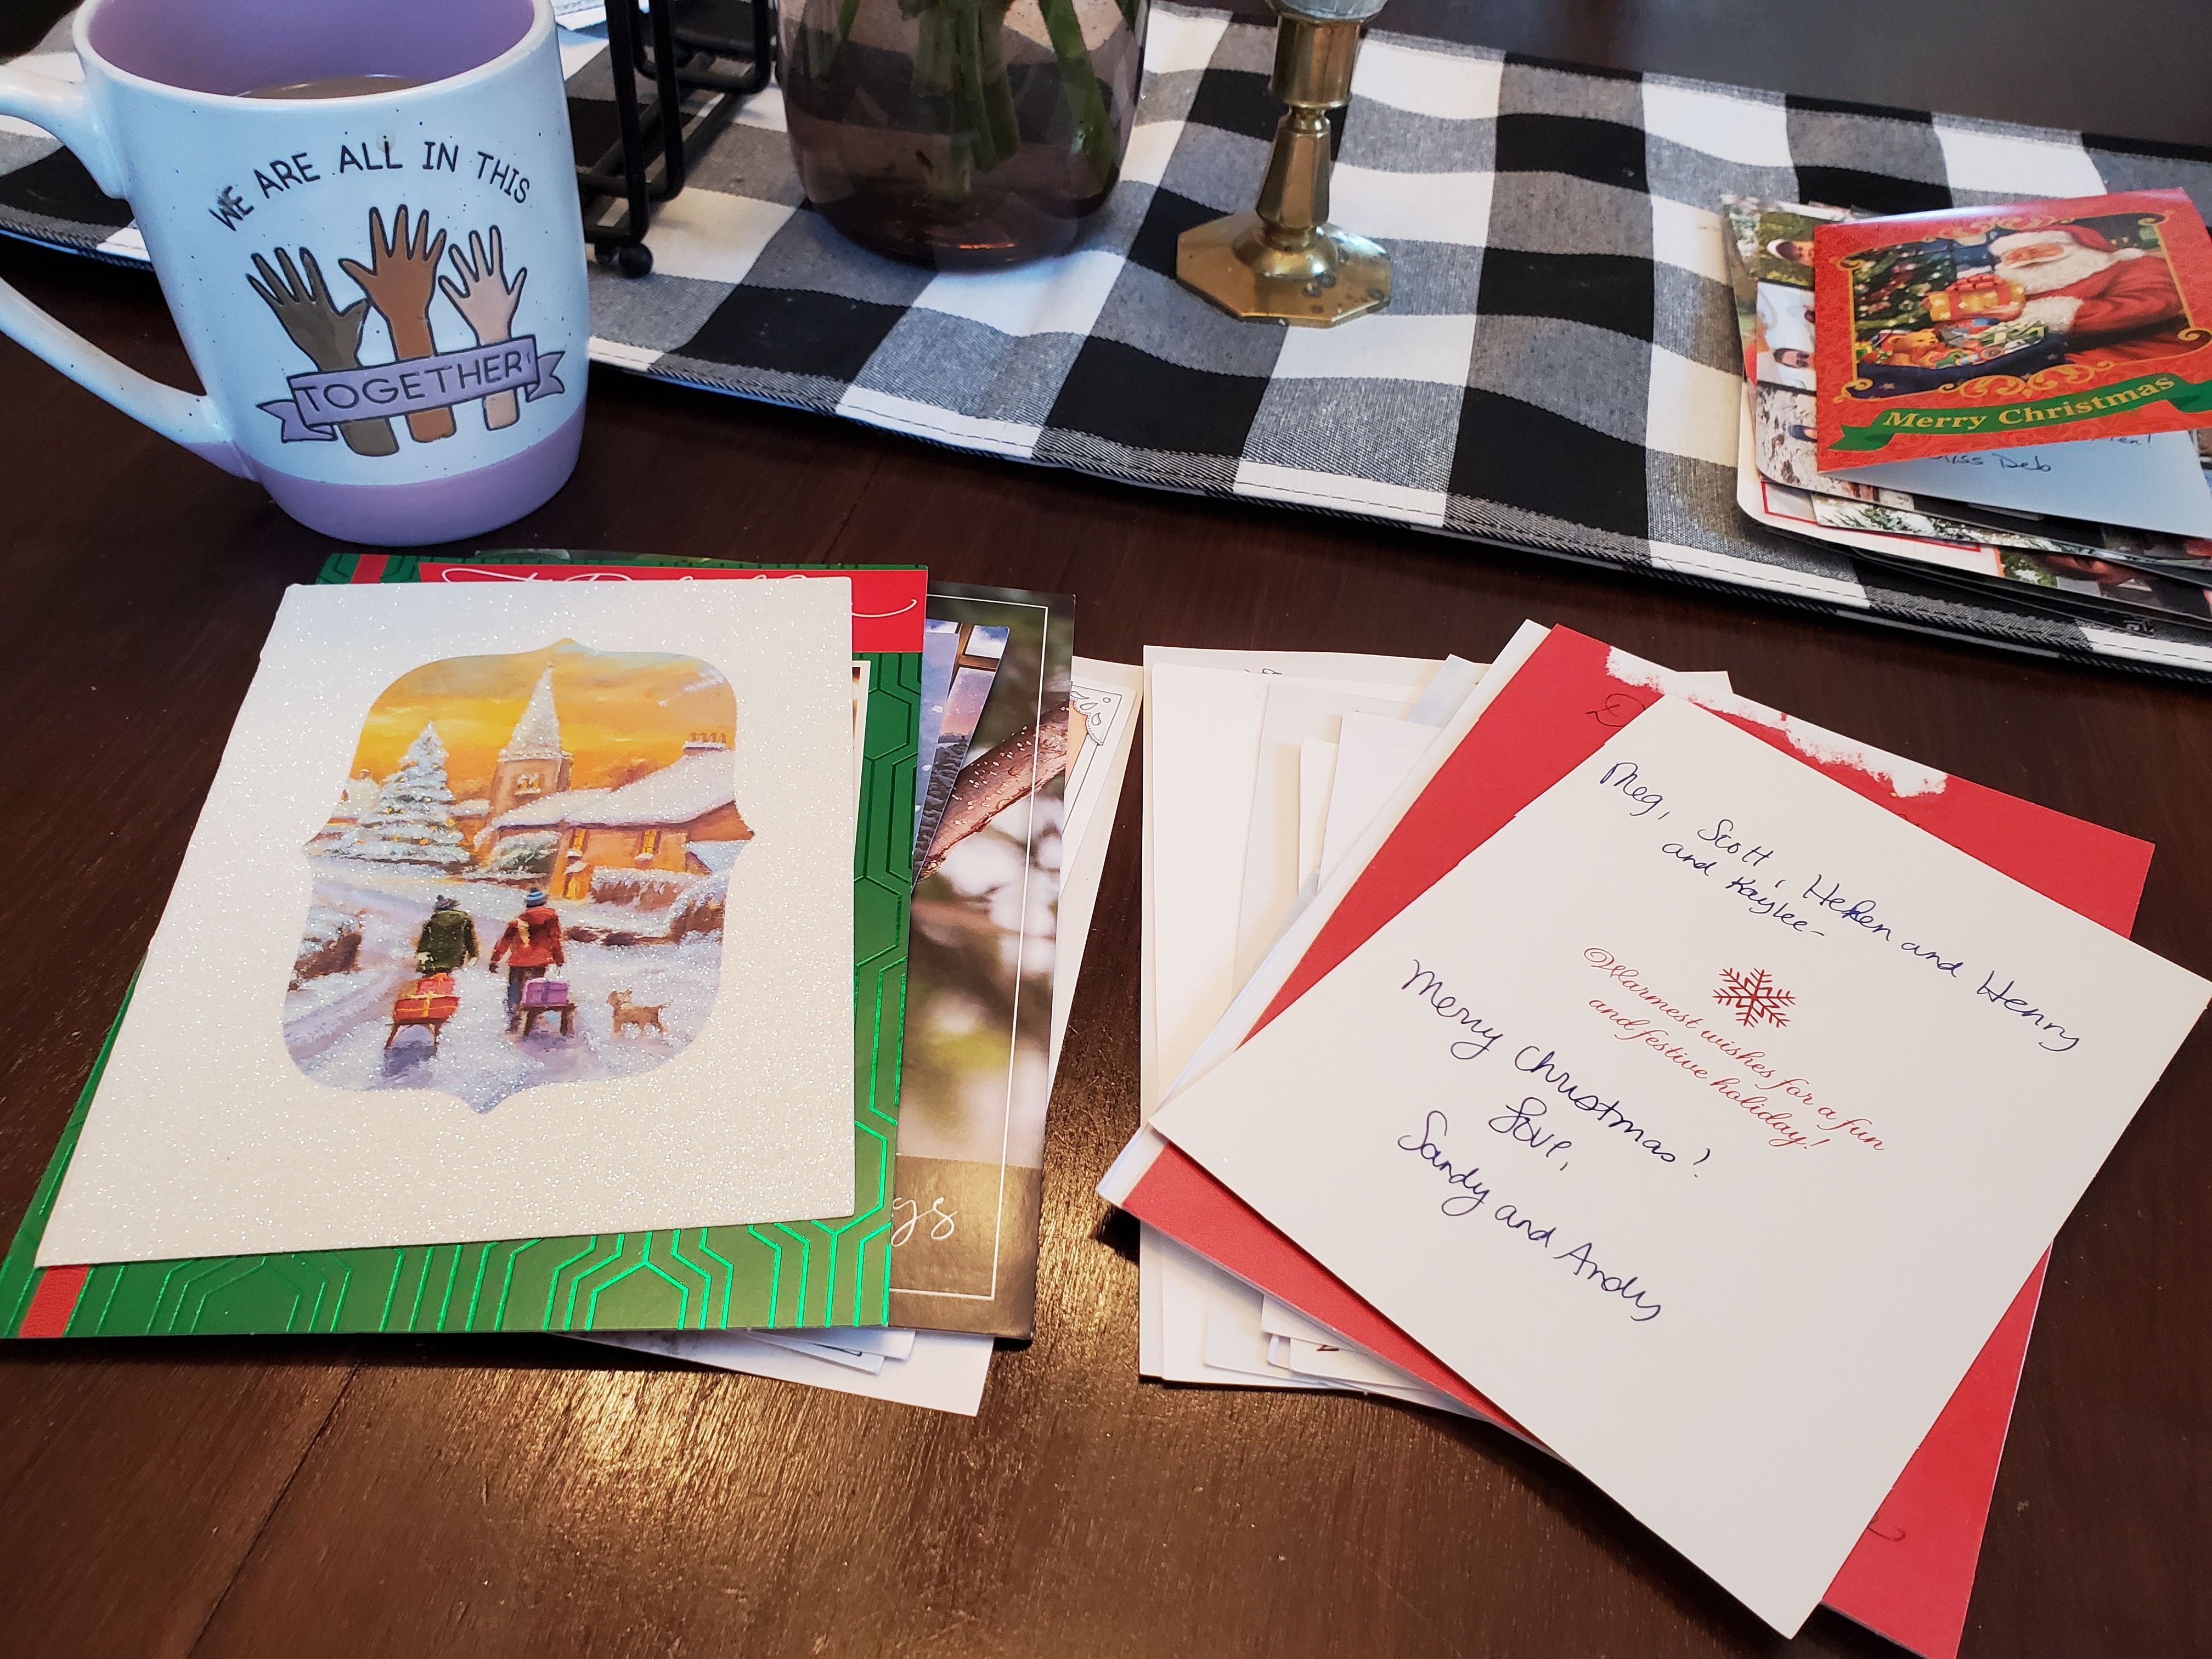
First, let's make some gift tags! Any traditional Christmas cards I received this year, I cut down the center. I put the colorful front part of the card in one pile and the signature side in the other. The signature side will be added to my holiday memory book.
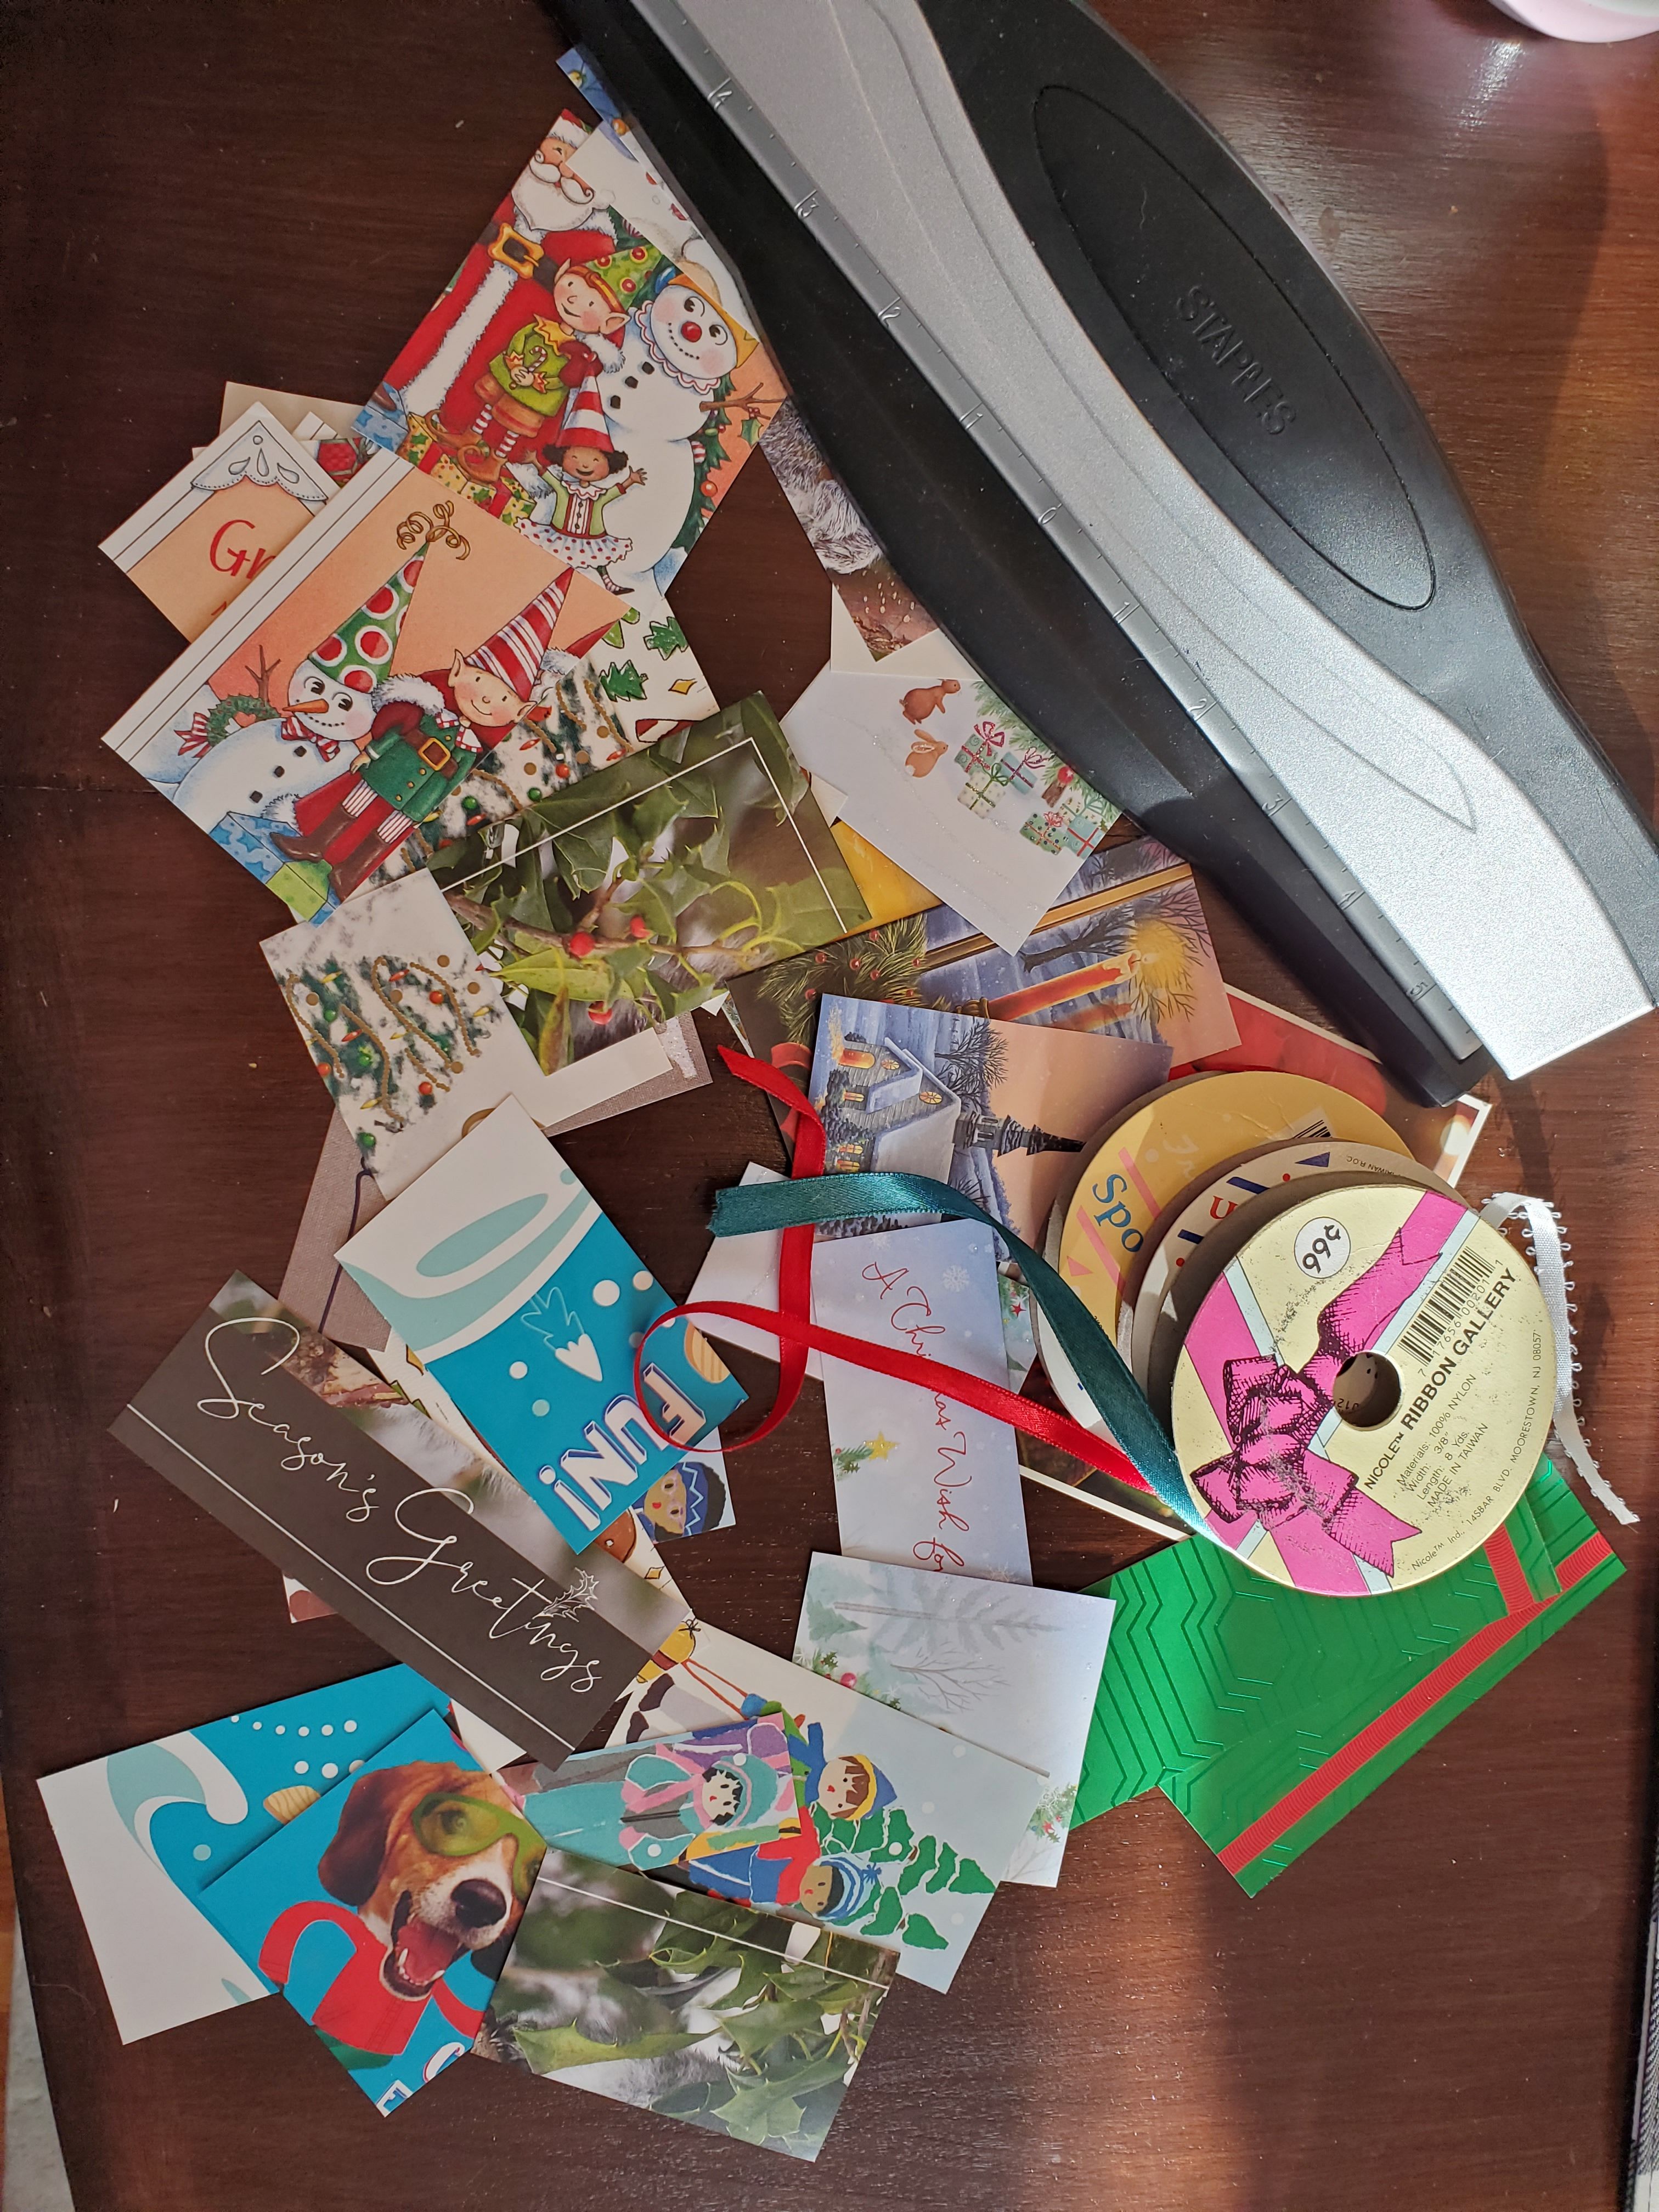
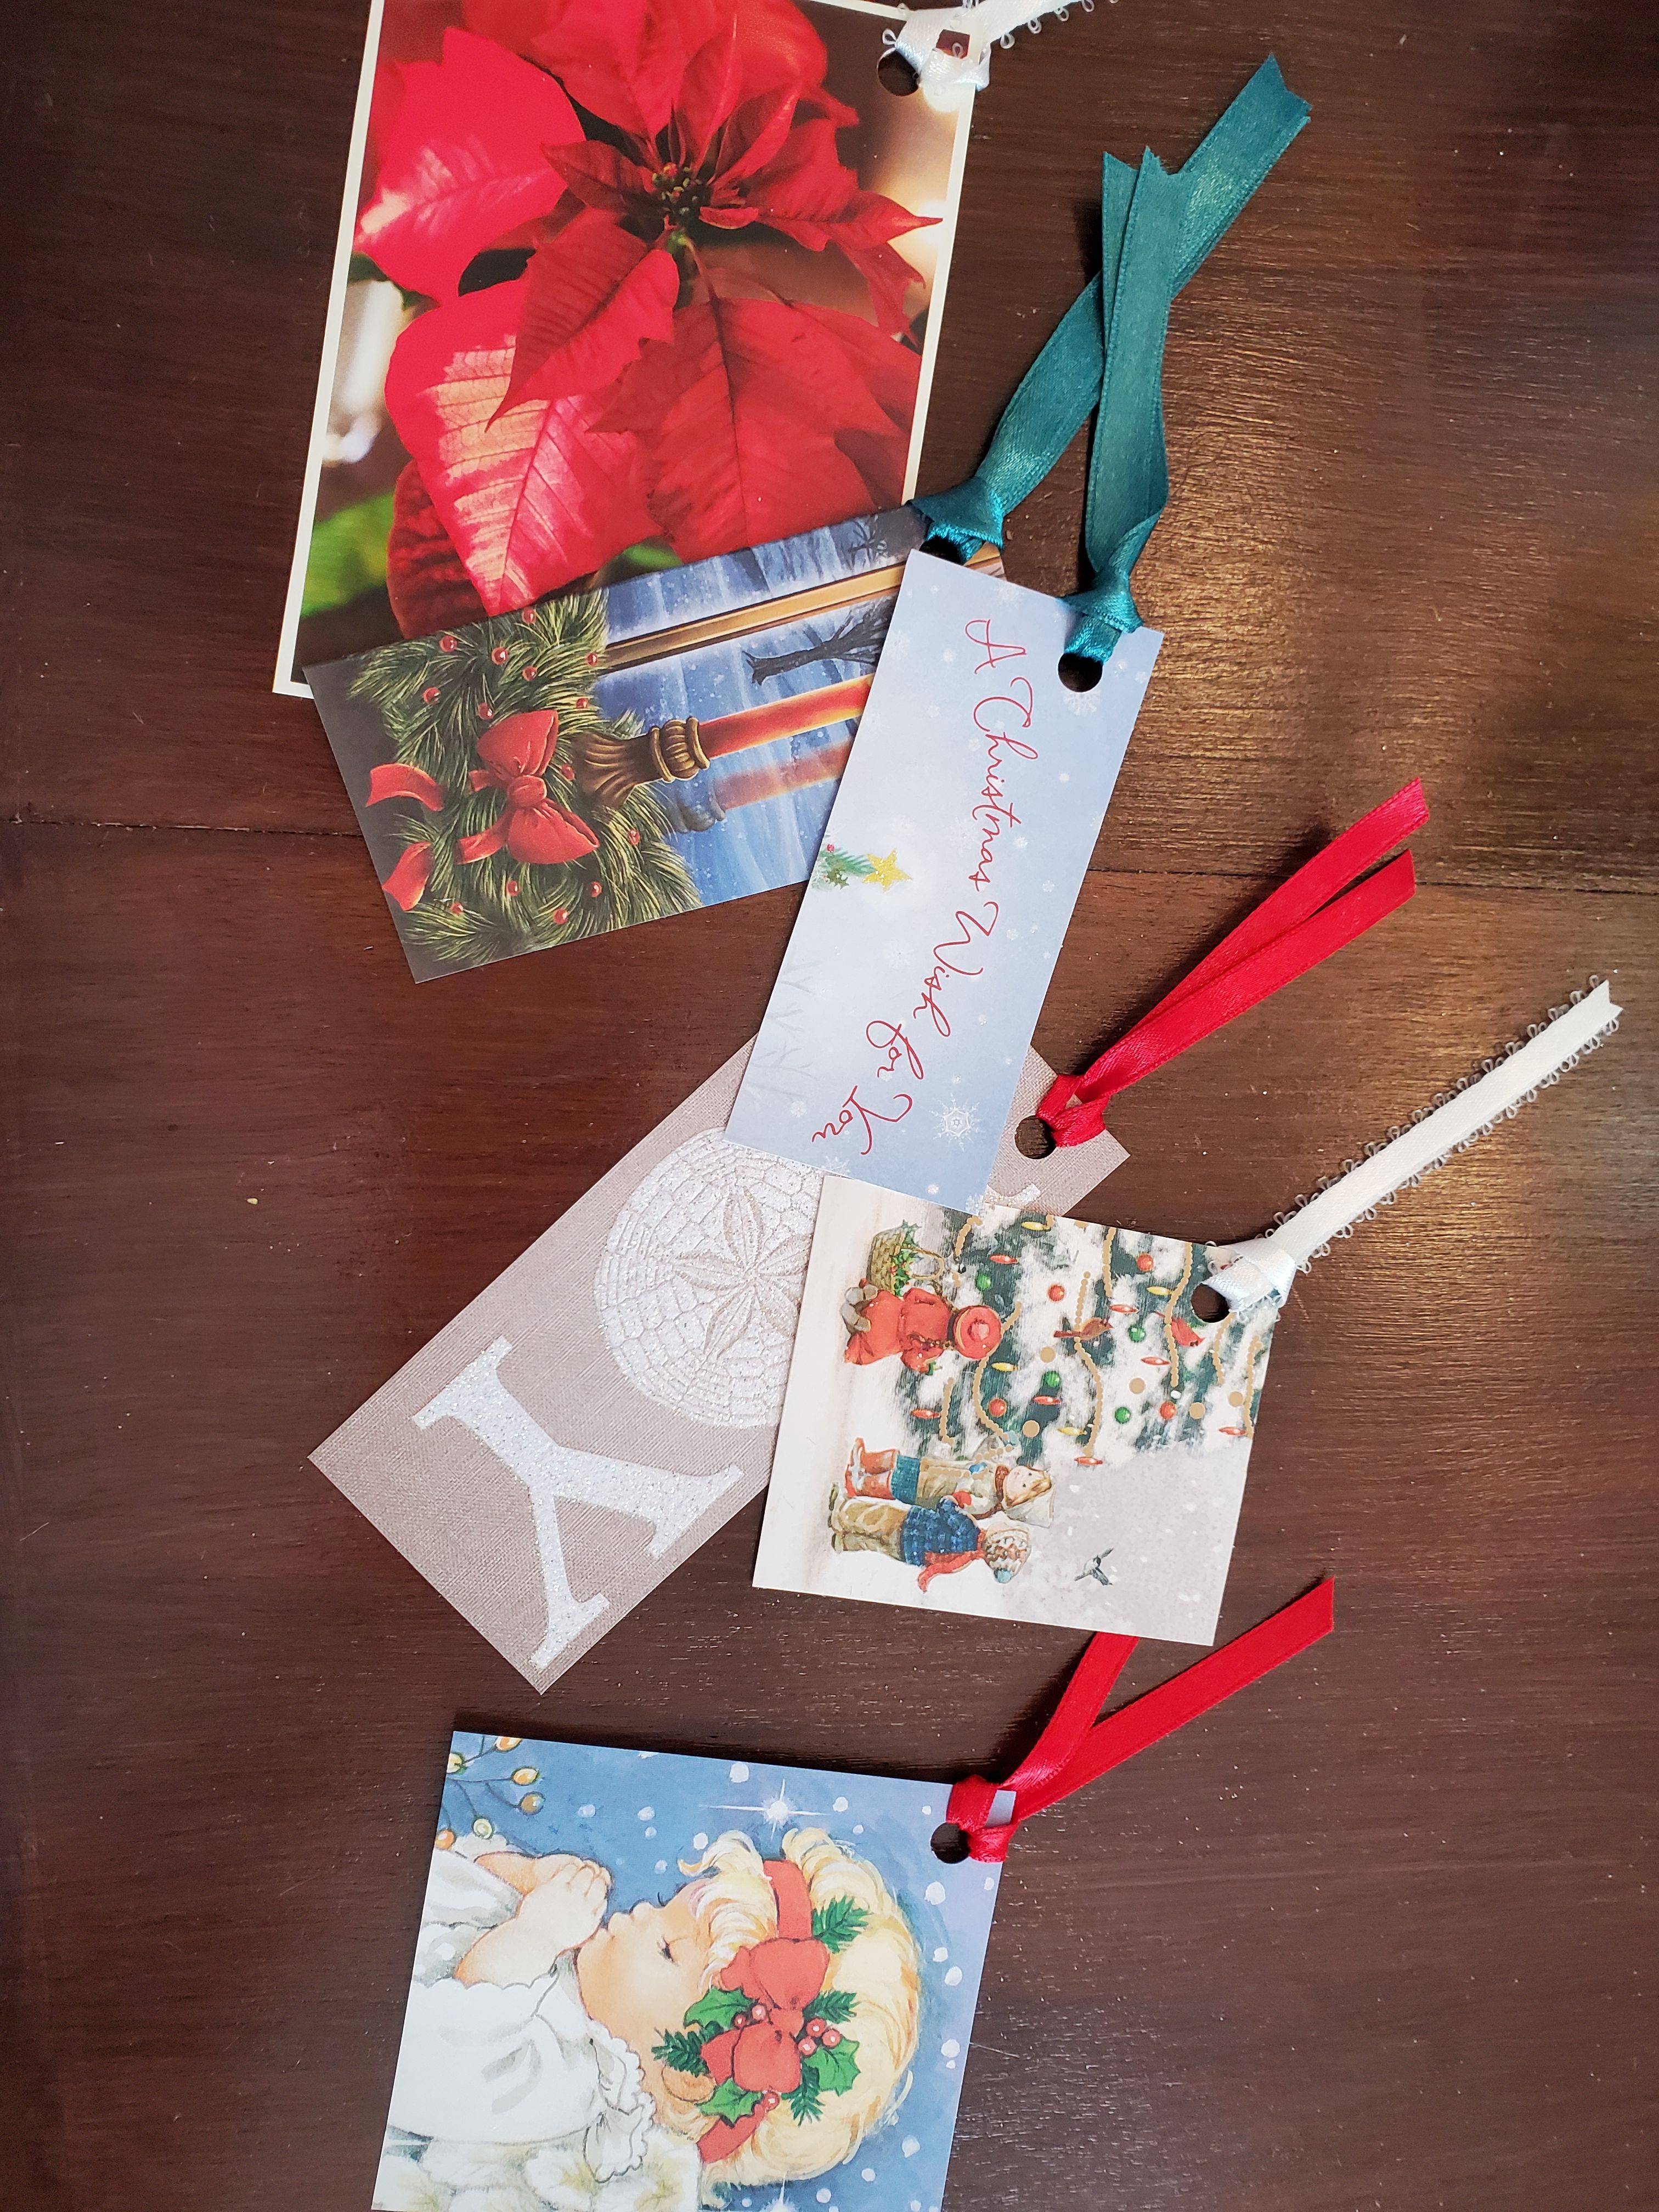
The pictures from the front of the card can now be turned into gift tags! There isn't really a wrong way to do this. I typically just cut out the pictures or designs into small rectangles. They vary in size depending on the picture and card. From there, I grab whatever ribbon I have on hand (This year, I had red, white, and a bluish green), punch a hole in the corner of each tag, and tie the ribbon on. My mother likes to cut around the images, so that the gift tag may be snowman shaped or church shapes. My grandmother likes to fold her little rectangles.
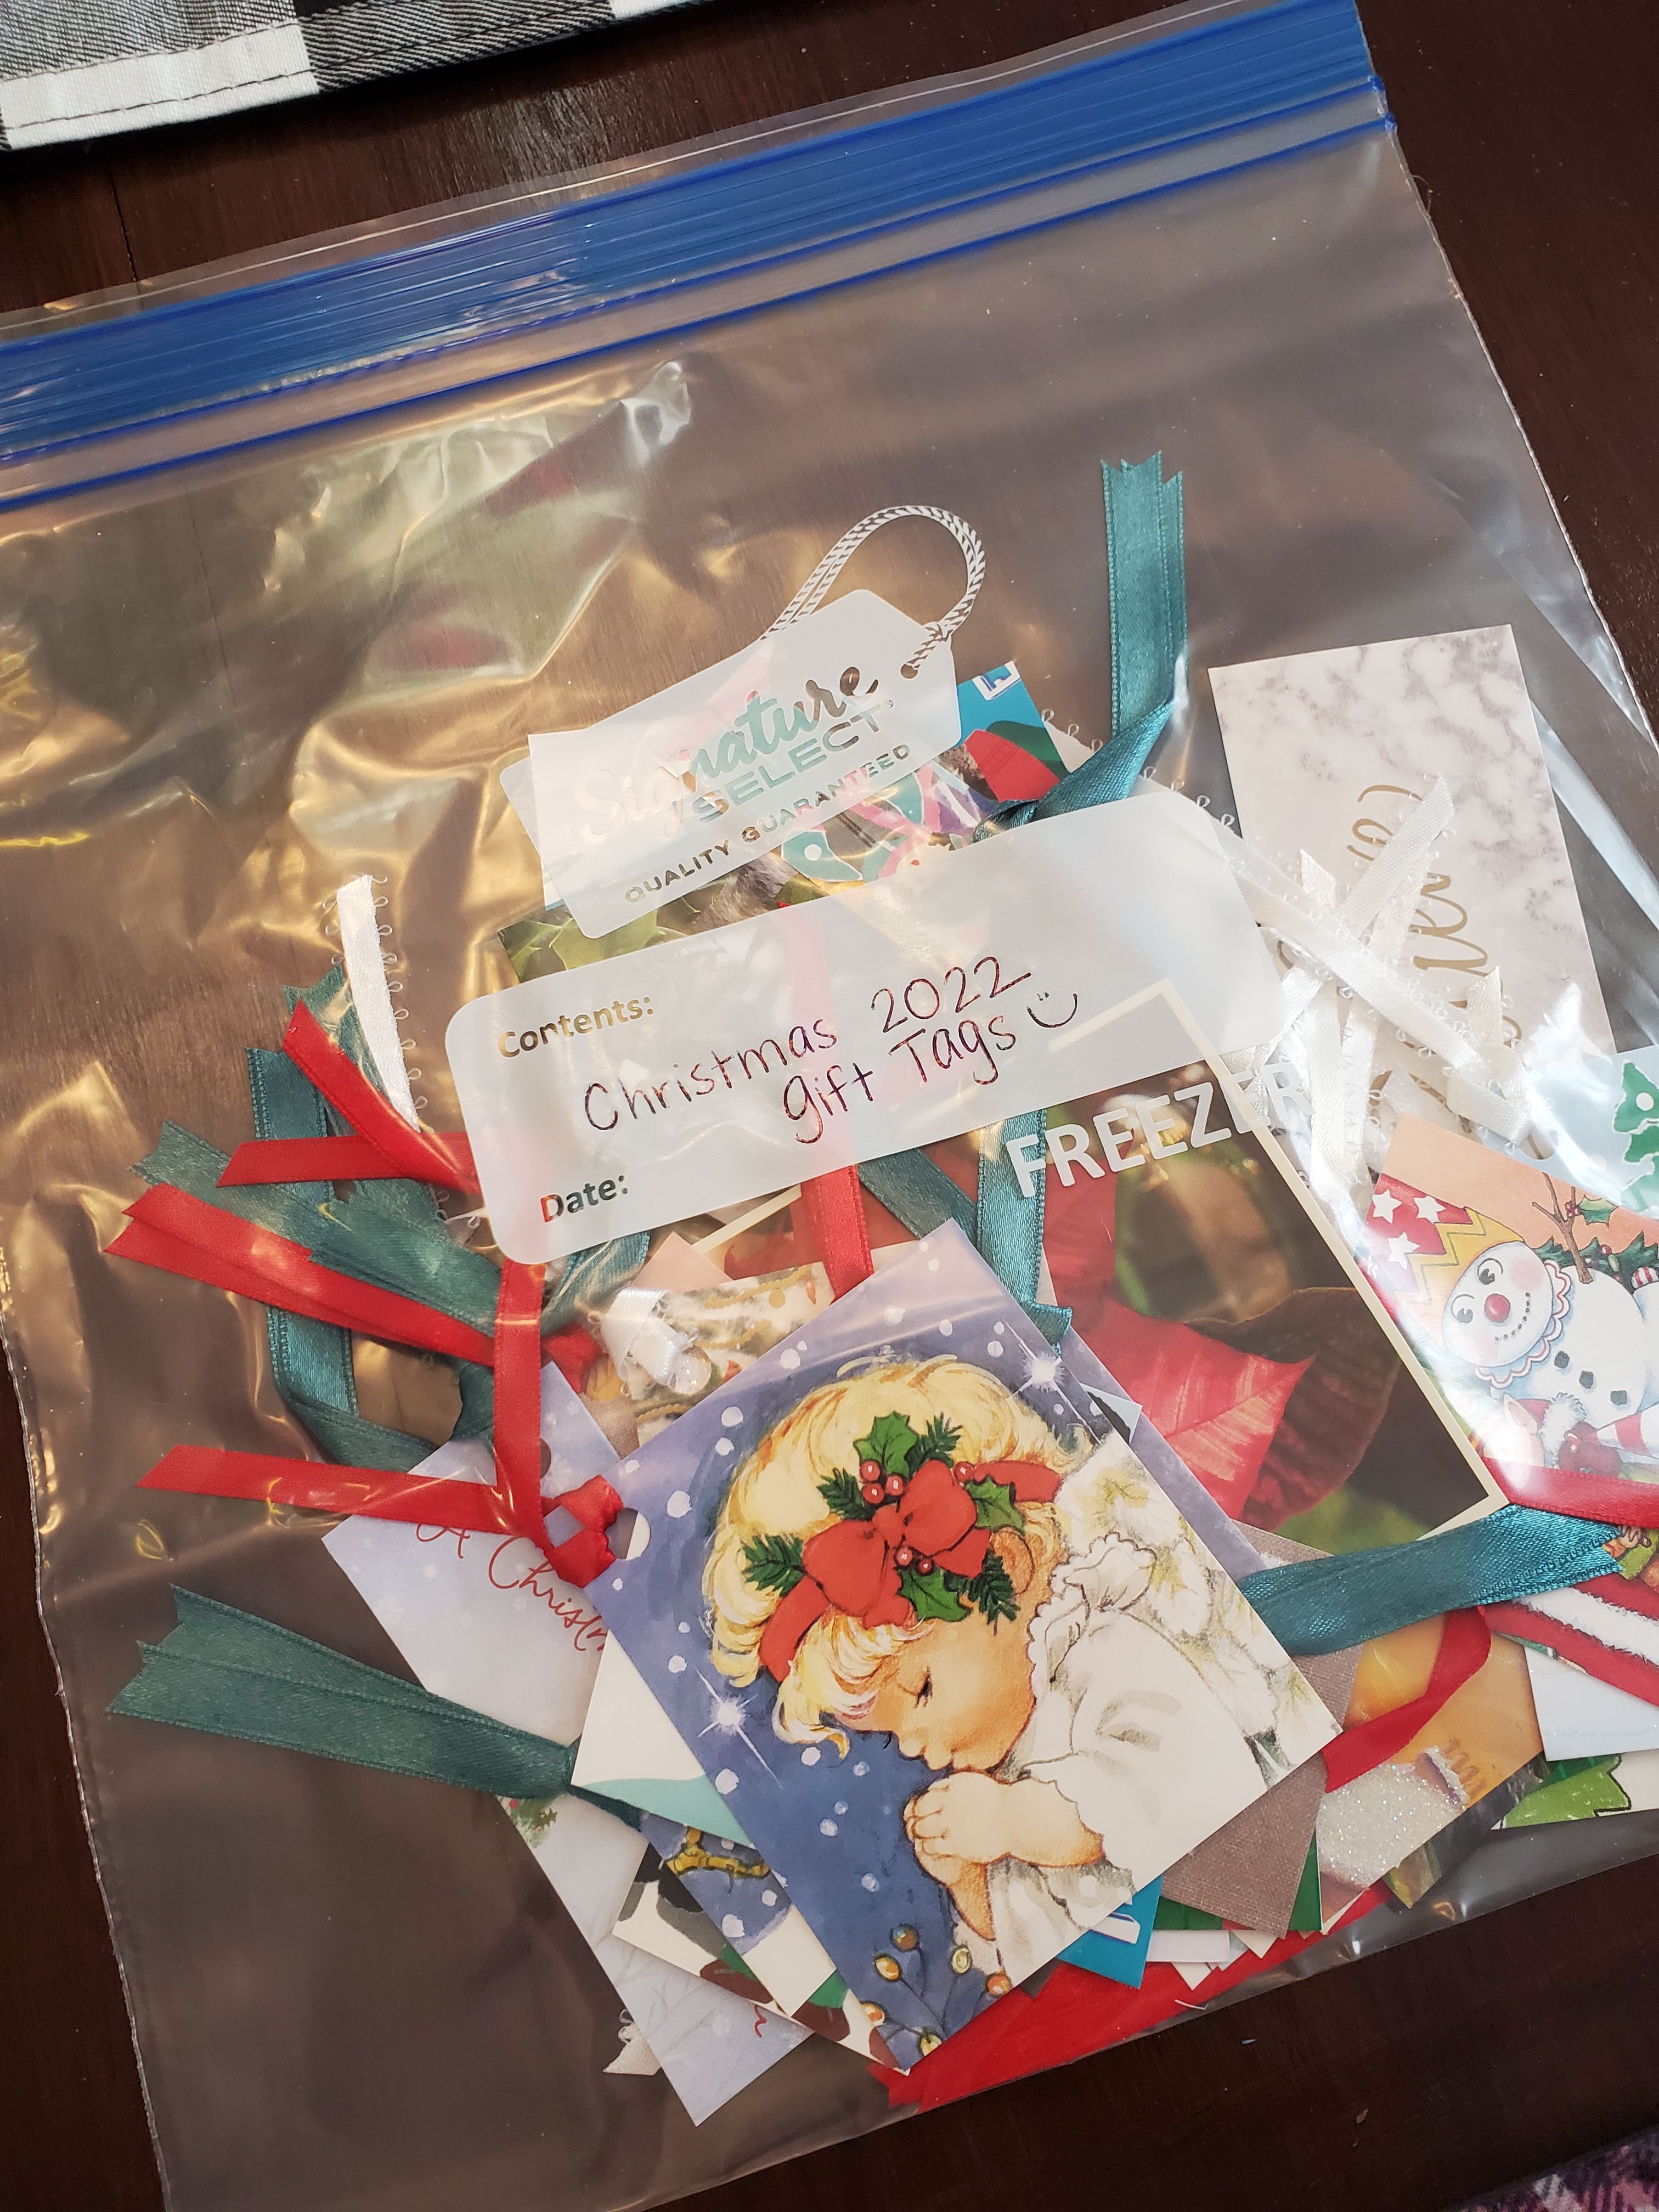
Then I put the completed tags in a baggy and put them in the same box as my Christmas ornaments, so they come down from the attic next year early in the season, ready for wrapping!
Okay, so now for the Memory Book to store those precious signatures and picture cards!
There are a lot of ways to make this book, but this was how I assembled mine and it worked really well!
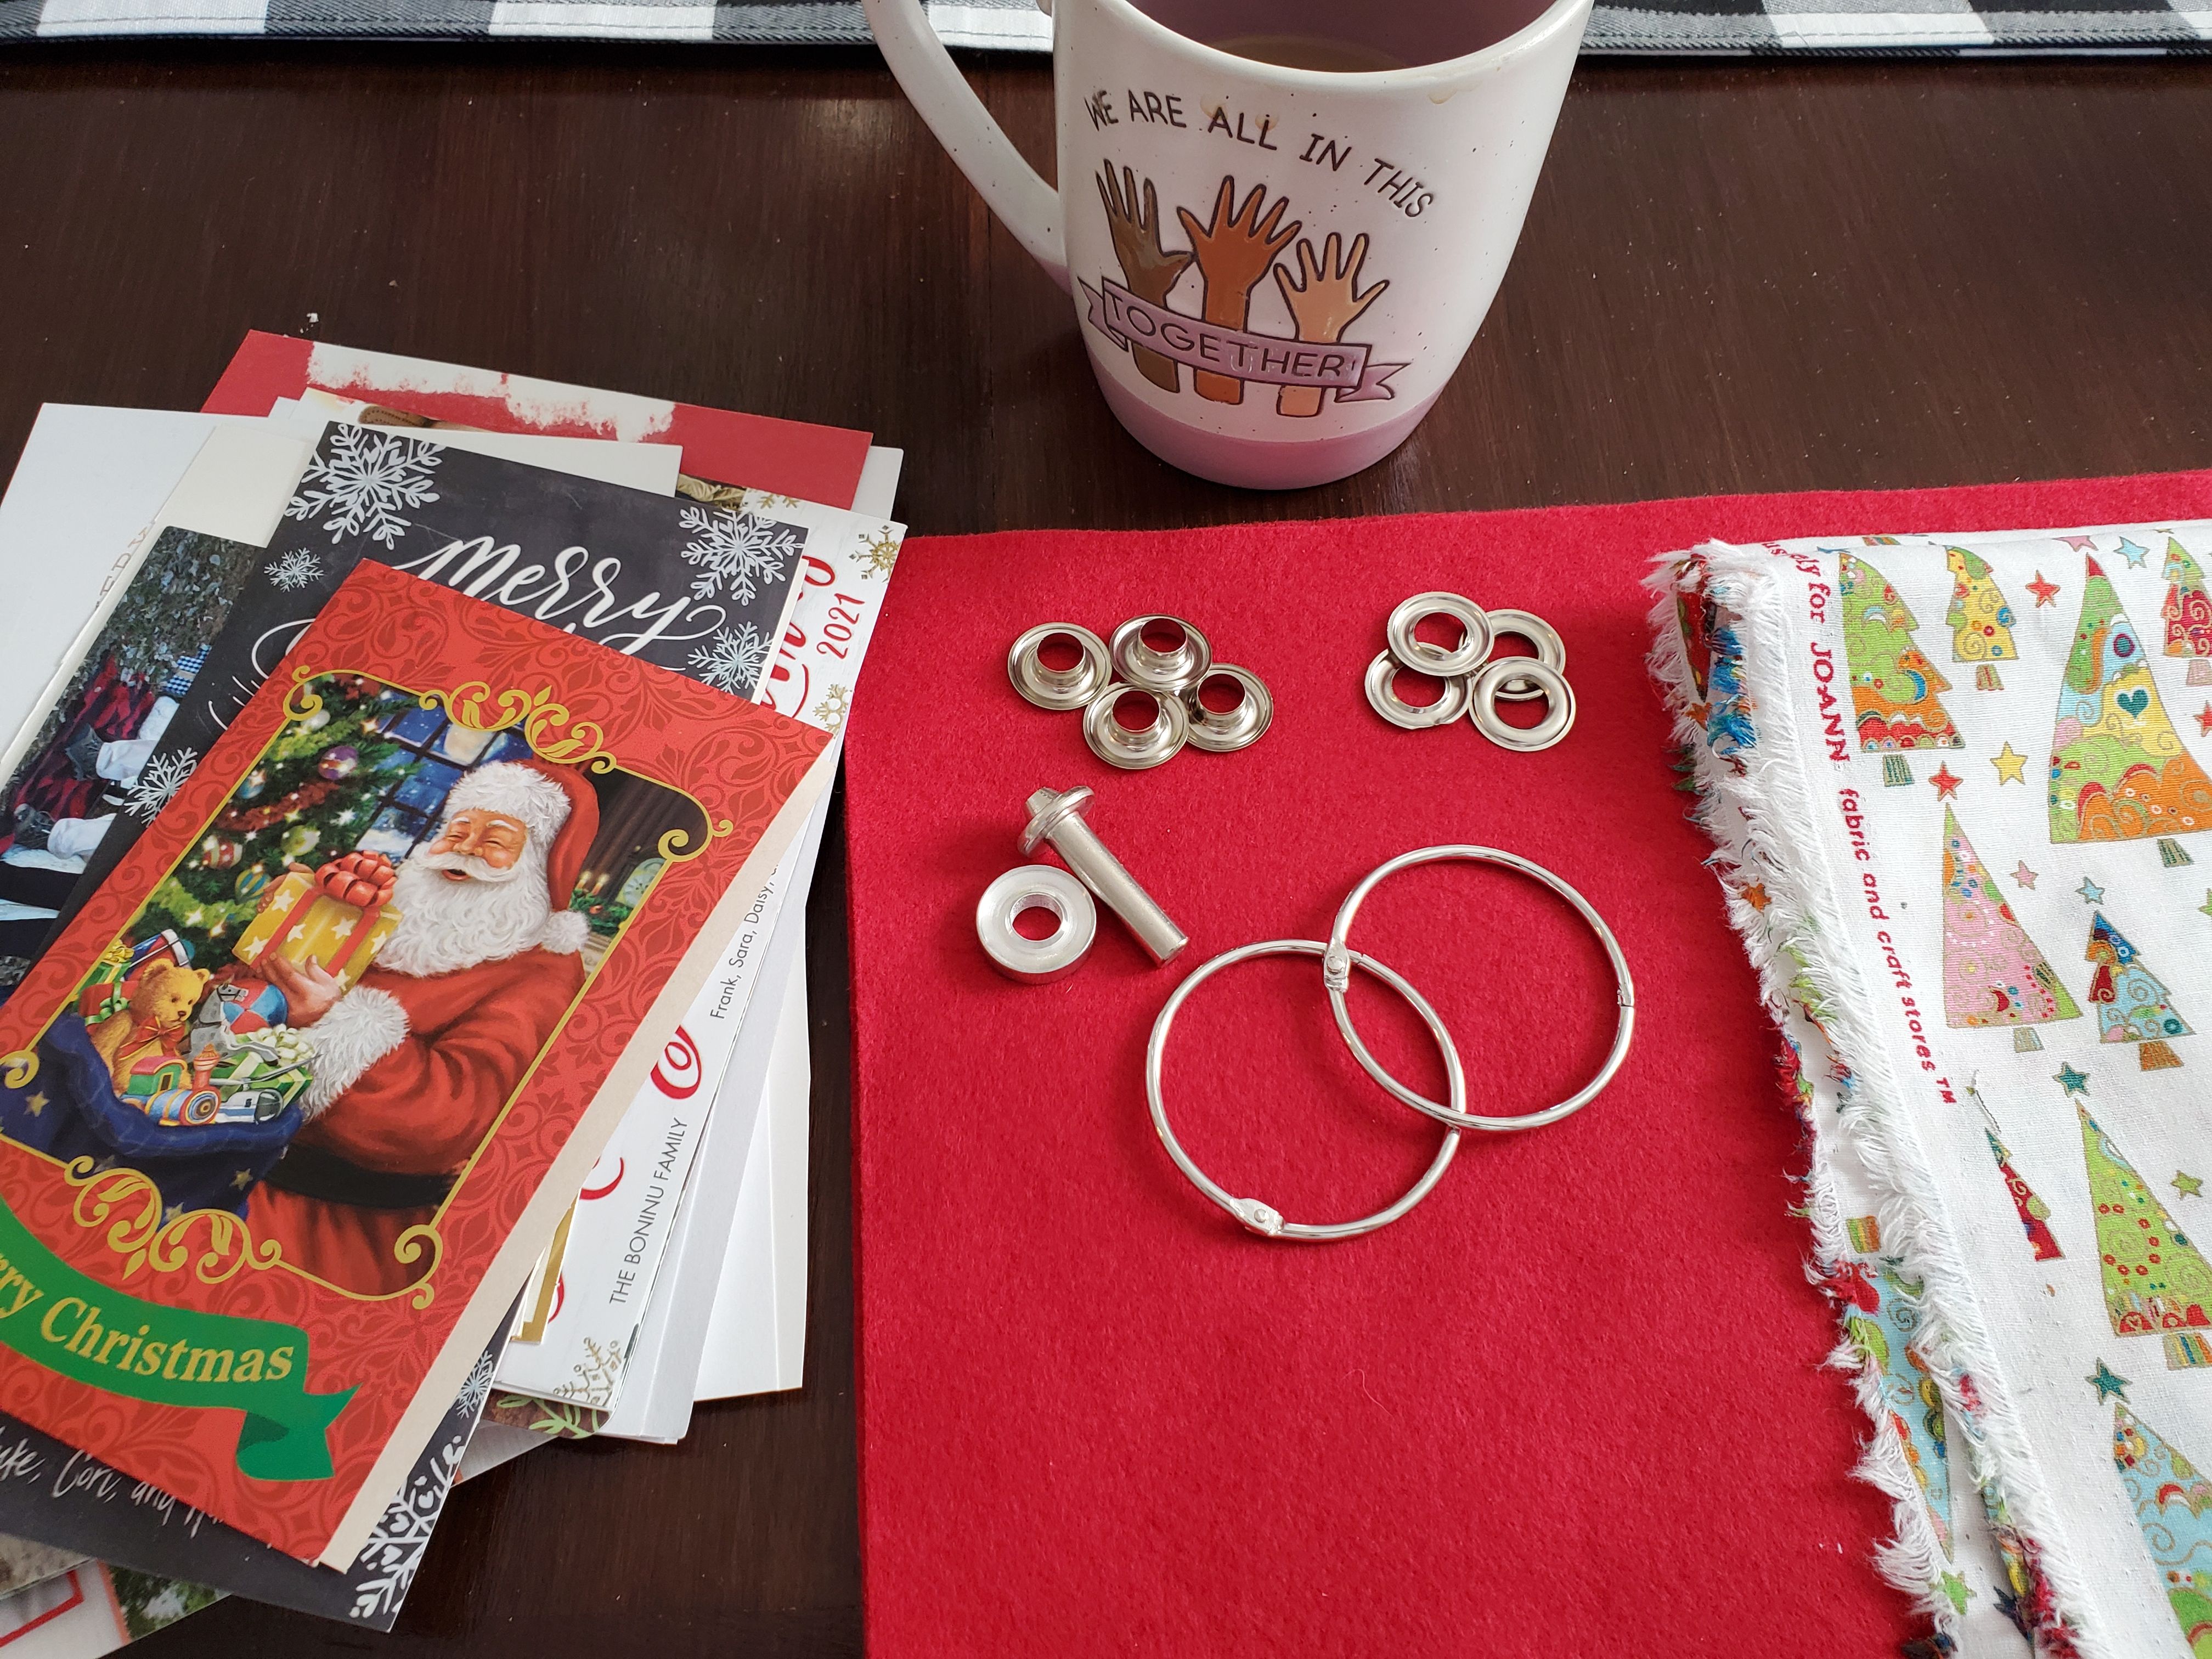
For materials:
- 2 pieces of craft felt
- Scrap Christmas fabric
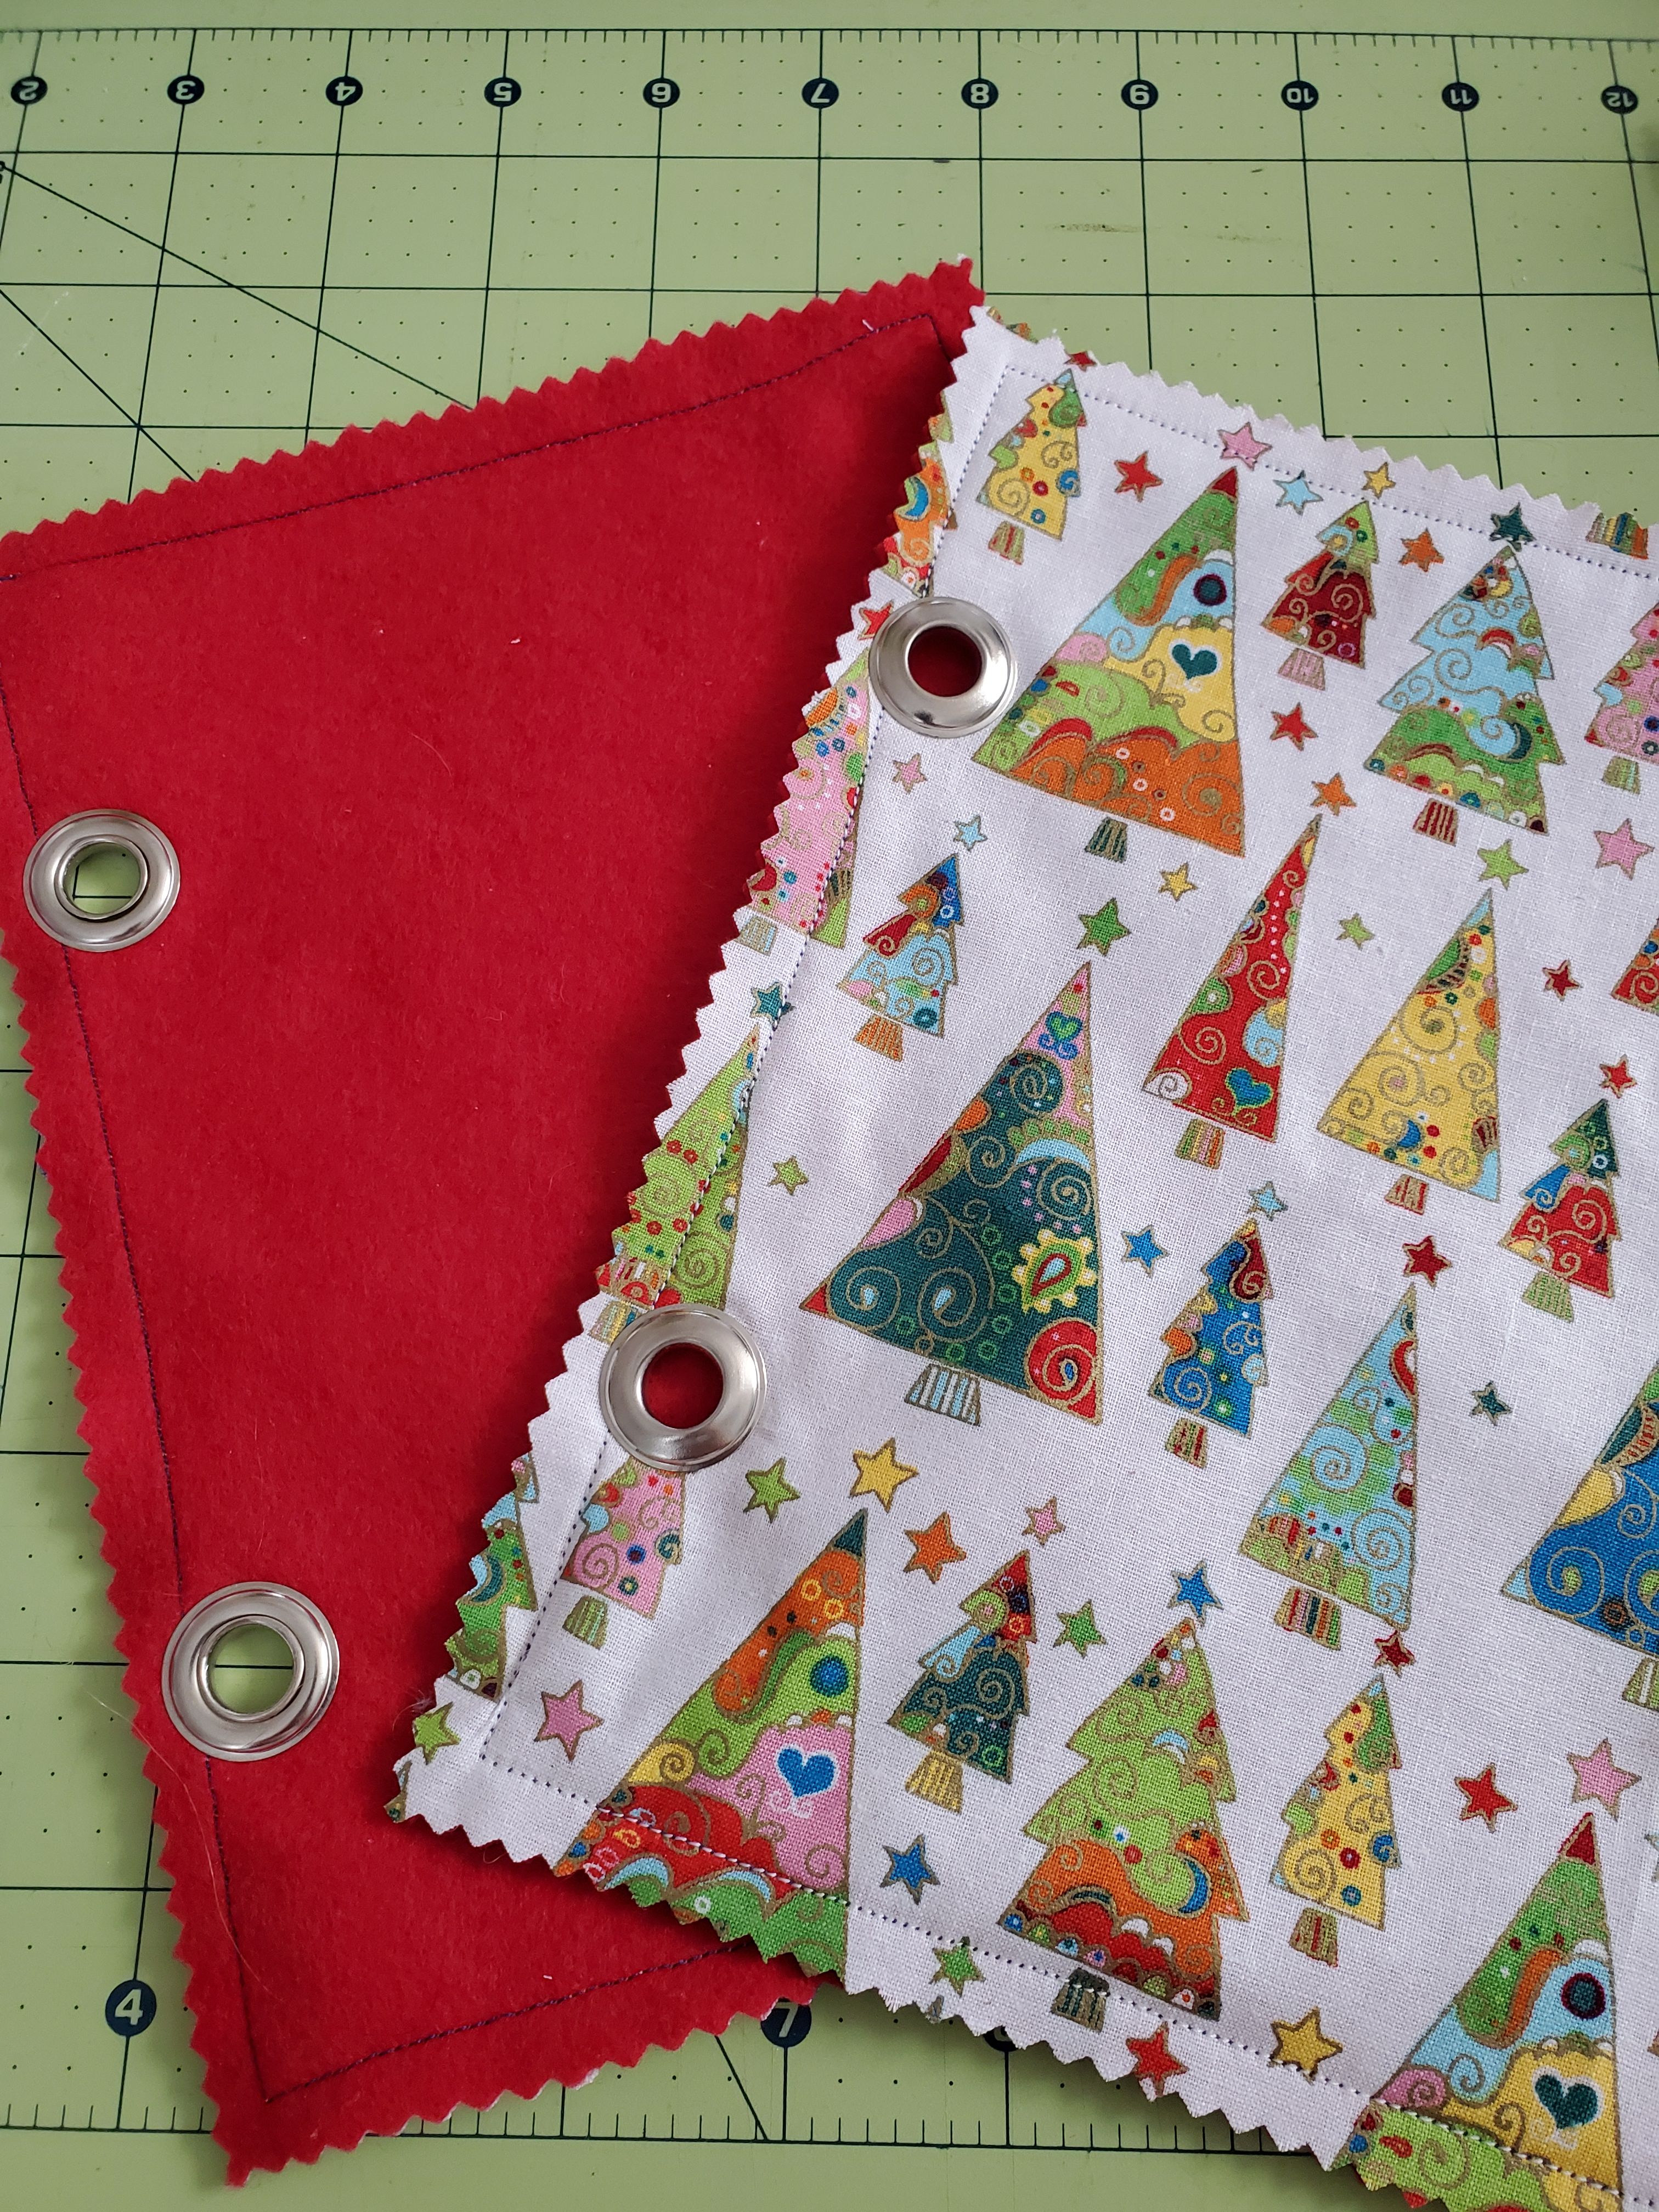
- 4 Grommets (I used what I had on hand, which were 3/8" in size. If grommets scare you, you could make a button hole on your machine. This was my first time using grommets and I found them super easy to use!)
- Key Rings (If you don't have key rings, ribbon would probably be fine!)
- Pinking sheers
- A hole puncher for your cards
-Scissors, thread, a sewing machine...
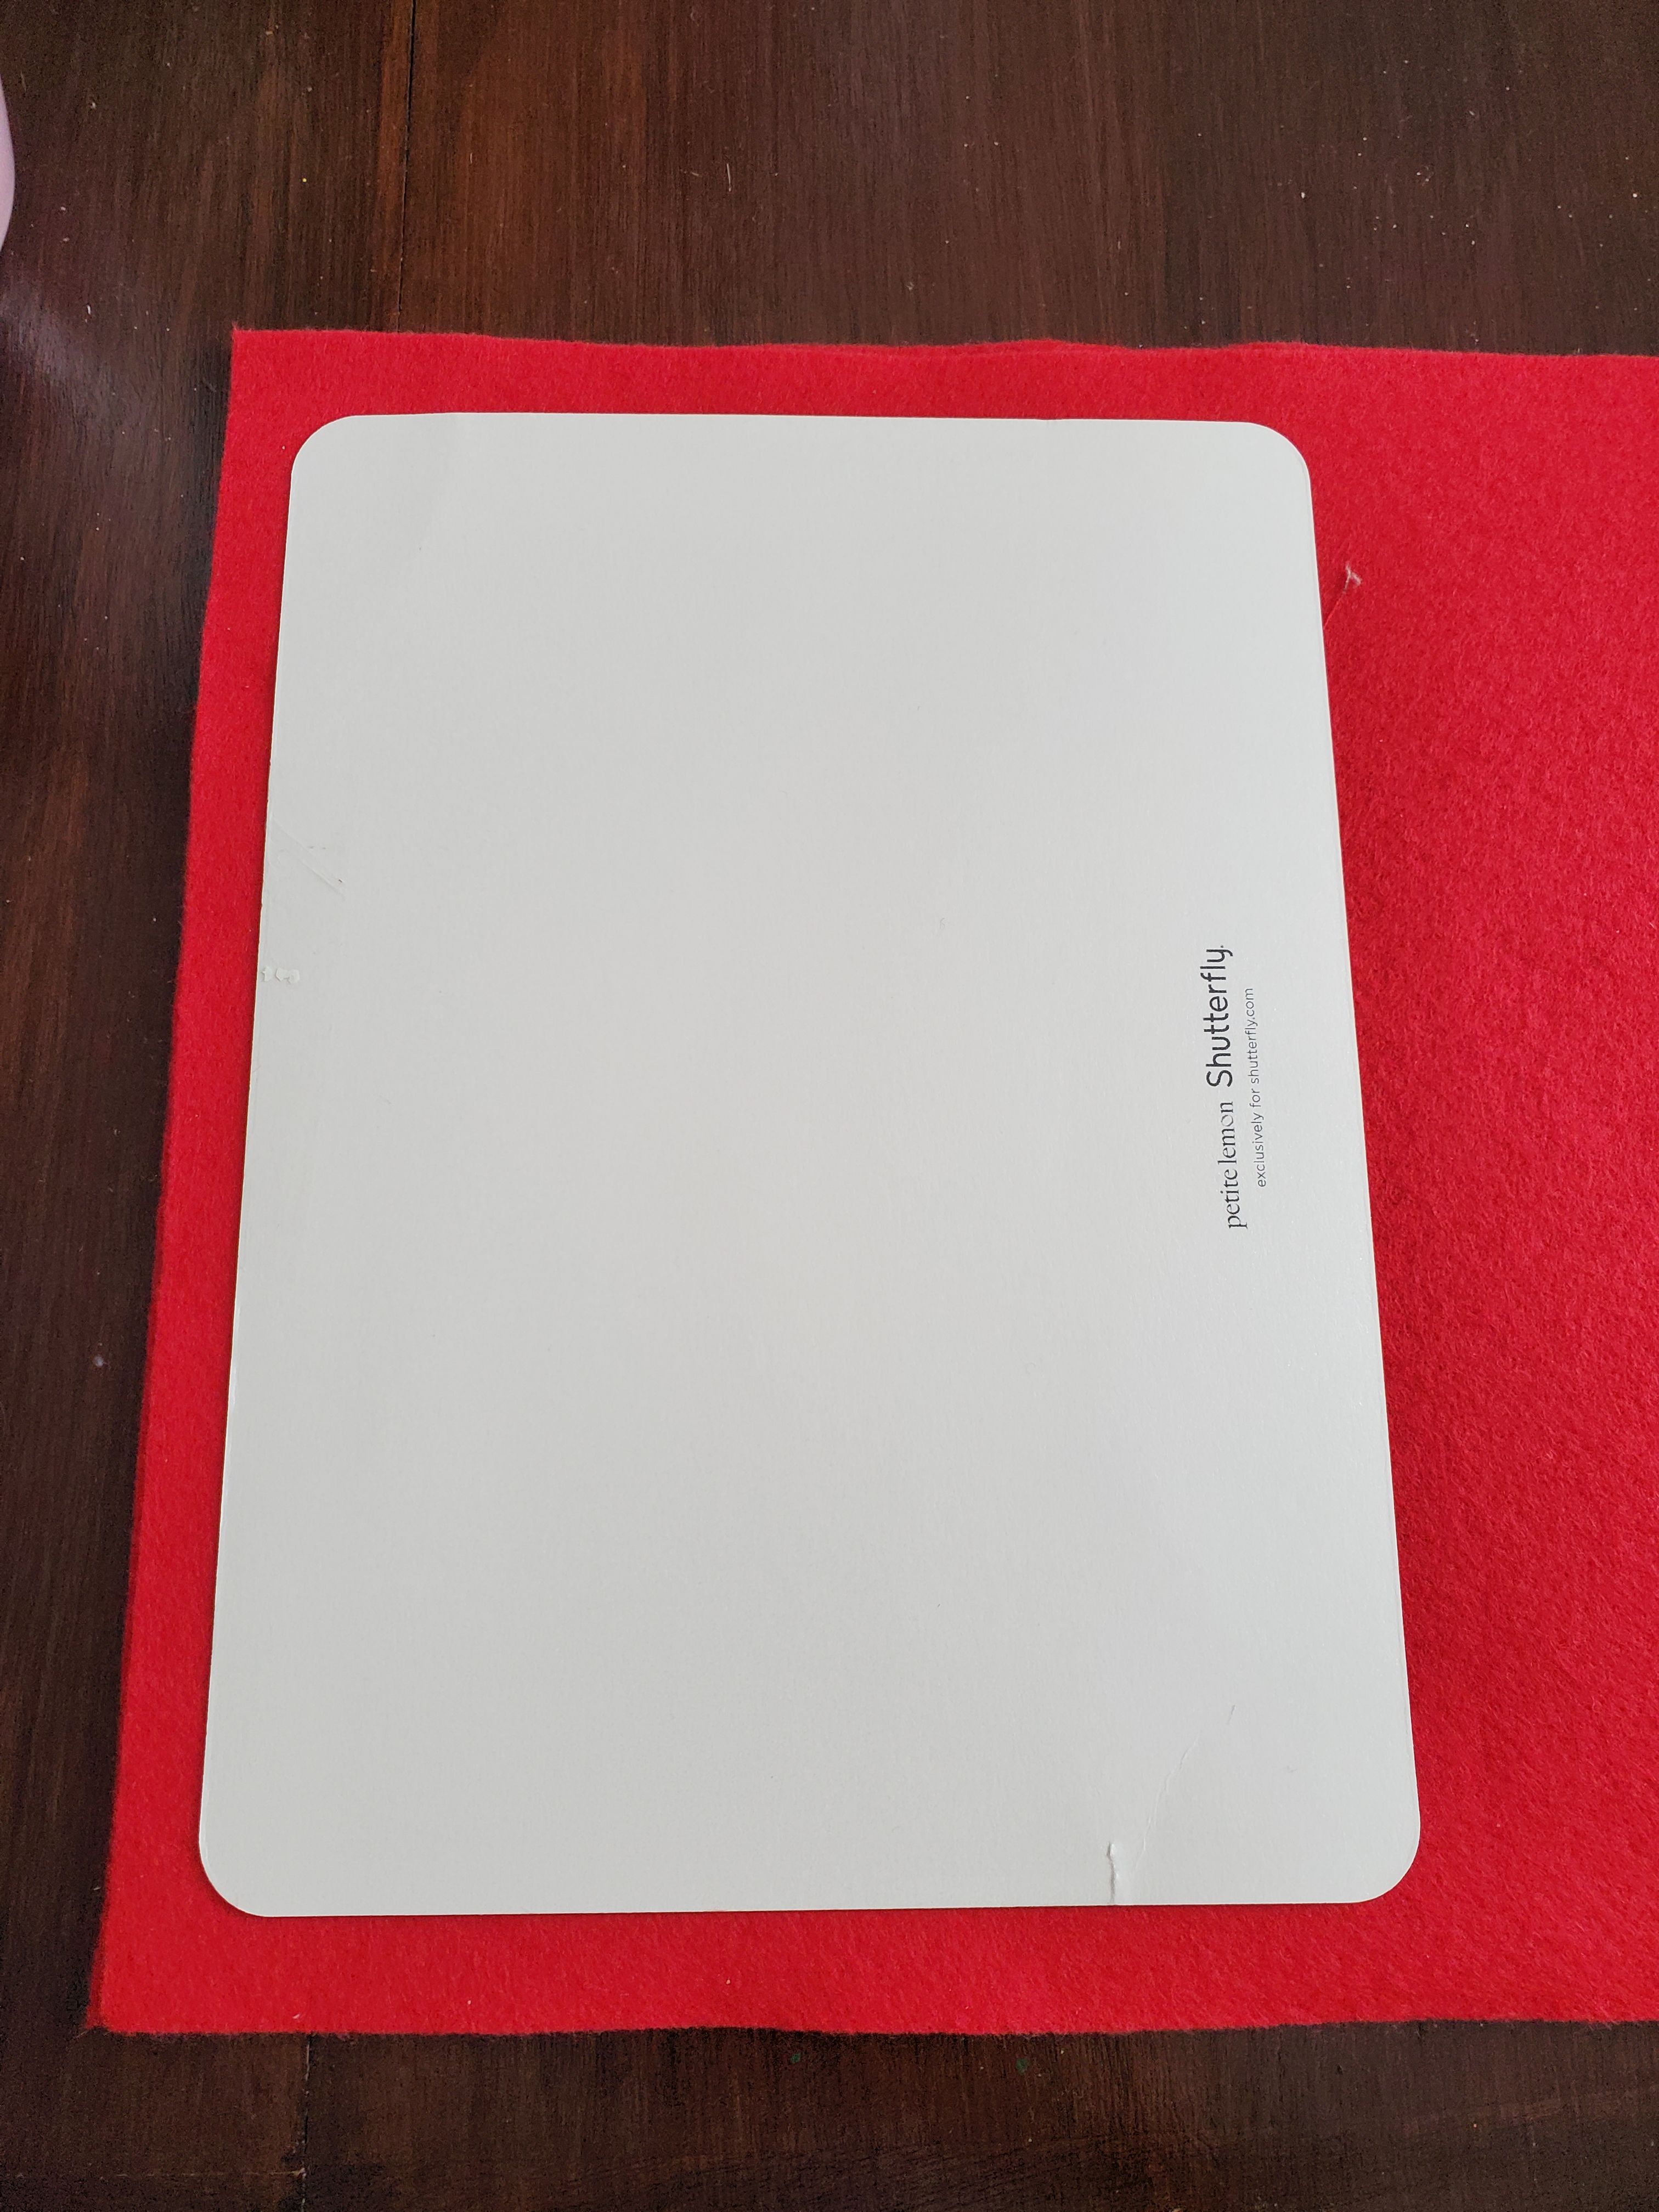
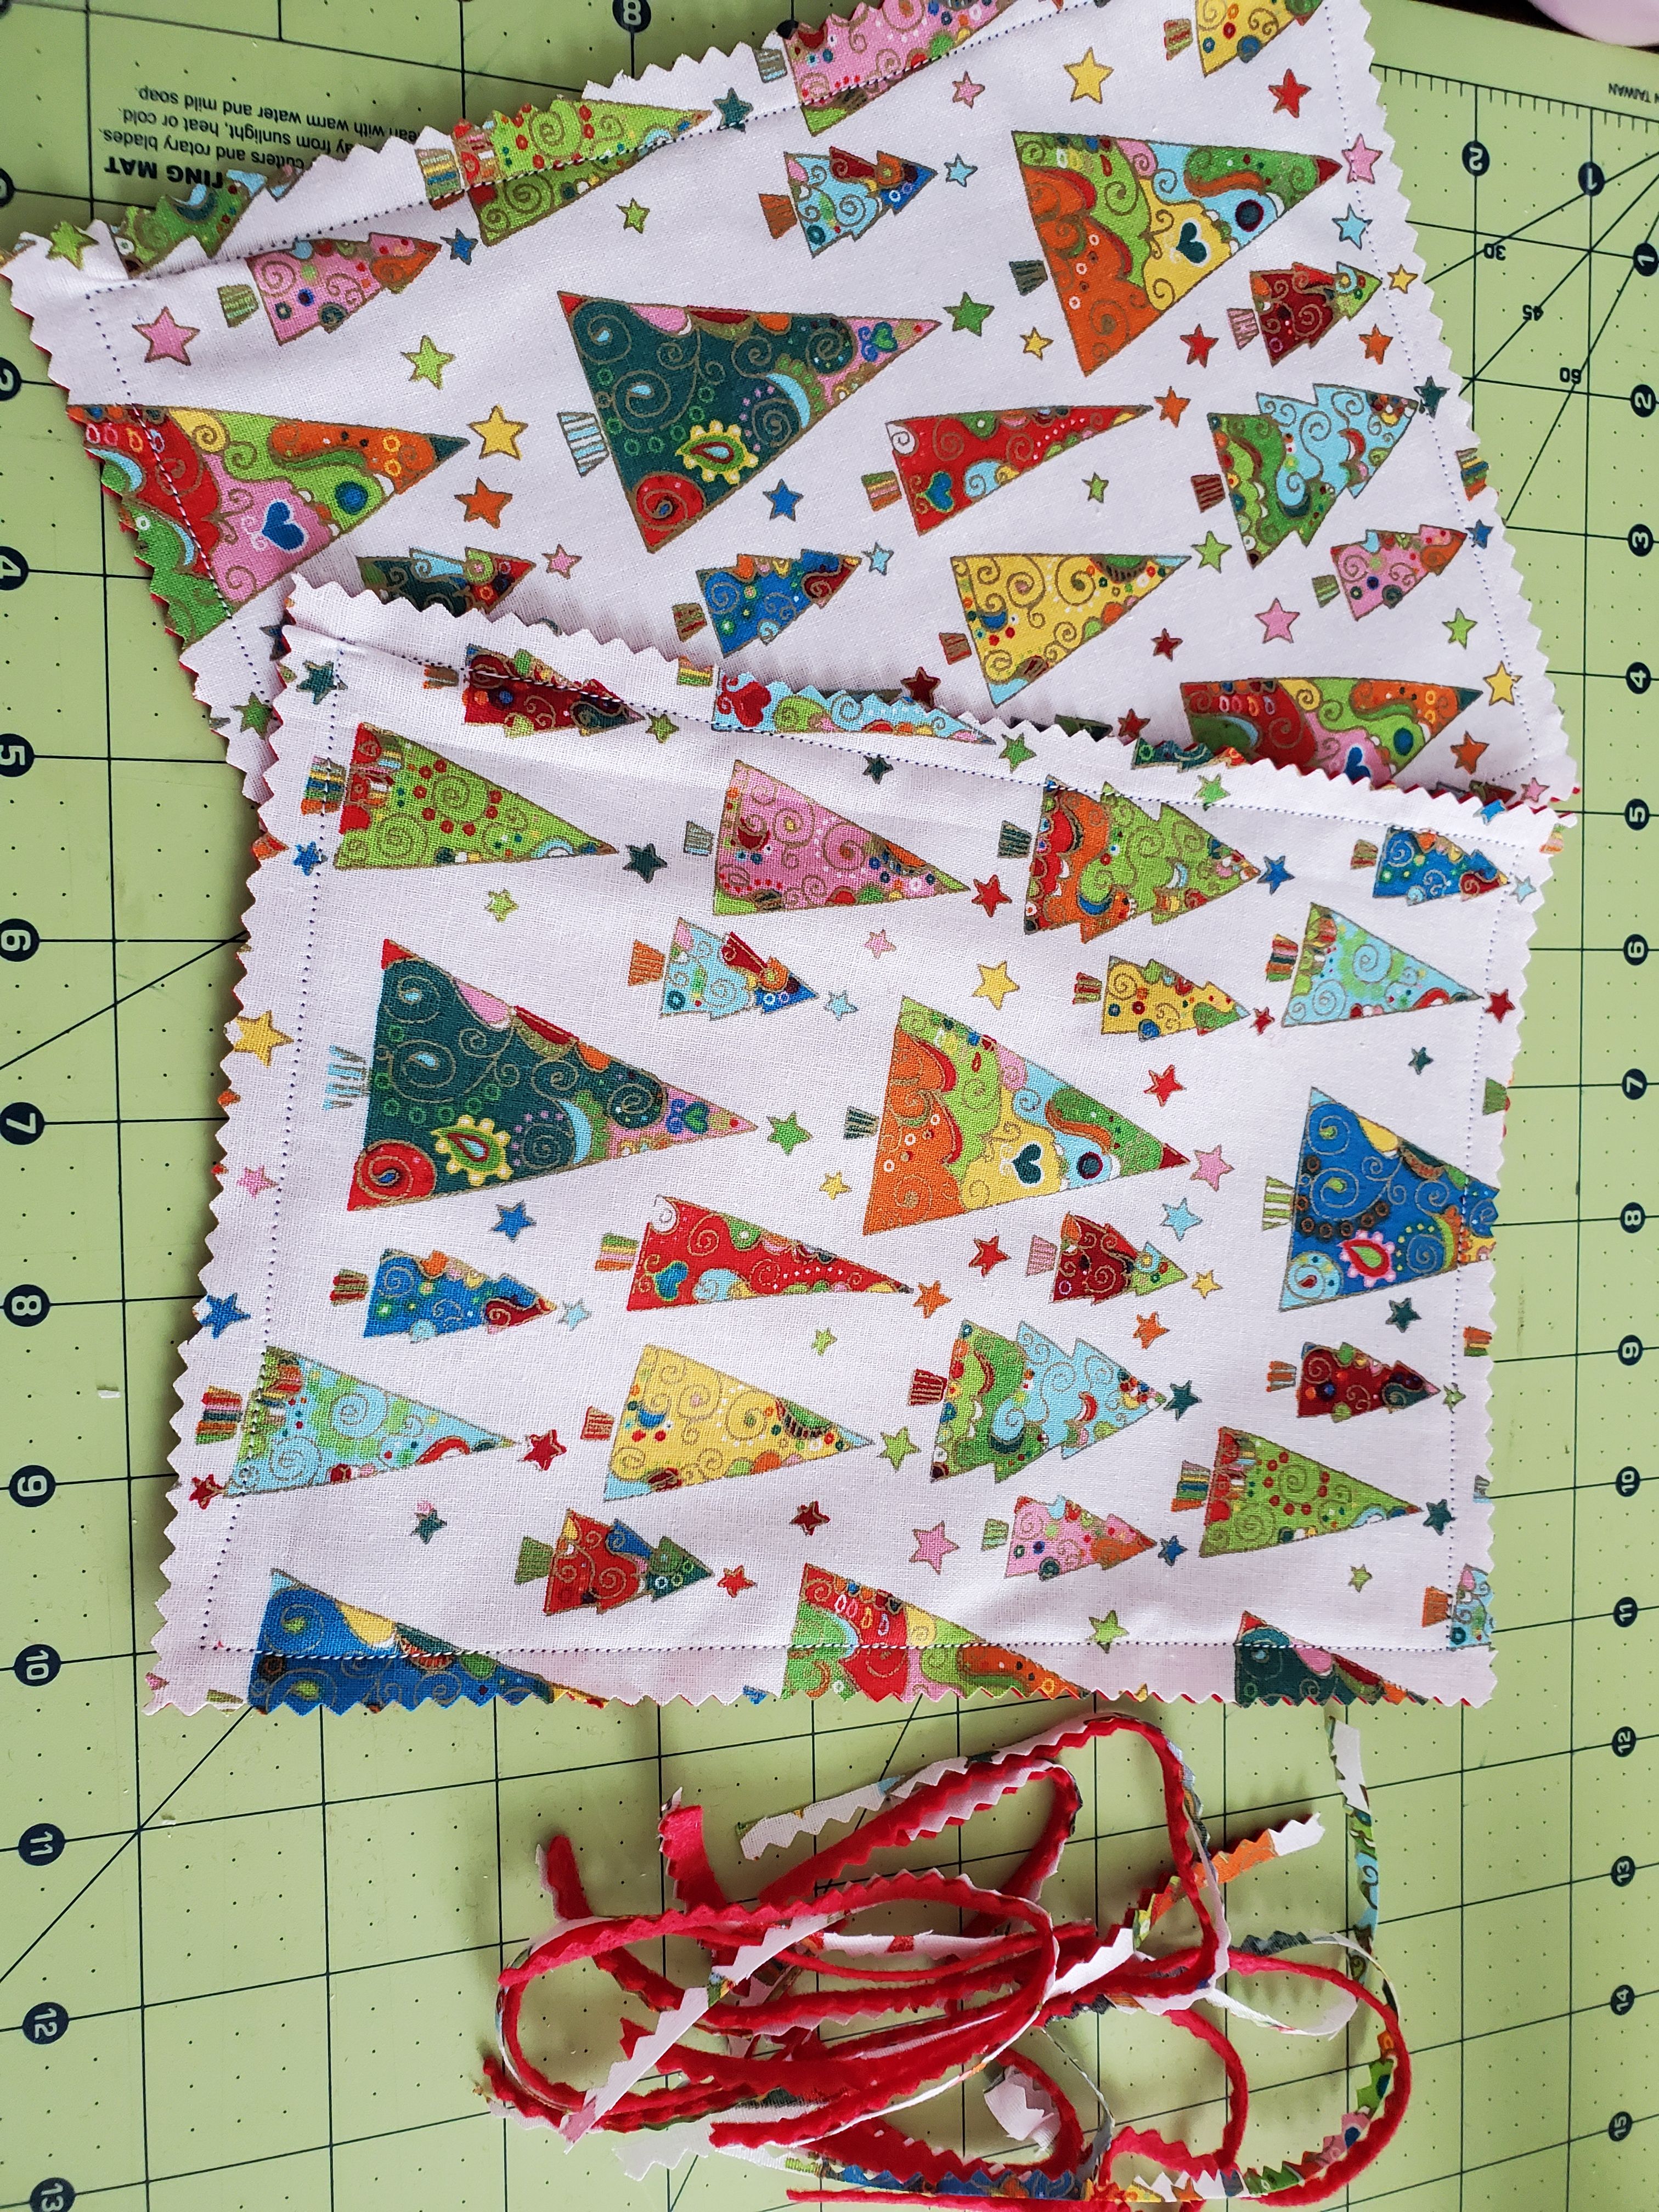
I looked through my cards and determined which card was the tallest and widest. Using this card as a guide, I cut 2 pieces of felt to be about 1/2 inch bigger than this card on every side.
From there, I cut my Christmas fabric to be the same size as the 2 pieces of felt I just cut.
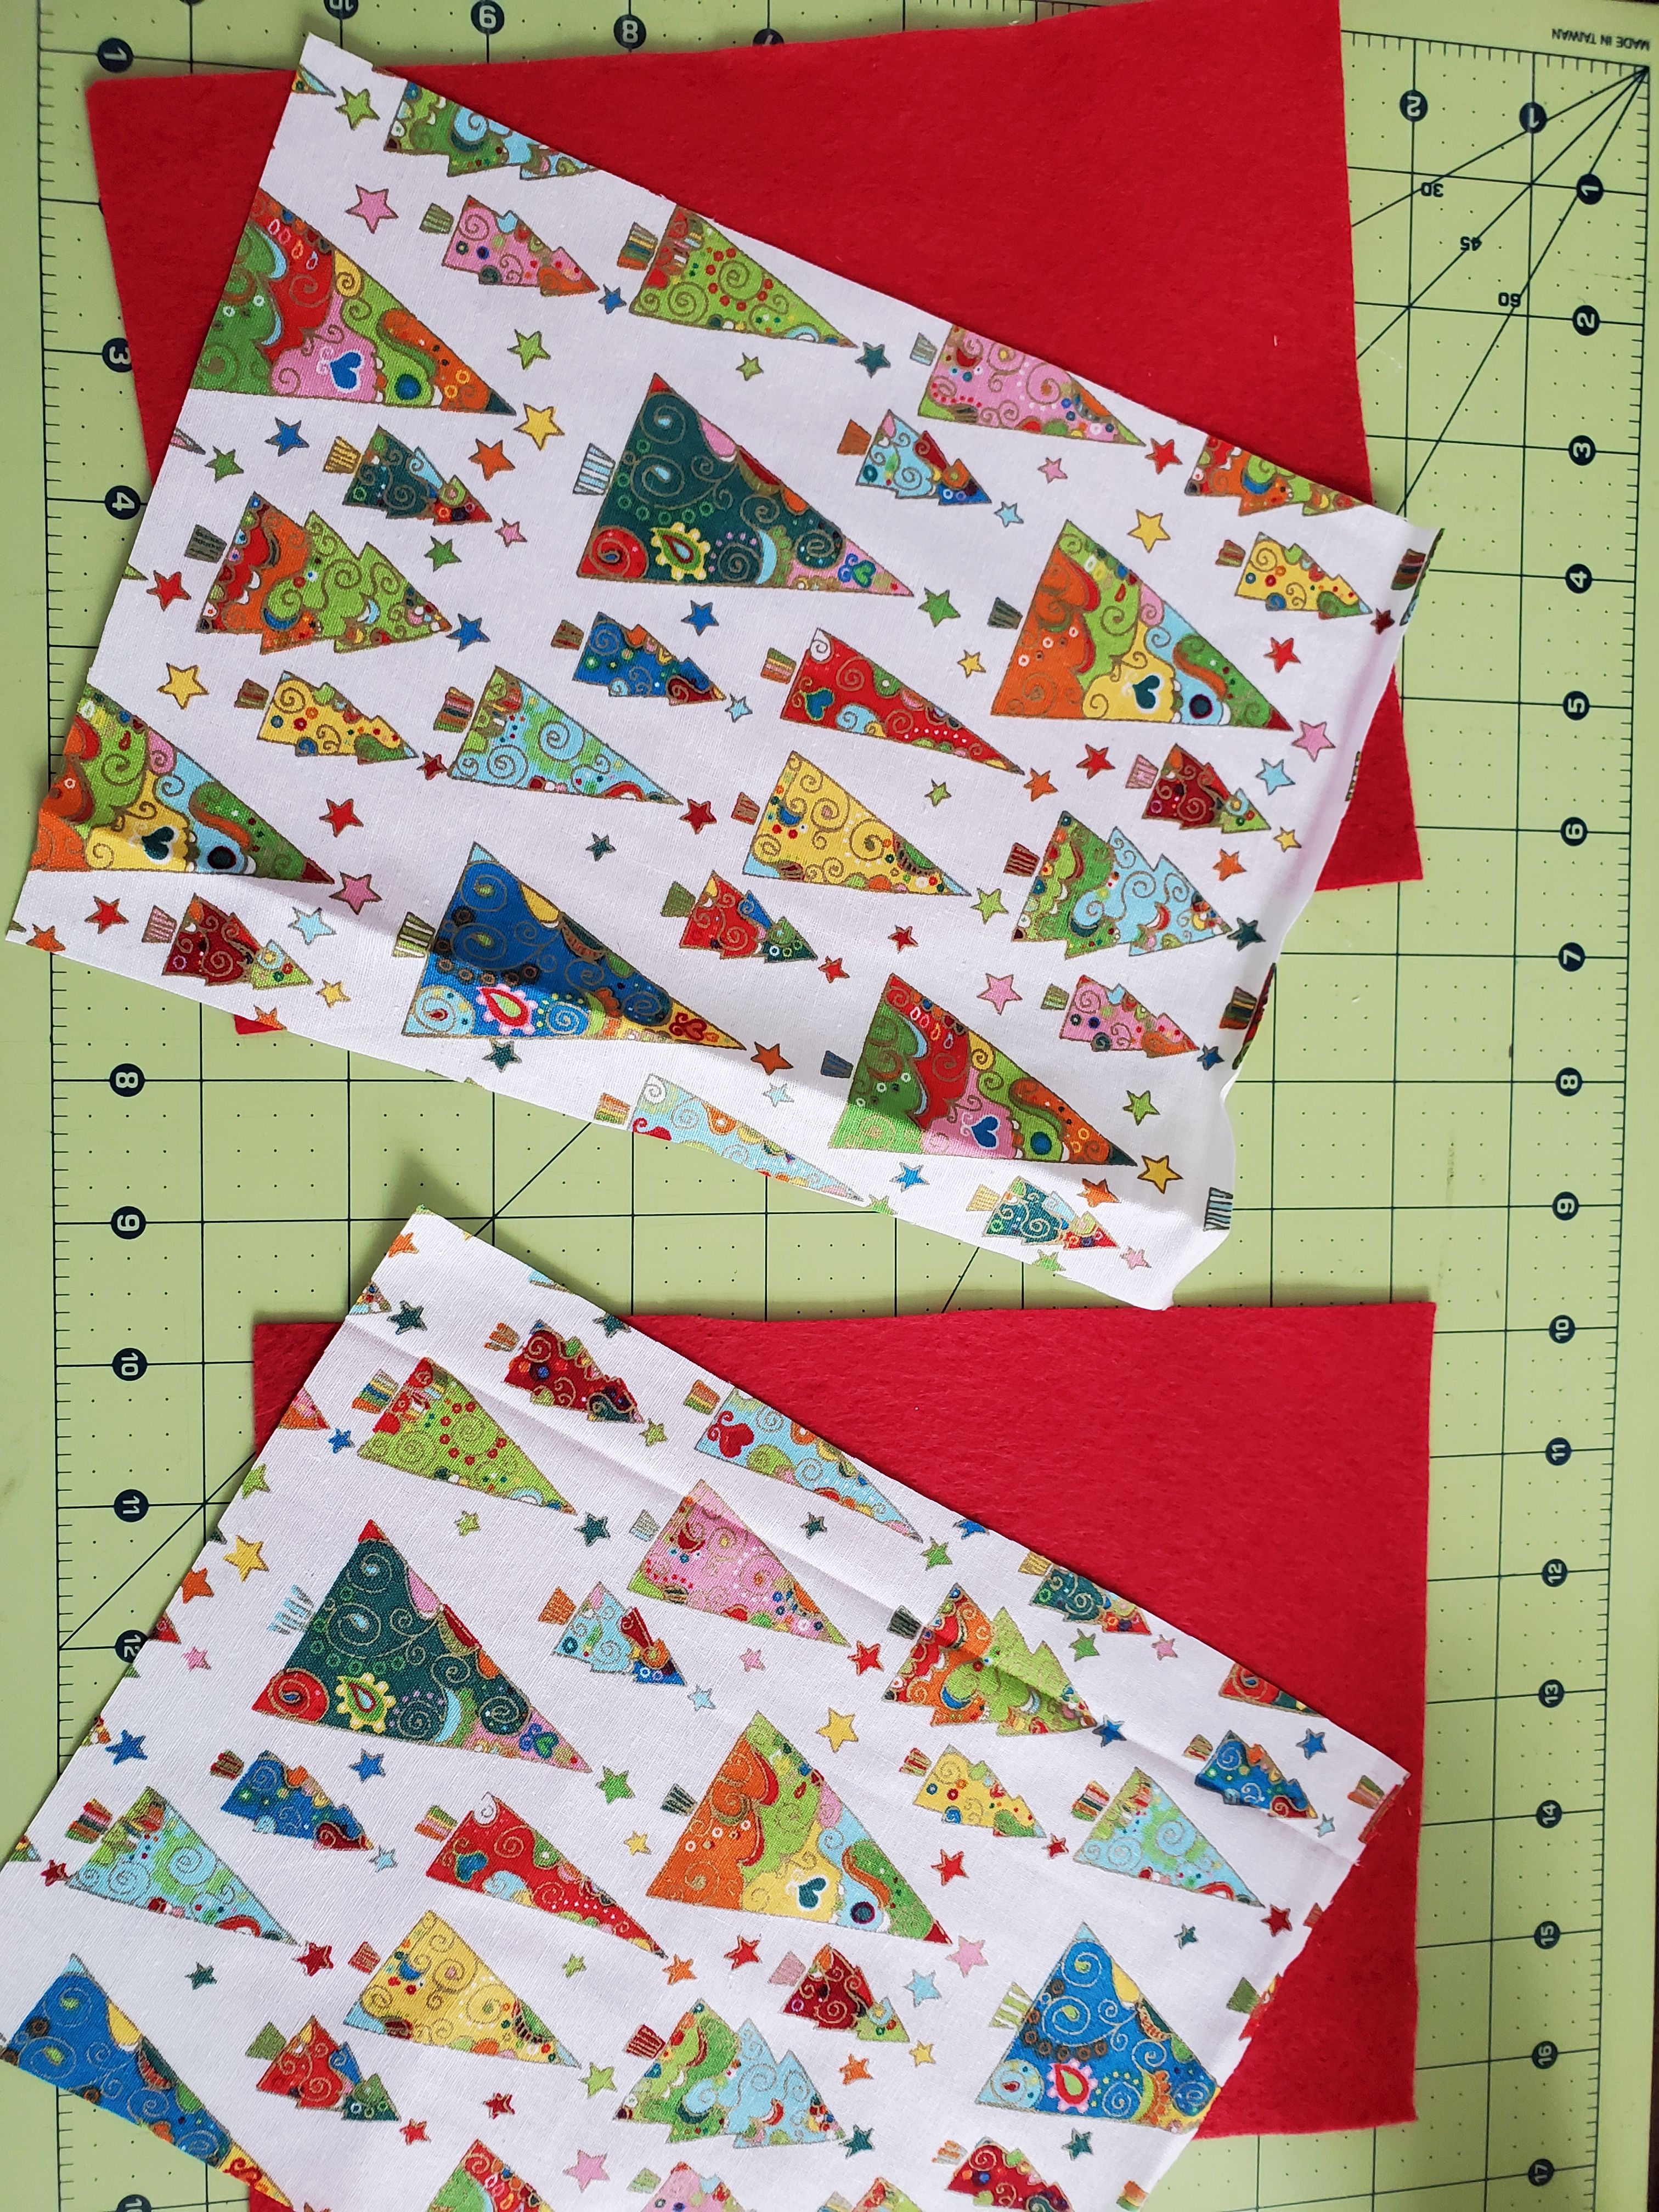
I lined up the felt with the Christmas fabric (one piece of felt and one piece of Christmas fabric for each cover), right side up, and sewed 1/2" from the edges, all the way around. I didn't want to turn anything, but I also didn't want the fabric to fray, so after I sewed all the way around, I used pinking sheers to provide a decorative edge that would also discourage fraying.
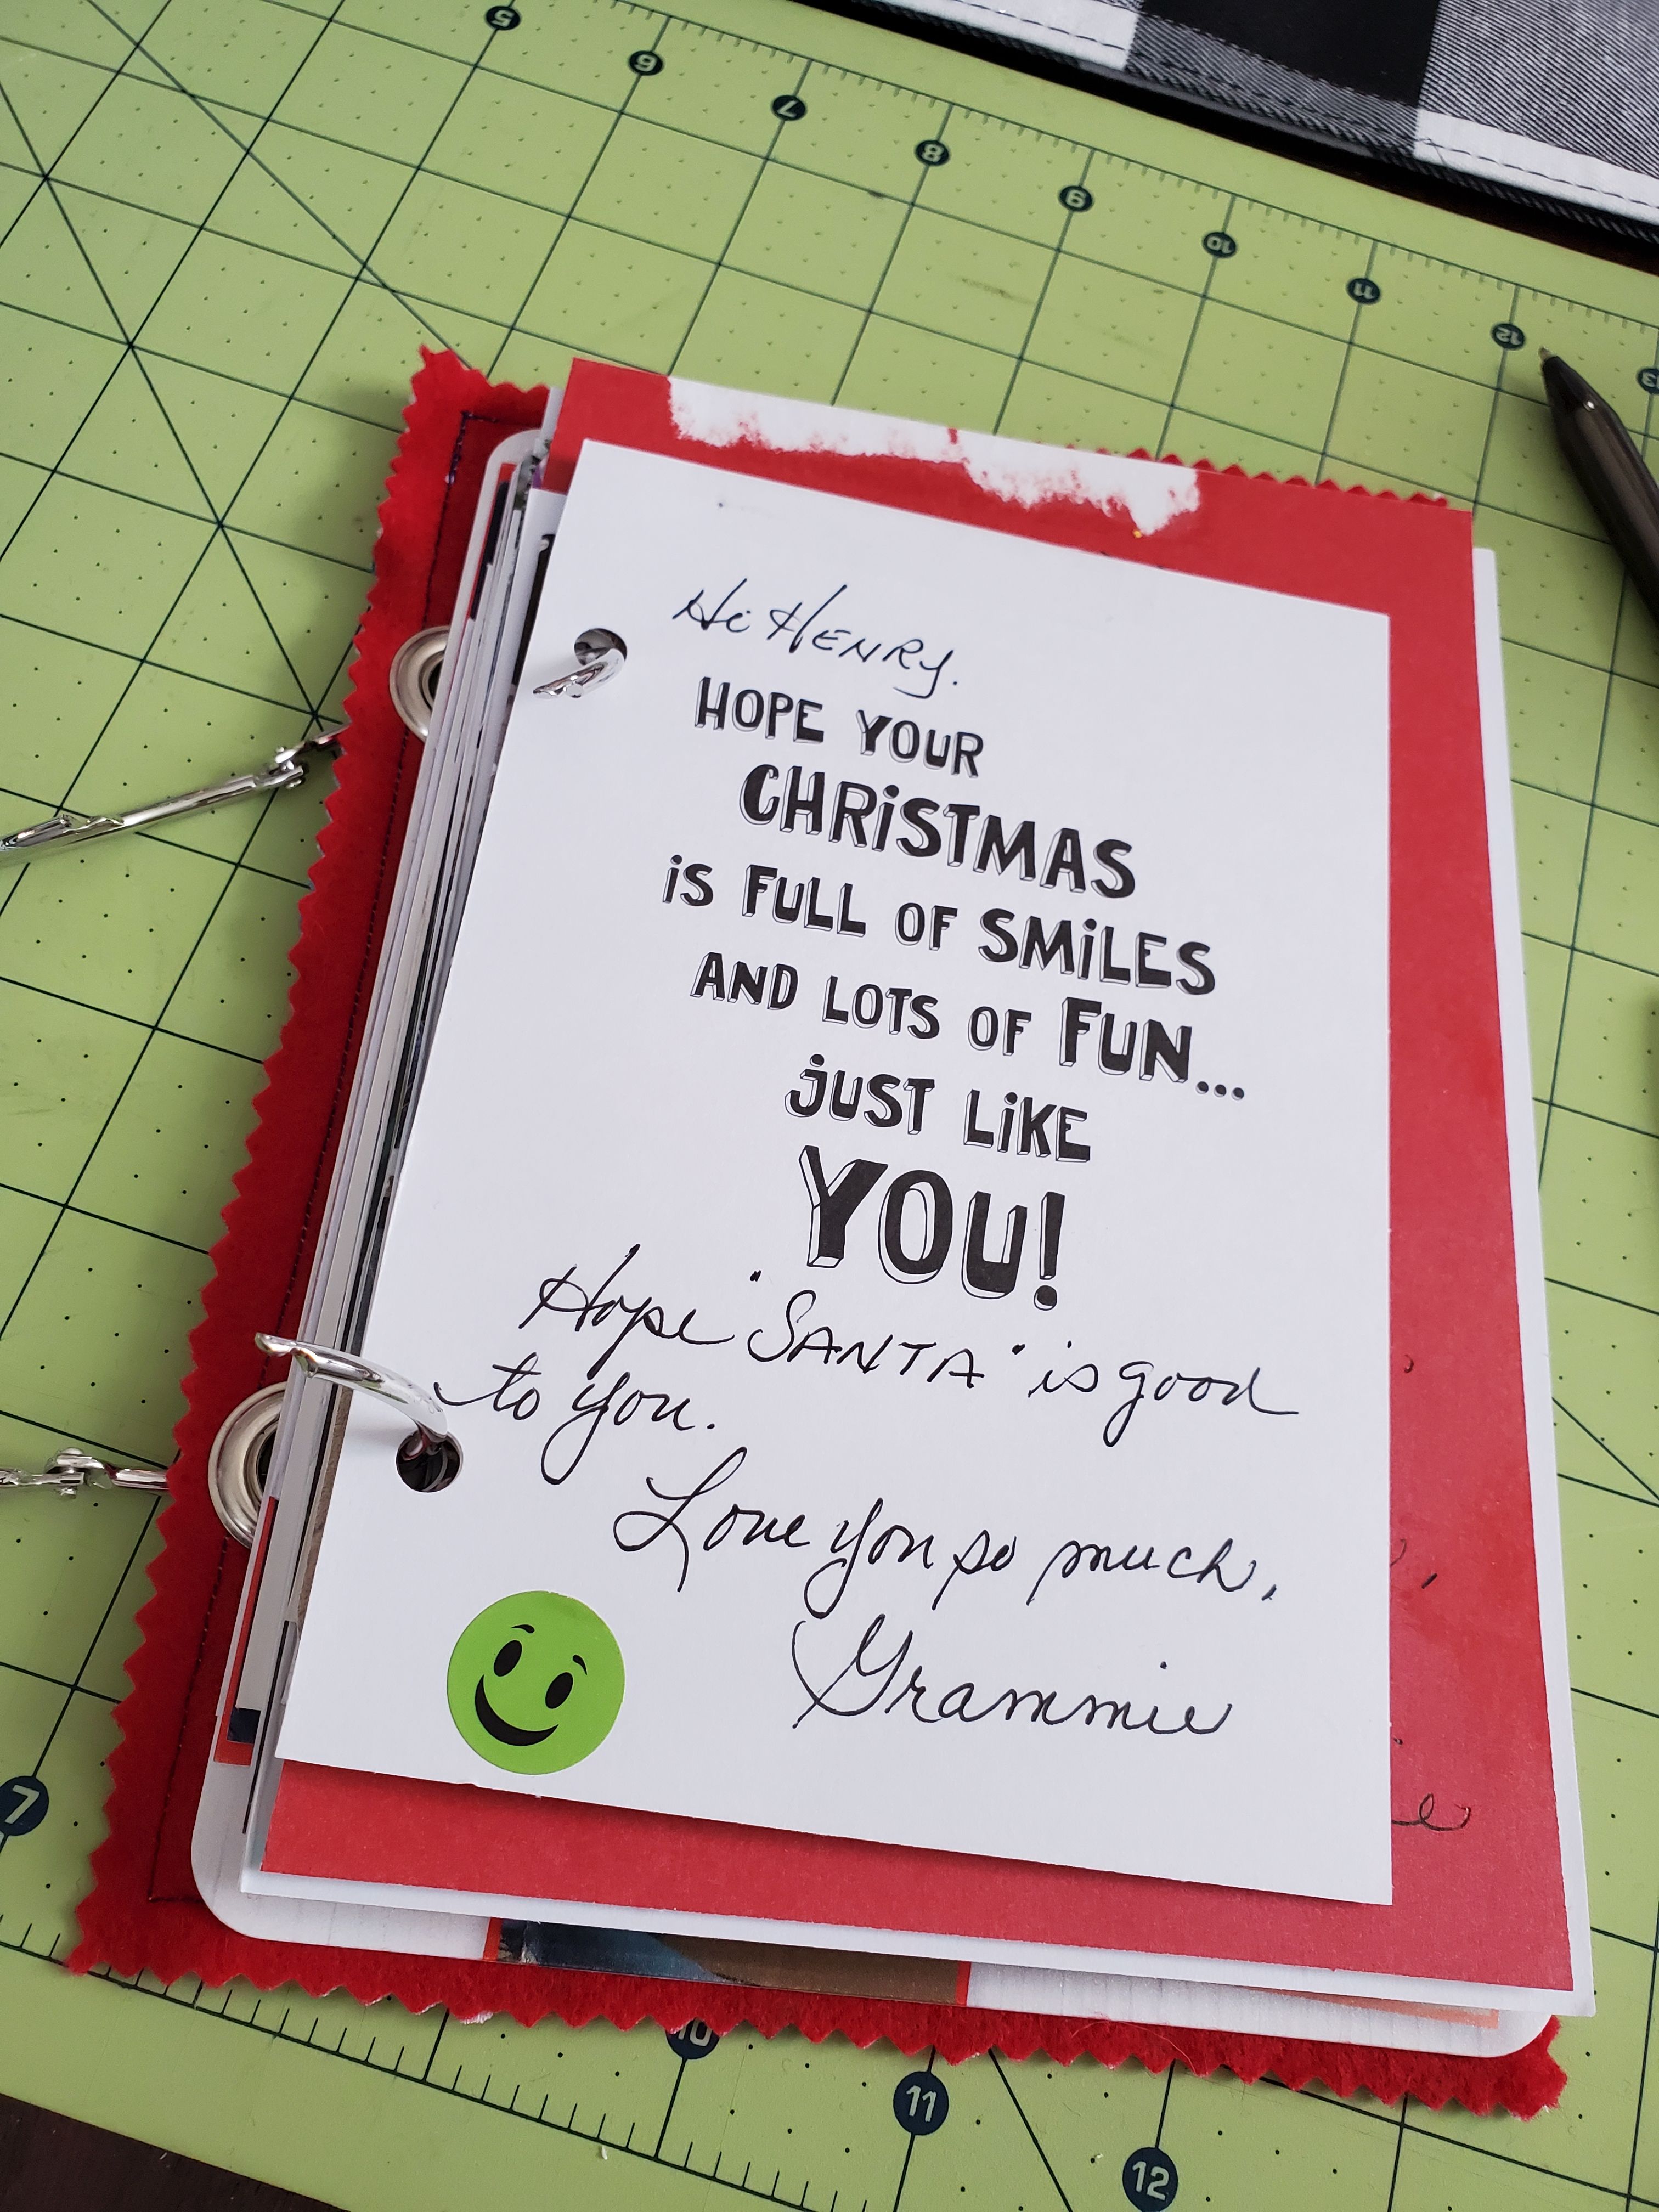
Then I set the front and back cover aside and turned to my cards I used a hole punch to make 2 holes in each card. You can definitely measure and center the holes on each card, but I just eye balled it!
I found the center of the front and back felt cover and used a hole punched card to mark where the holes will be on the covers. Then I applied grommets, according to their package directions. You could just as easily make 2 button holes on the front cover and then repeat on the back cover!
Then I put the back cover onto my key rings, with the Christmas fabric facing out. I loaded my cards and photographs onto the key ring next, and then added the front cover and closed the key ring. I used a fabric marker to write "2021" in the corner!
Both of these projects were so fast and easy to complete. I sat drinking coffee at the table this morning, loving the continued tradition of making gift tags with my Christmas cards, and the new tradition of making a memory book as I worked on them. I hope these traditions find their way into your home!
We cannot WAIT to see what you create!
--Meg