Posted by Meg Hess on 16th Dec 2022
12 Days of Christmas 2022: Marshmallow's Snowman Ornament and Pillow
It's a marshmallow world in the winter
When the snow comes to cover the ground
It's time for play, it's a whipped cream day
I wait for it the whole year 'round"

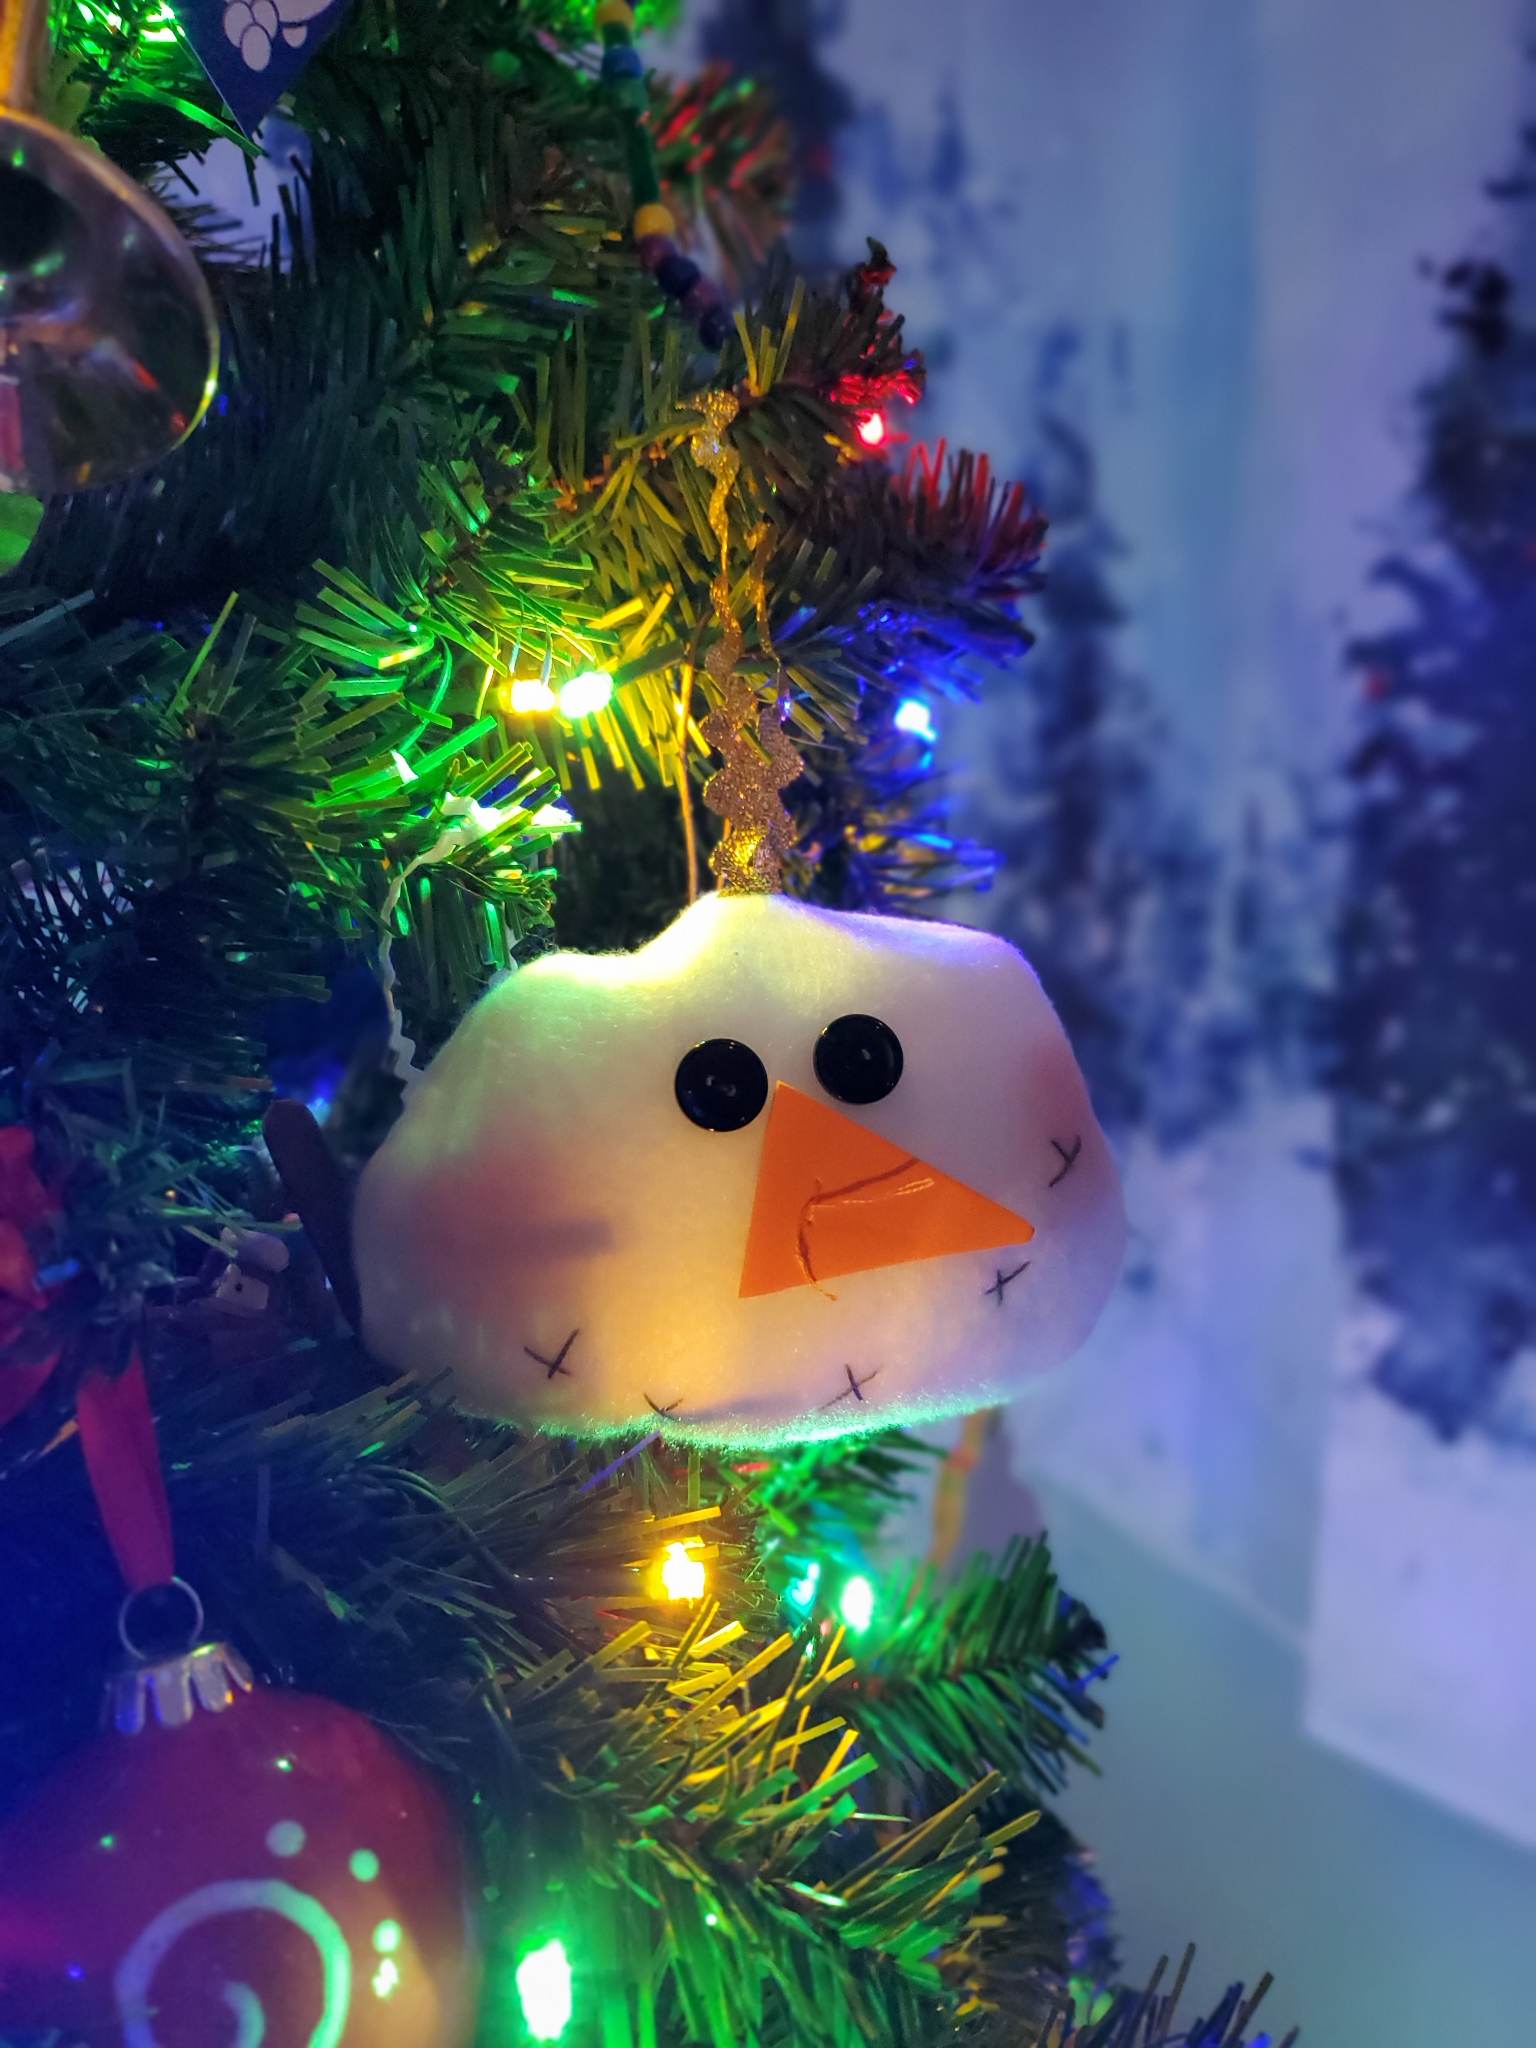
Welcome to Day 8 of the 12 Days of Christmas on the CKC Blog! Tonight we have Marshmallow, a loveable snowman ornament and pillow. I love his goofy face and irregular shape! He reminds me of what the snowmen my kids make ACTUALLY look like!
Let's Get Started!
Materials Needed:
- The Marshmallow Snowman Pattern Pieces (available here)
- White fleece (1/4 yard for the pillow and a fat quarter for the ornament)
- Orange craft foam
- 2 buttons
- Gray or black embroidery floss and a needle
- For the ornament only: ribbon
- Blush and a makeup brush
- Polyfil
-Coordinating thread (Orange for the nose, black for the button eyes, white for the body)
-A sewing machine
-Optional: white paint or a white paint pen
Cutting Instructions:
Please note: Because pattern pieces are hand-drawn, the 1" square is approximate and more used as a guide. If your 1" square is not perfect, your pattern will still work fine!
1. Cut 2 of your desired snowman size out of the fleece, on the fold. This pattern will also, of course, work if you have a different shape in mind for your snowman head!
2. Cut your carrot nose out of the craft foam sheet.
3. If making an ornament, measure and cut a 9" piece of ribbon for the hanger.
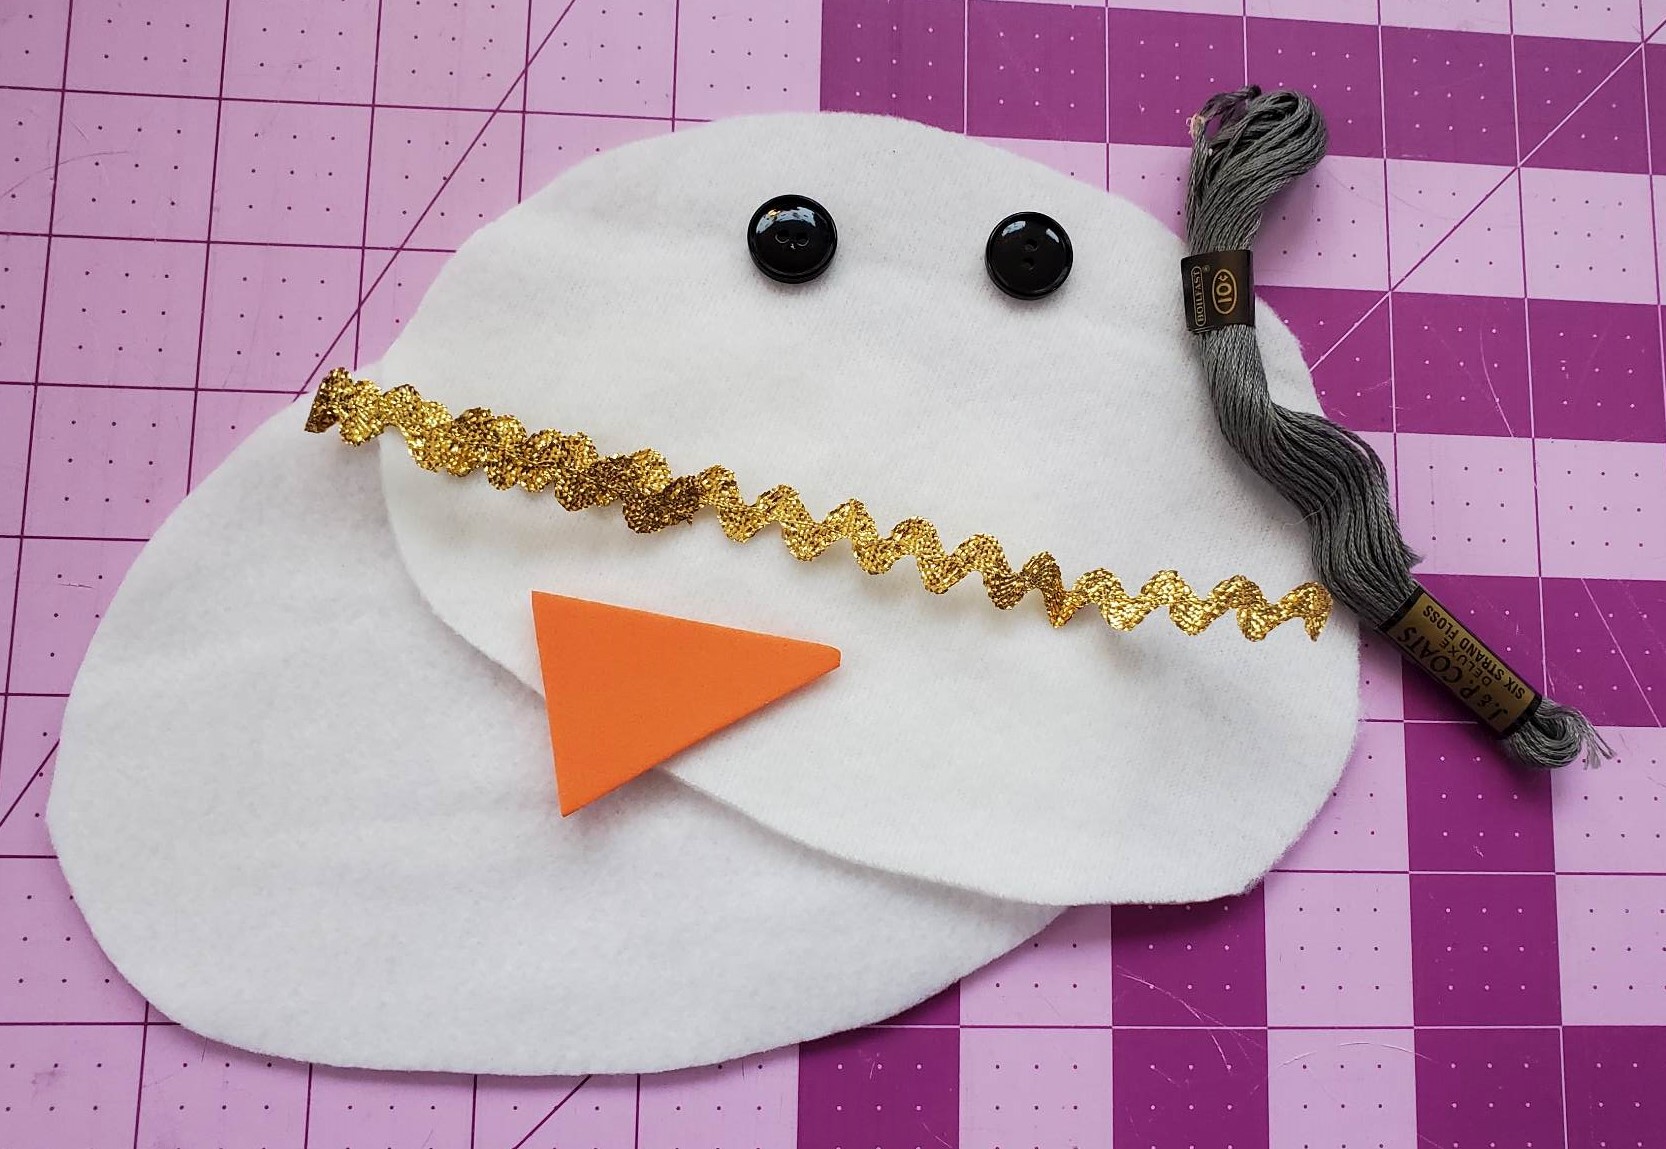
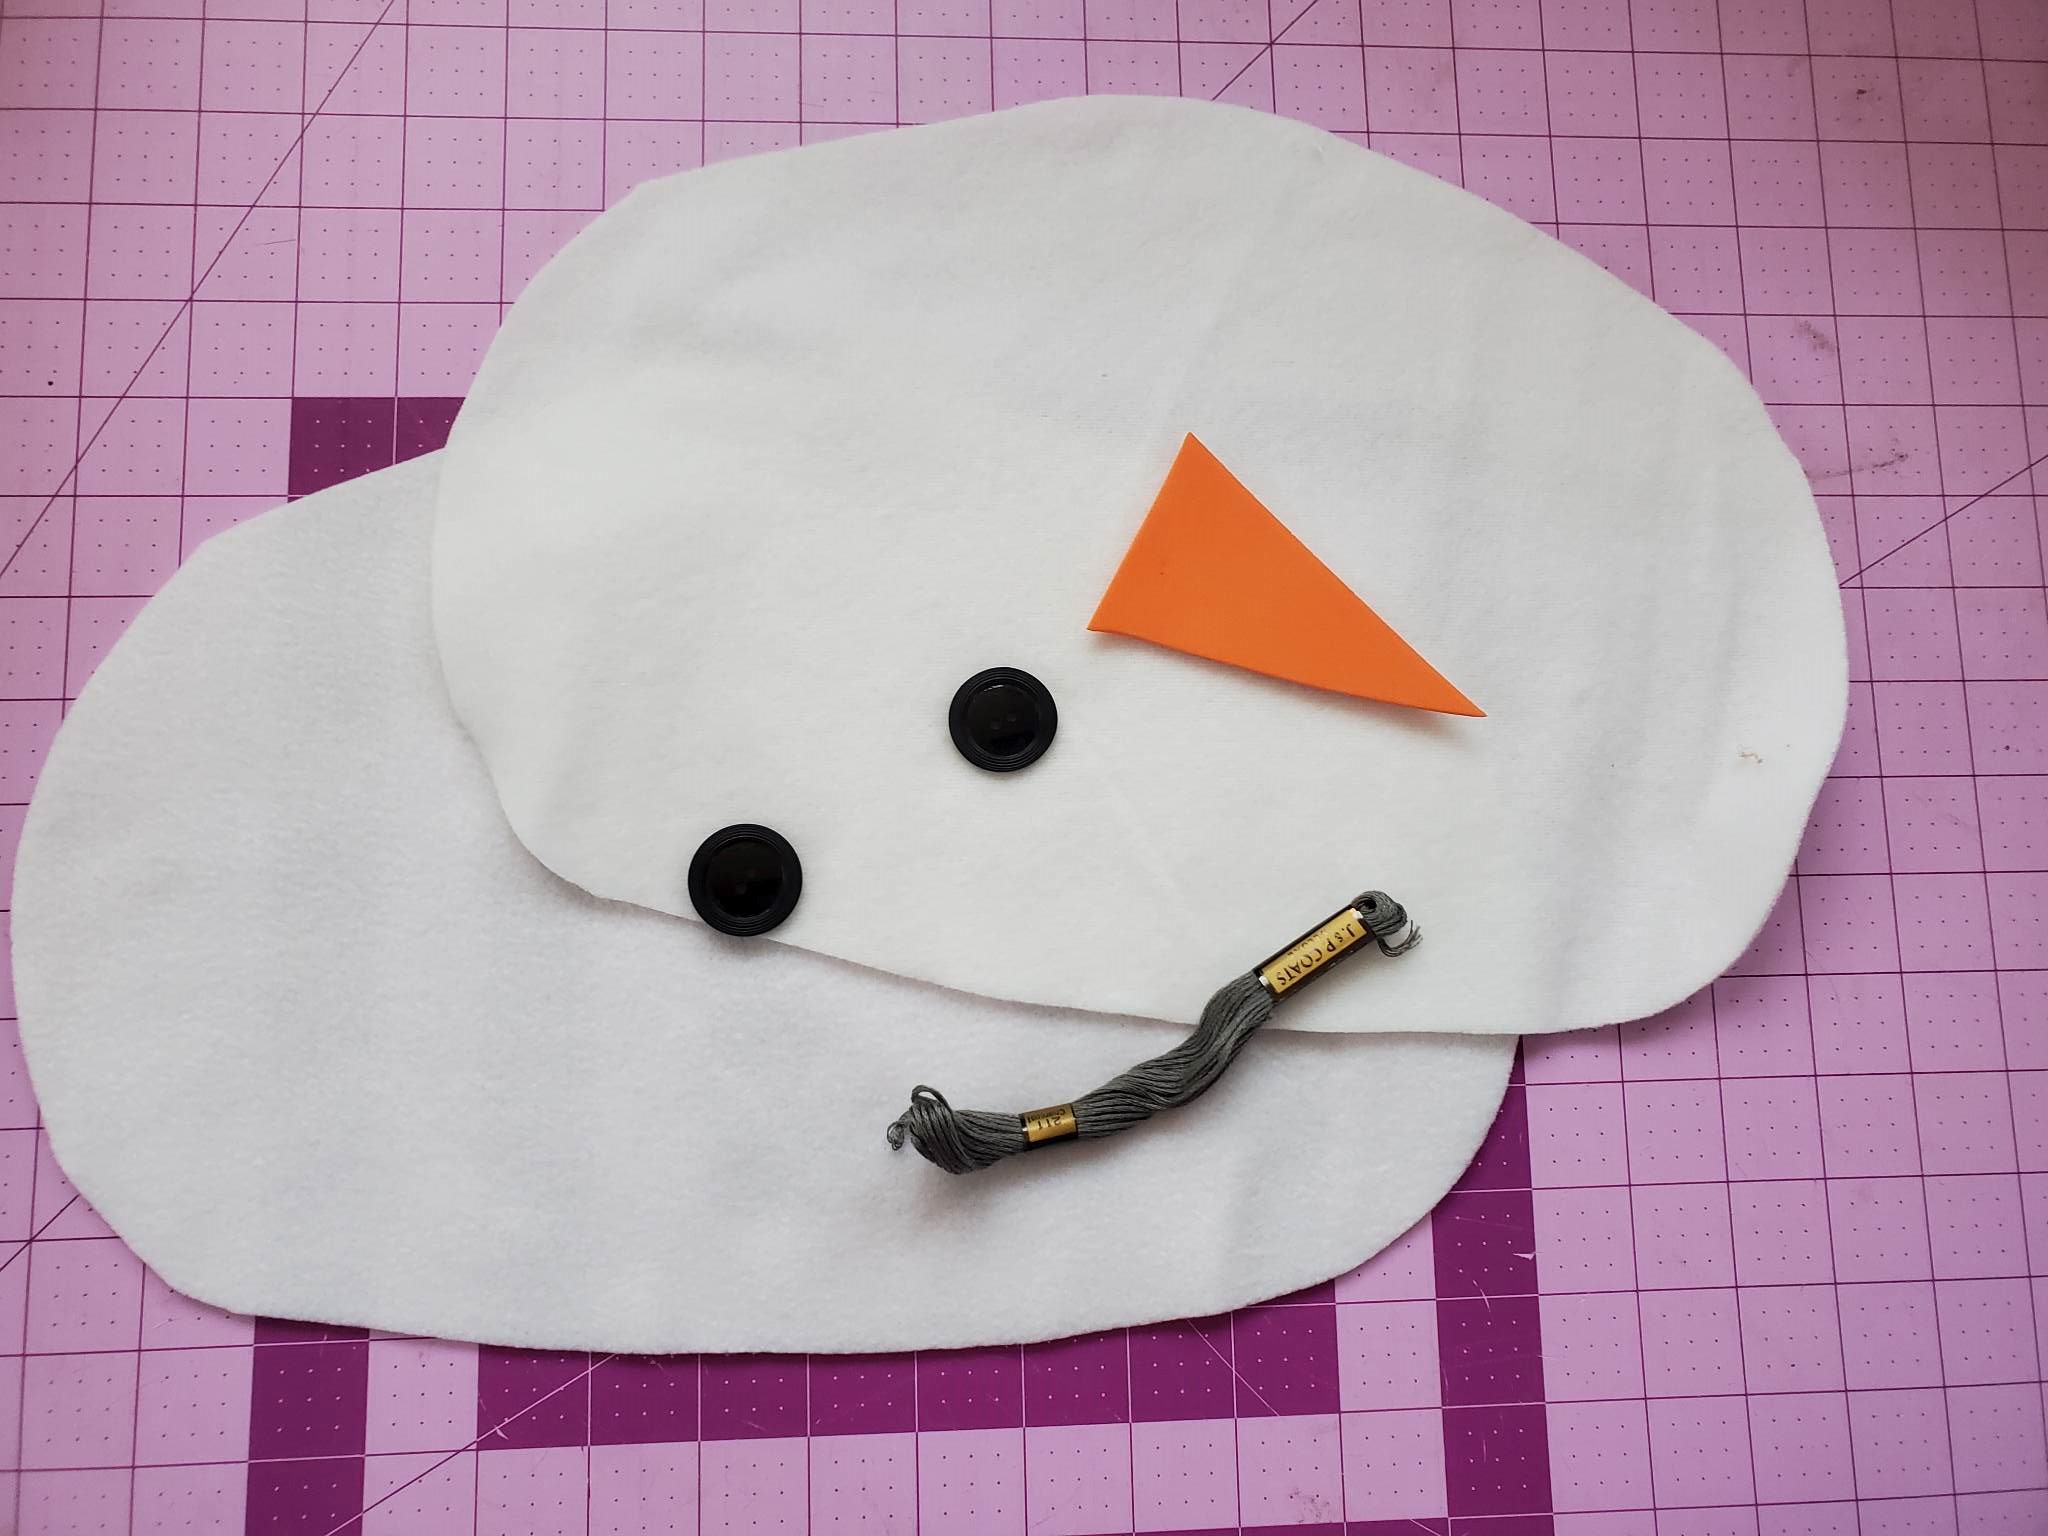
When you are finished, your pile will look like this:
Assembly Instructions:
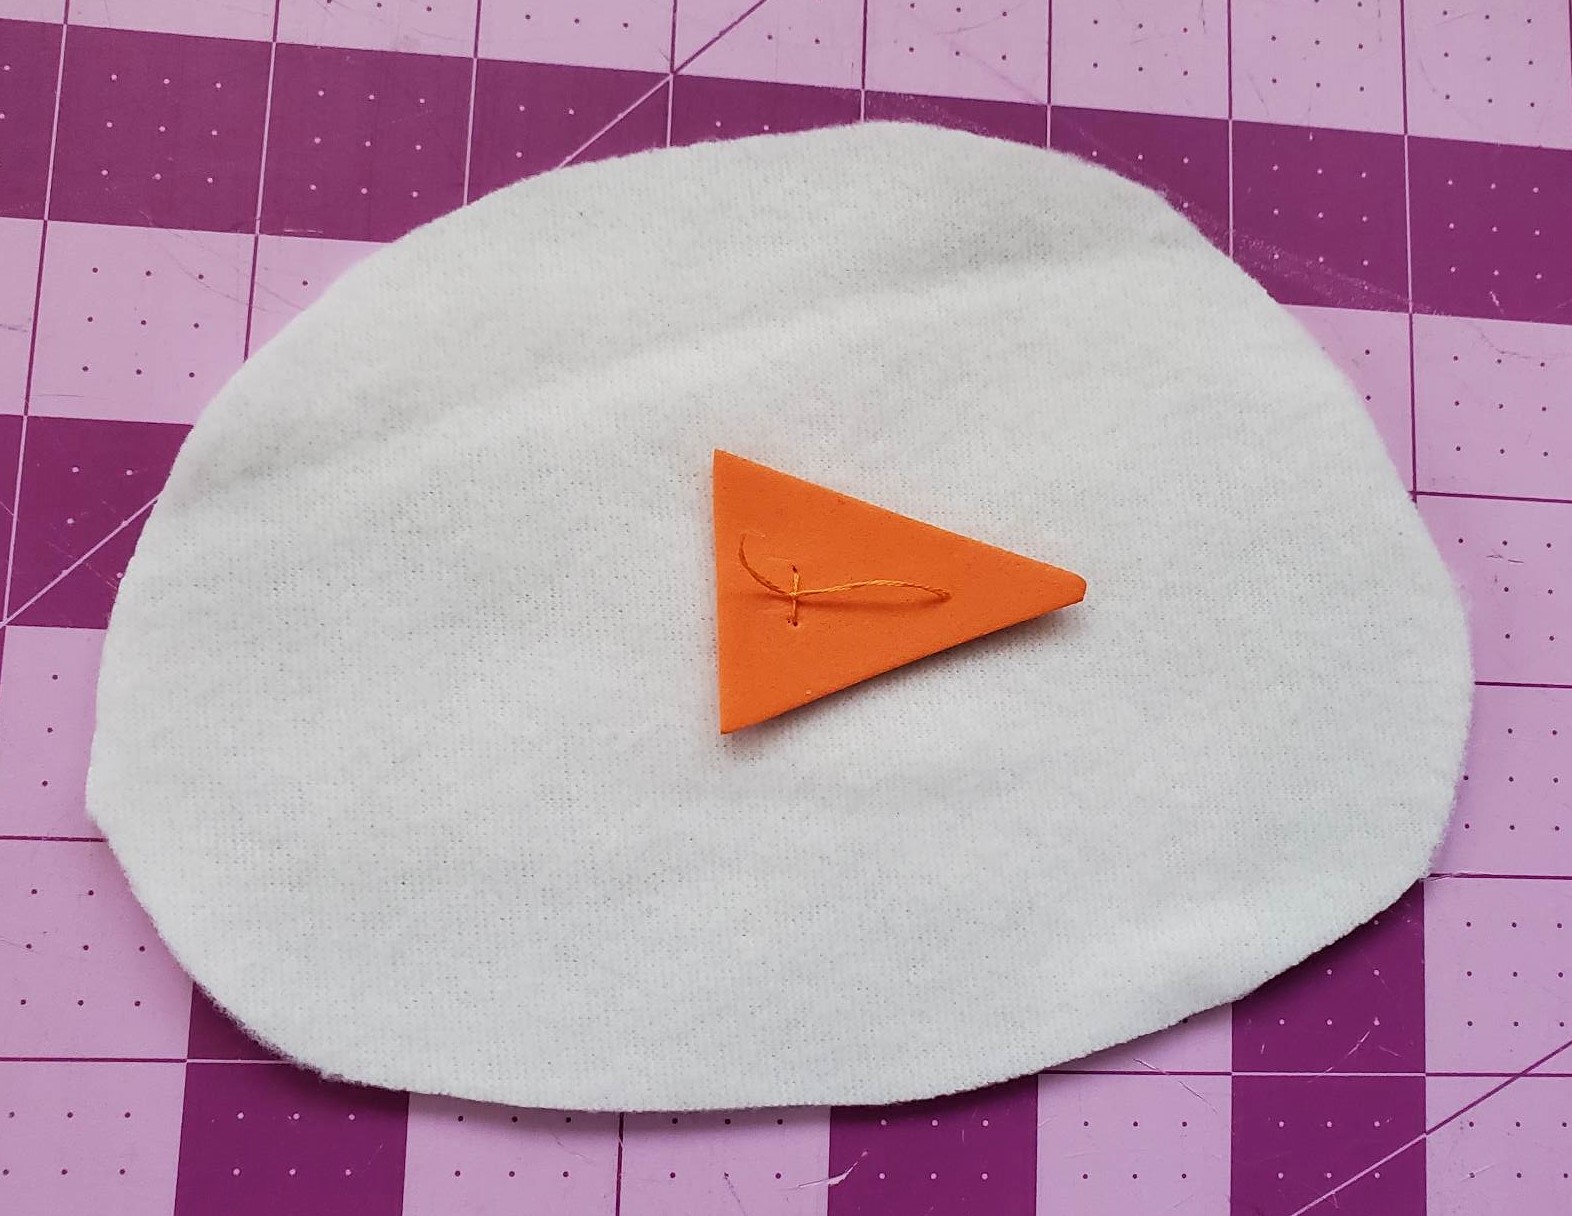
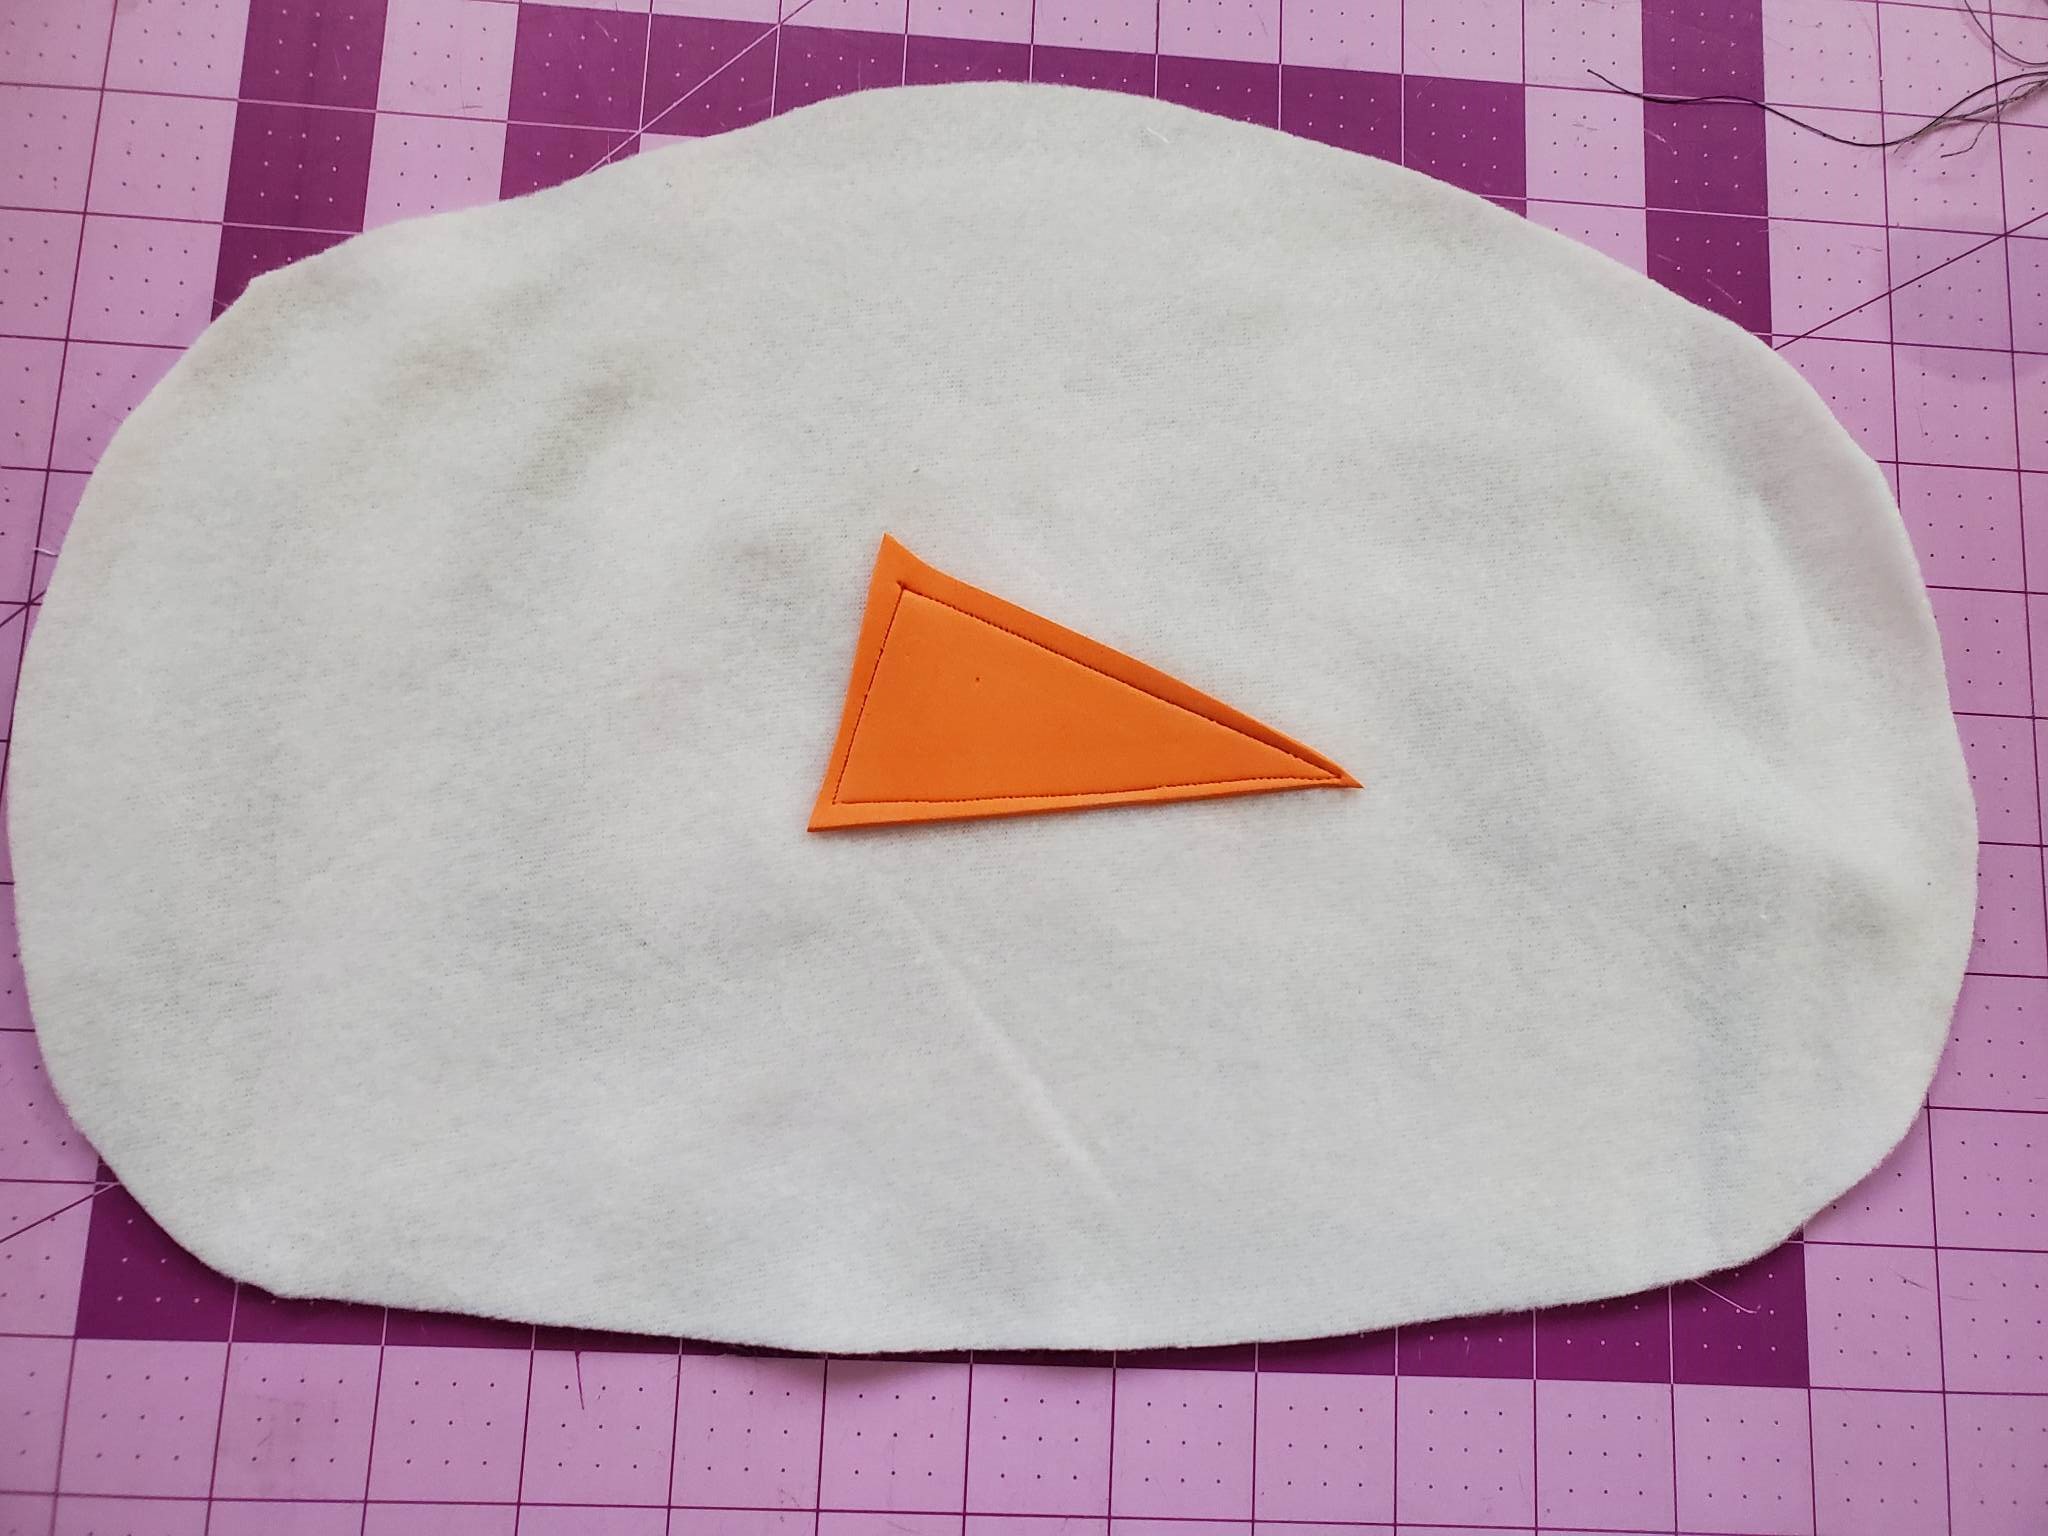
1. We will begin with one of our snowman head pieces in front of you. Set the other one aside for now, We are first going to place the nose. We will build our snowman's face around the nose. Place the nose in the center of the head.
A. If you are making an ornament: I prefer a simple single stitch in our nose to hold in place. Since it will not be played with much, and will only be a decoration, this will be plenty secure. Using orange thread, make a single stitch, coming through the top of the nose and tie a knot, as shown.
B. If you are making a pillow: You will probably want the nose attached more securely for a pillow (for all of the pillow fights it will surely be involved in!) Sewing around the edge of the nose, as shown. The craft foam went through my machine fine, but I did lengthen the stitch a bit. Note that you cannot pin it in place beforehand because the craft foam will show any holes made in it.
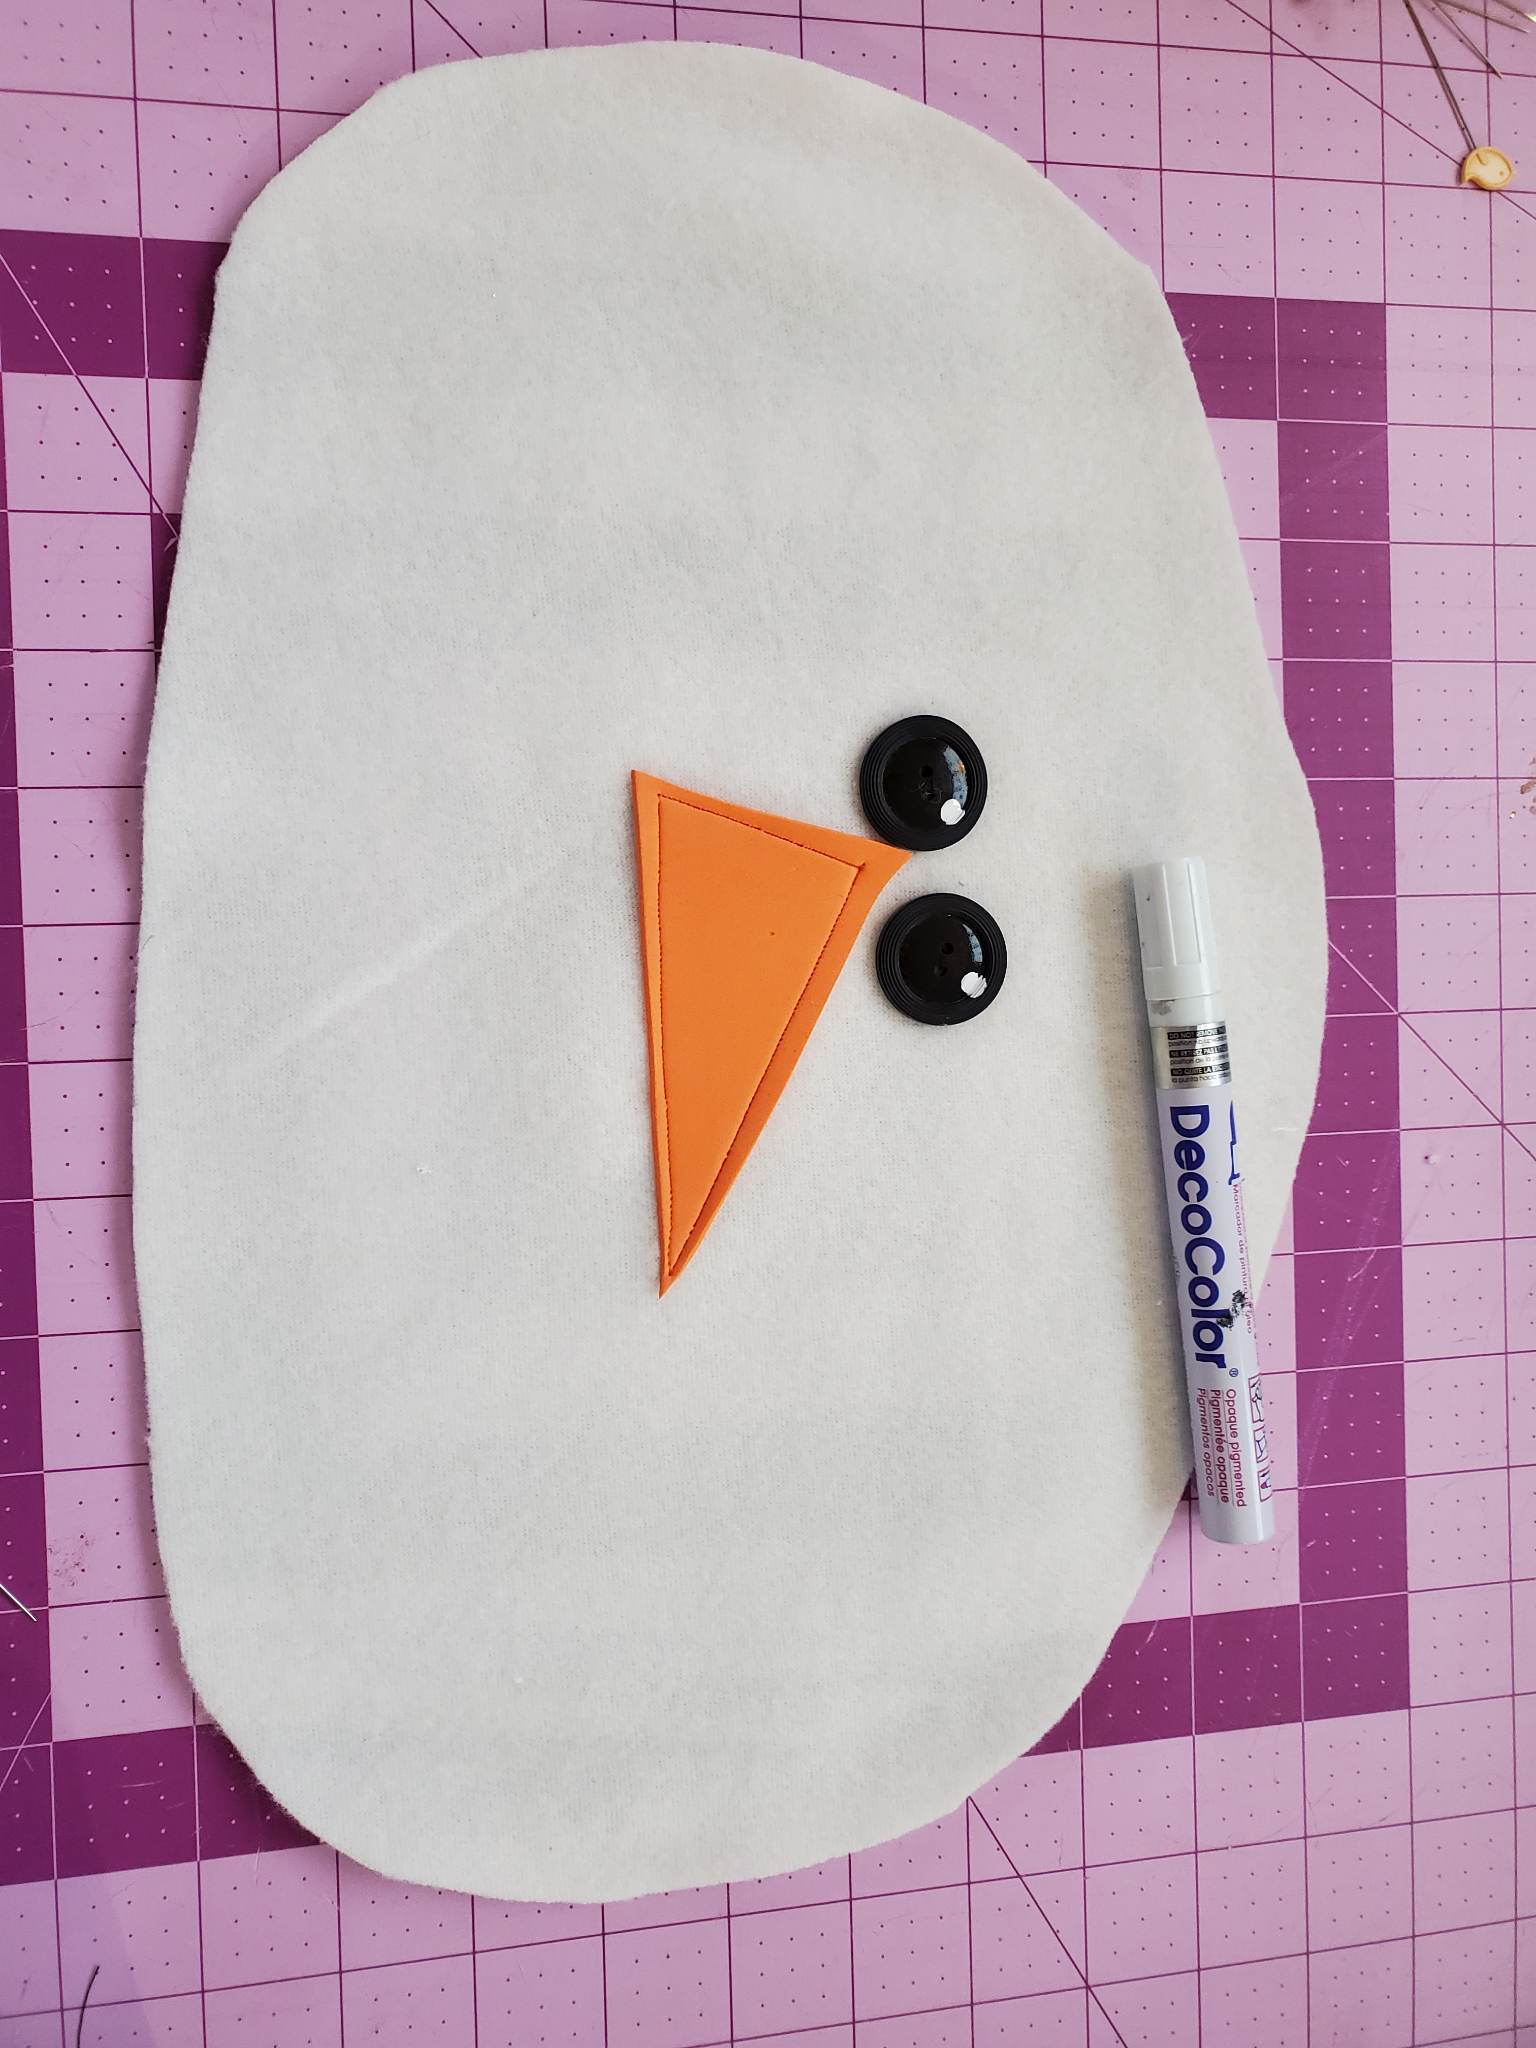
2. Now it is time to sew on the eyes. Place the buttons close to the carrot, as desired, and hand-sew in place with a needle and black thread.

A. Optional: Use a white paint pen or a dot of white pen to add a glint in the snowman's eyes, which adds some personality. This is an easy and fast touch, just make sure it is dry before continuing on!
3. Now we will hand stitch your snowman's smile. This is the trickiest part, but it's not hard with a little patience!
A. If you are making the ornament: Embroidery floss is sold in strands of 6. Cut a long piece (I did about 20") and separate 3 of the strands from the cluster. You may need to do this one at a time. We will only be using 3 of the strands to hand-sew the X's in the snowman's smile. Knot the bottom of your 3-strand thread and thread your needle. Starting on the left, make an X, continuing in a smile shape across your snowman's face, being careful to be at least one inch from the bottom. You will make 5 Xs. There is no rule here about placement, but a good guideline is to make the third X below the snowman's eyes, as this would be close to centered. Keep your stitches loose, making sure the Xs remain flat and do not pucker the fleece. Although this is all about what you think is aesthetically pleasing to your snowman's face, if it is helpful, each of my Xs were a little less than 1/2" wide.
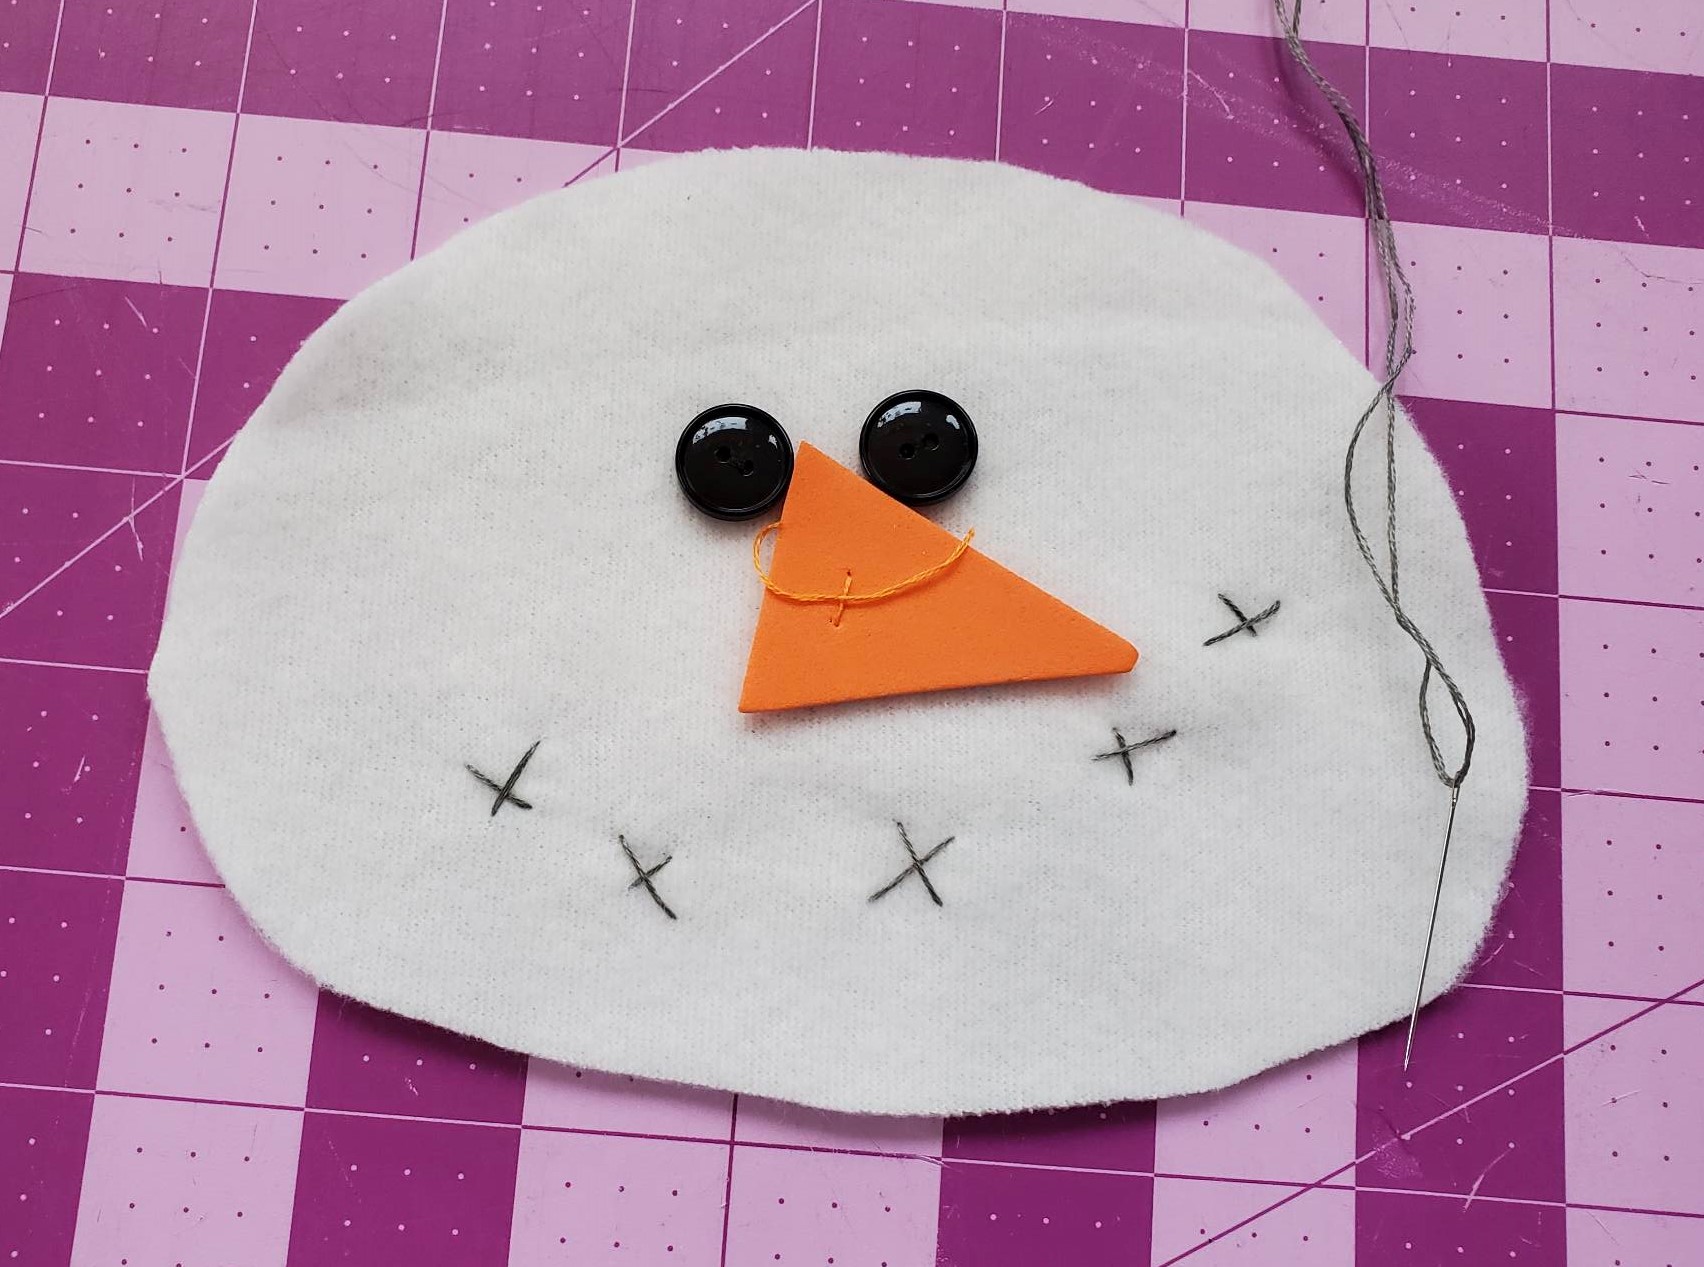
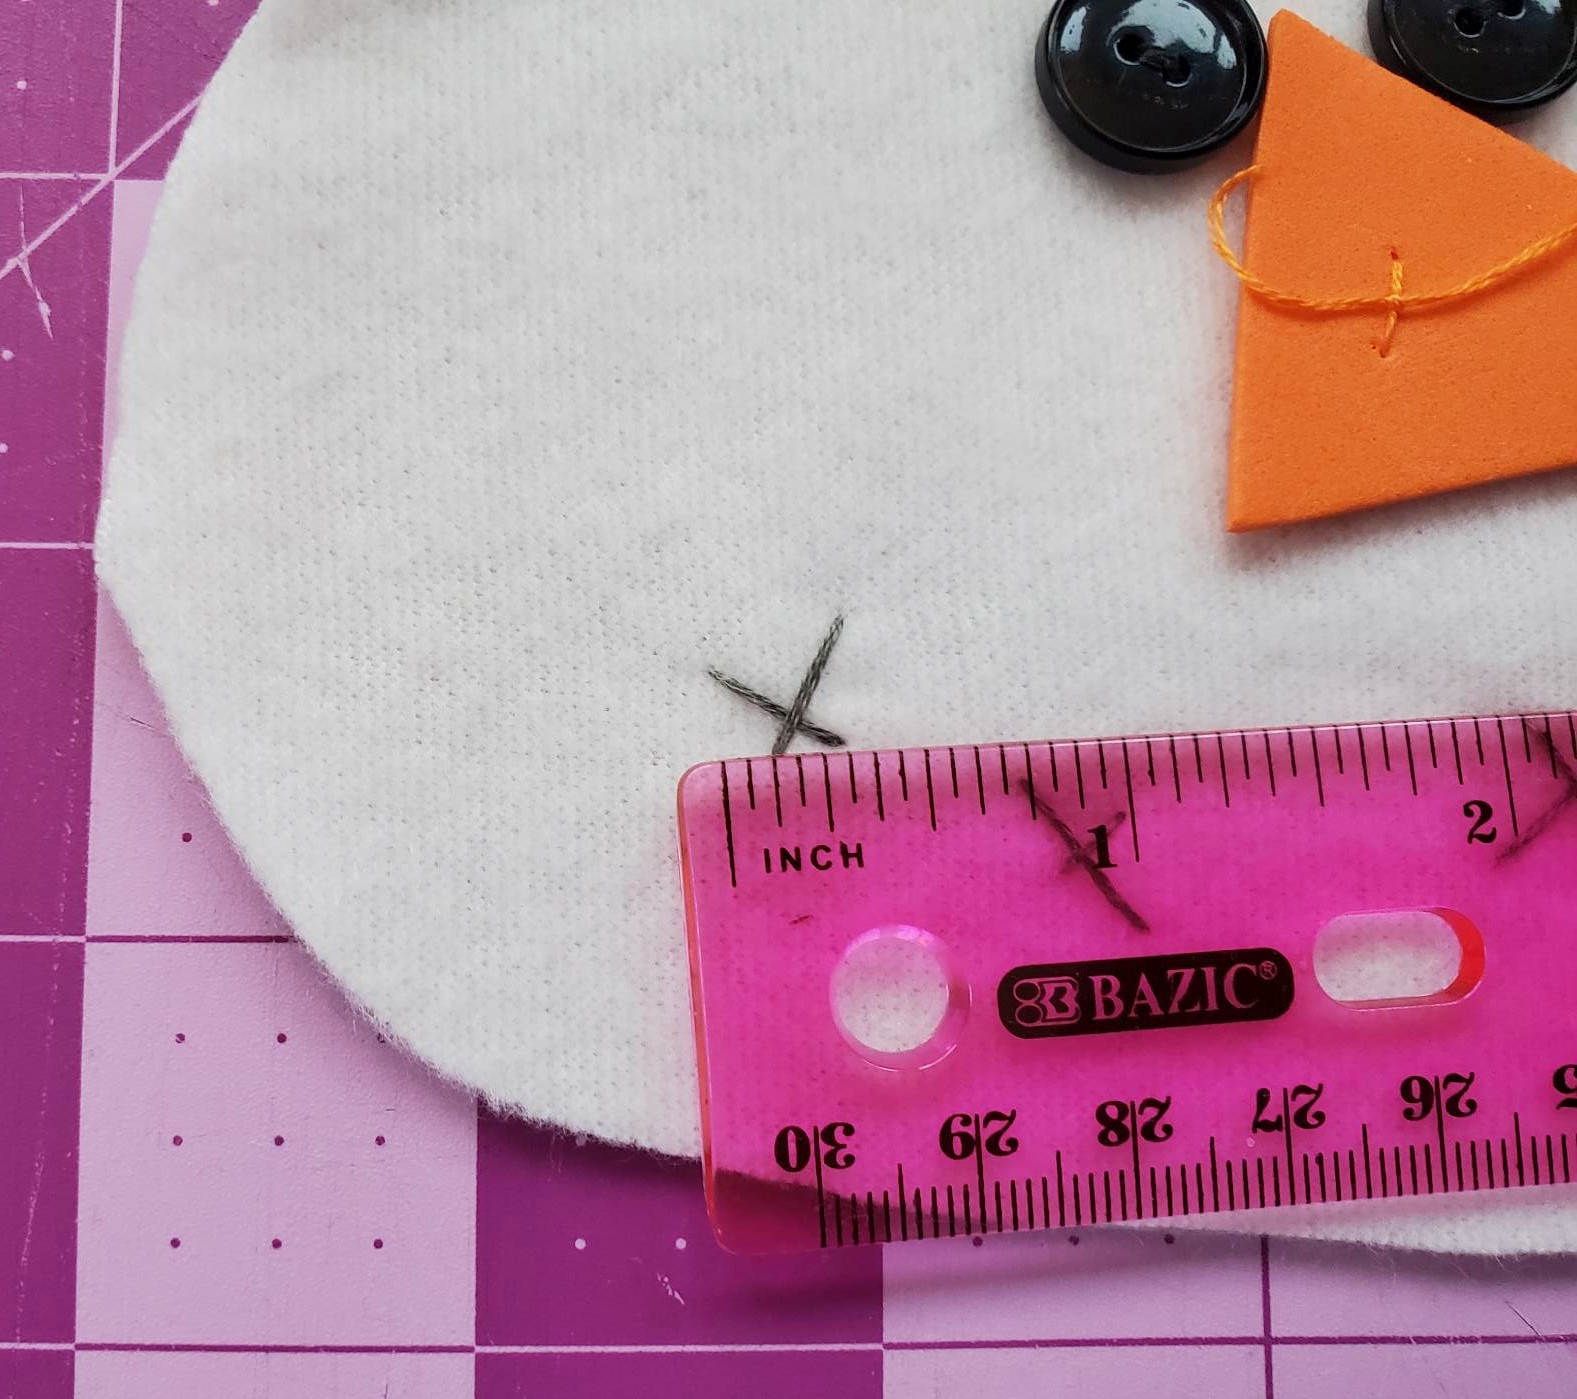
B. If you are making the pillow: We will use all 6 strands of the embroidery floss Cut a long piece (I did about 20") Knot the bottom of your 6-strand thread and thread your needle. Starting on the left, make an X, continuing in a smile shape across your snowman's face, being careful to be at least one inch from the bottom. You will make 7 Xs. There is no rule here about placement, but a good guideline is to make the fourth X below the snowman's eyes, as this would be close to centered. Keep your stitches loose, making sure the Xs remain flat and do not pucker the fleece. Although this is all about what you think is aesthetically pleasing to your snowman's face, if it is helpful, each of my Xs were a little more than 1/2" wide.
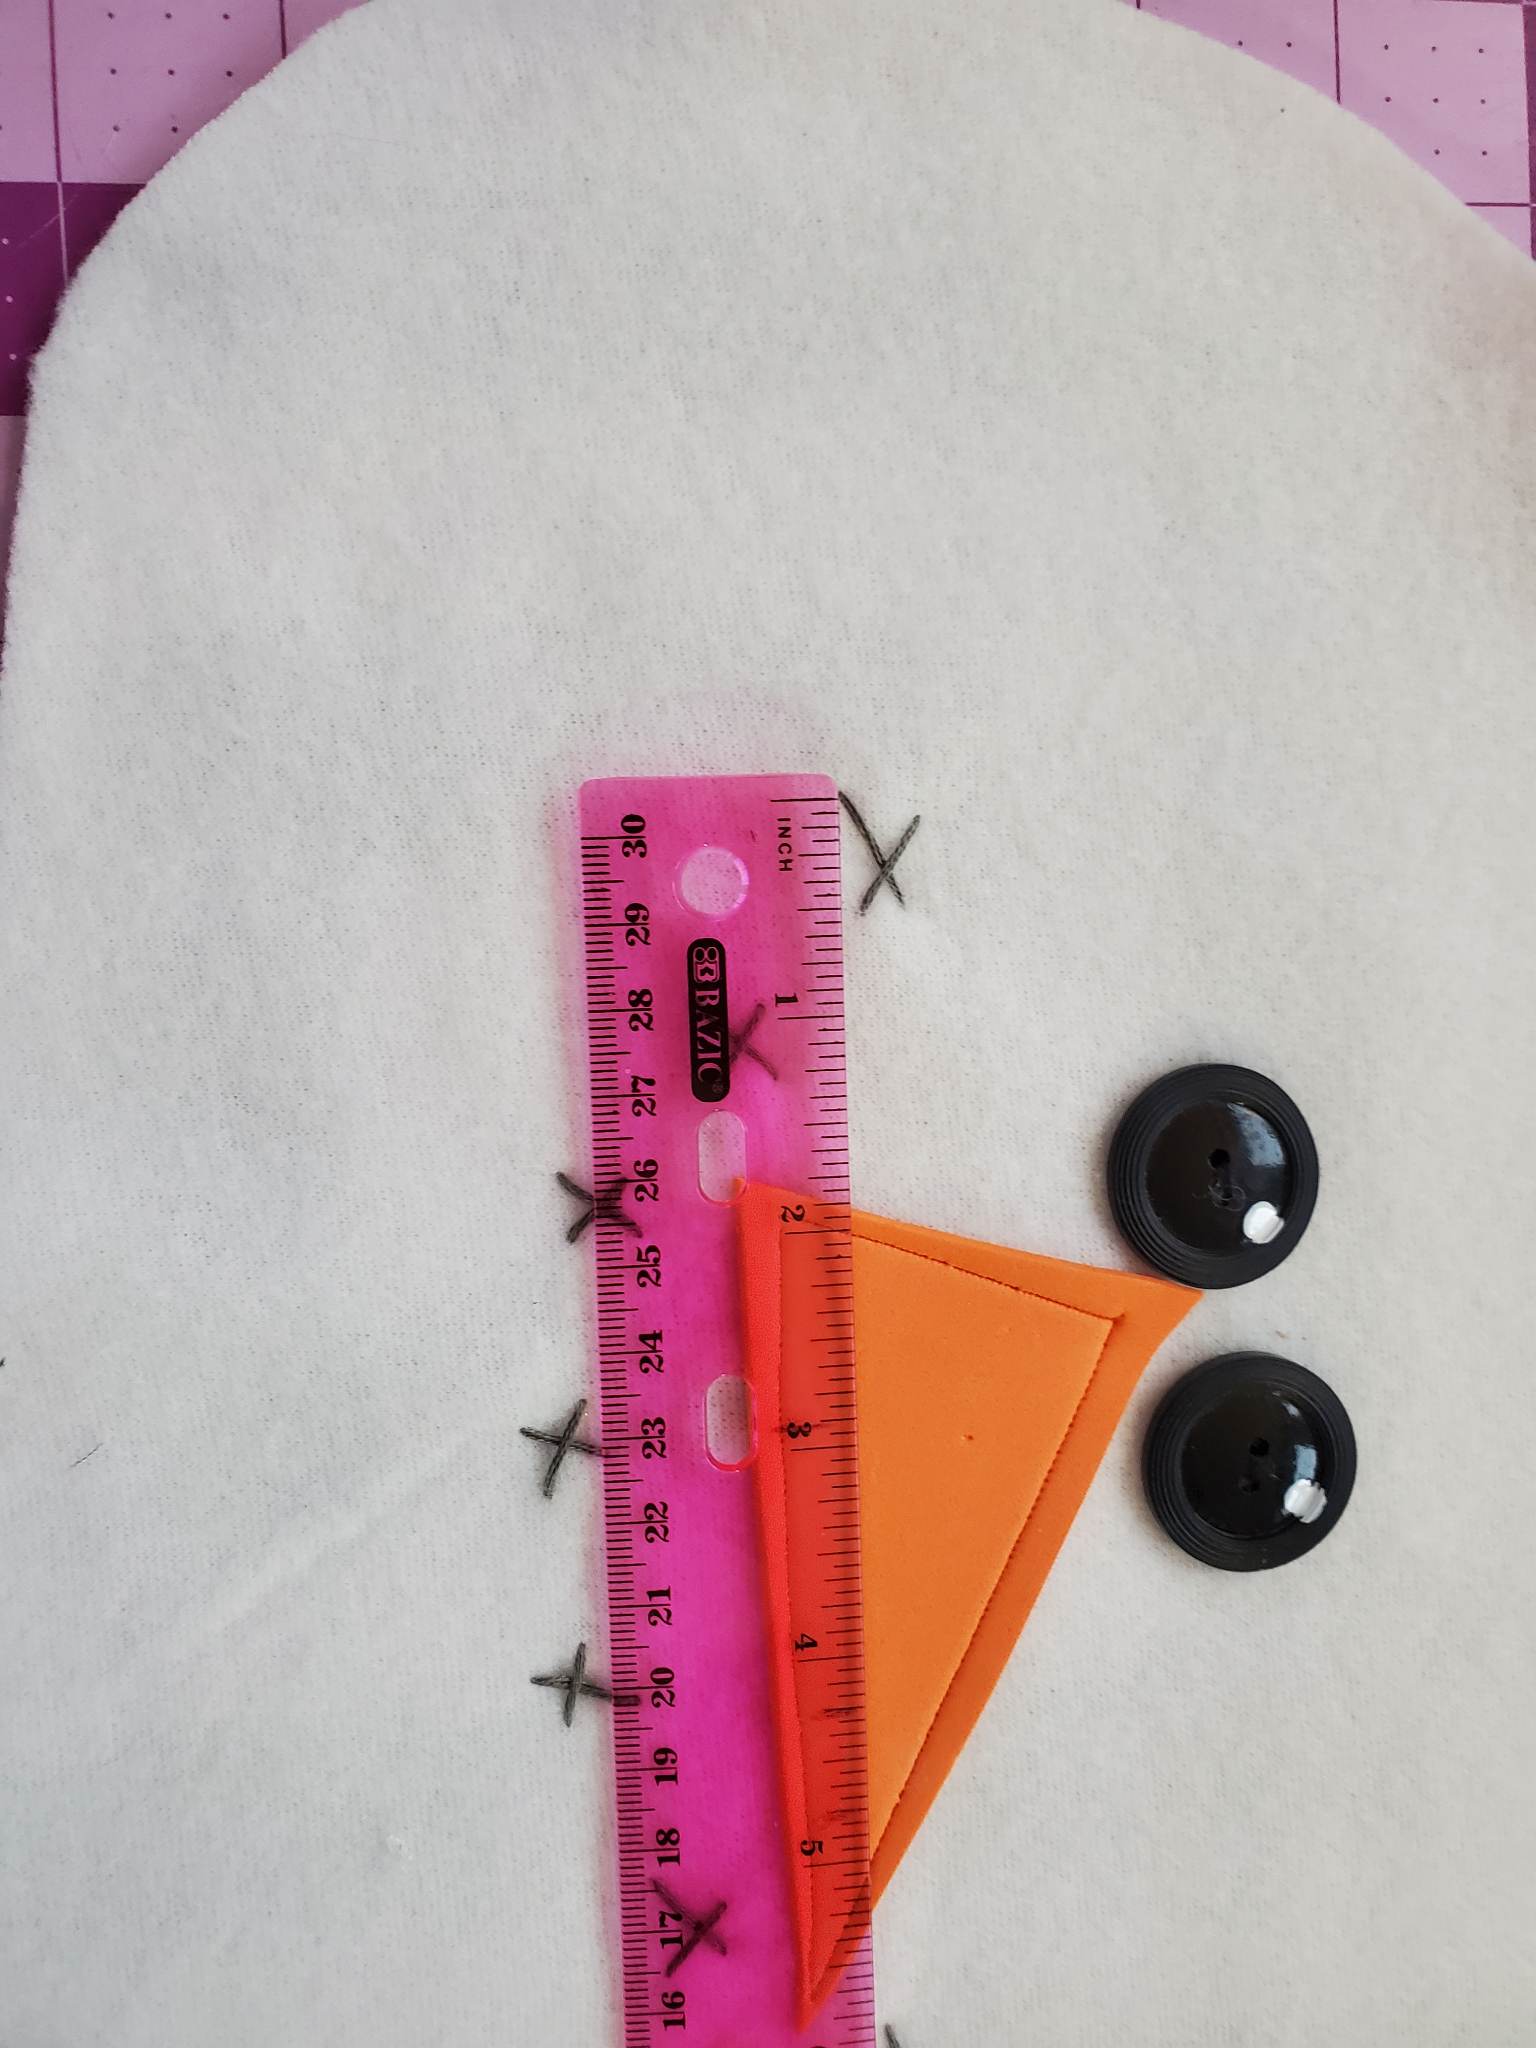
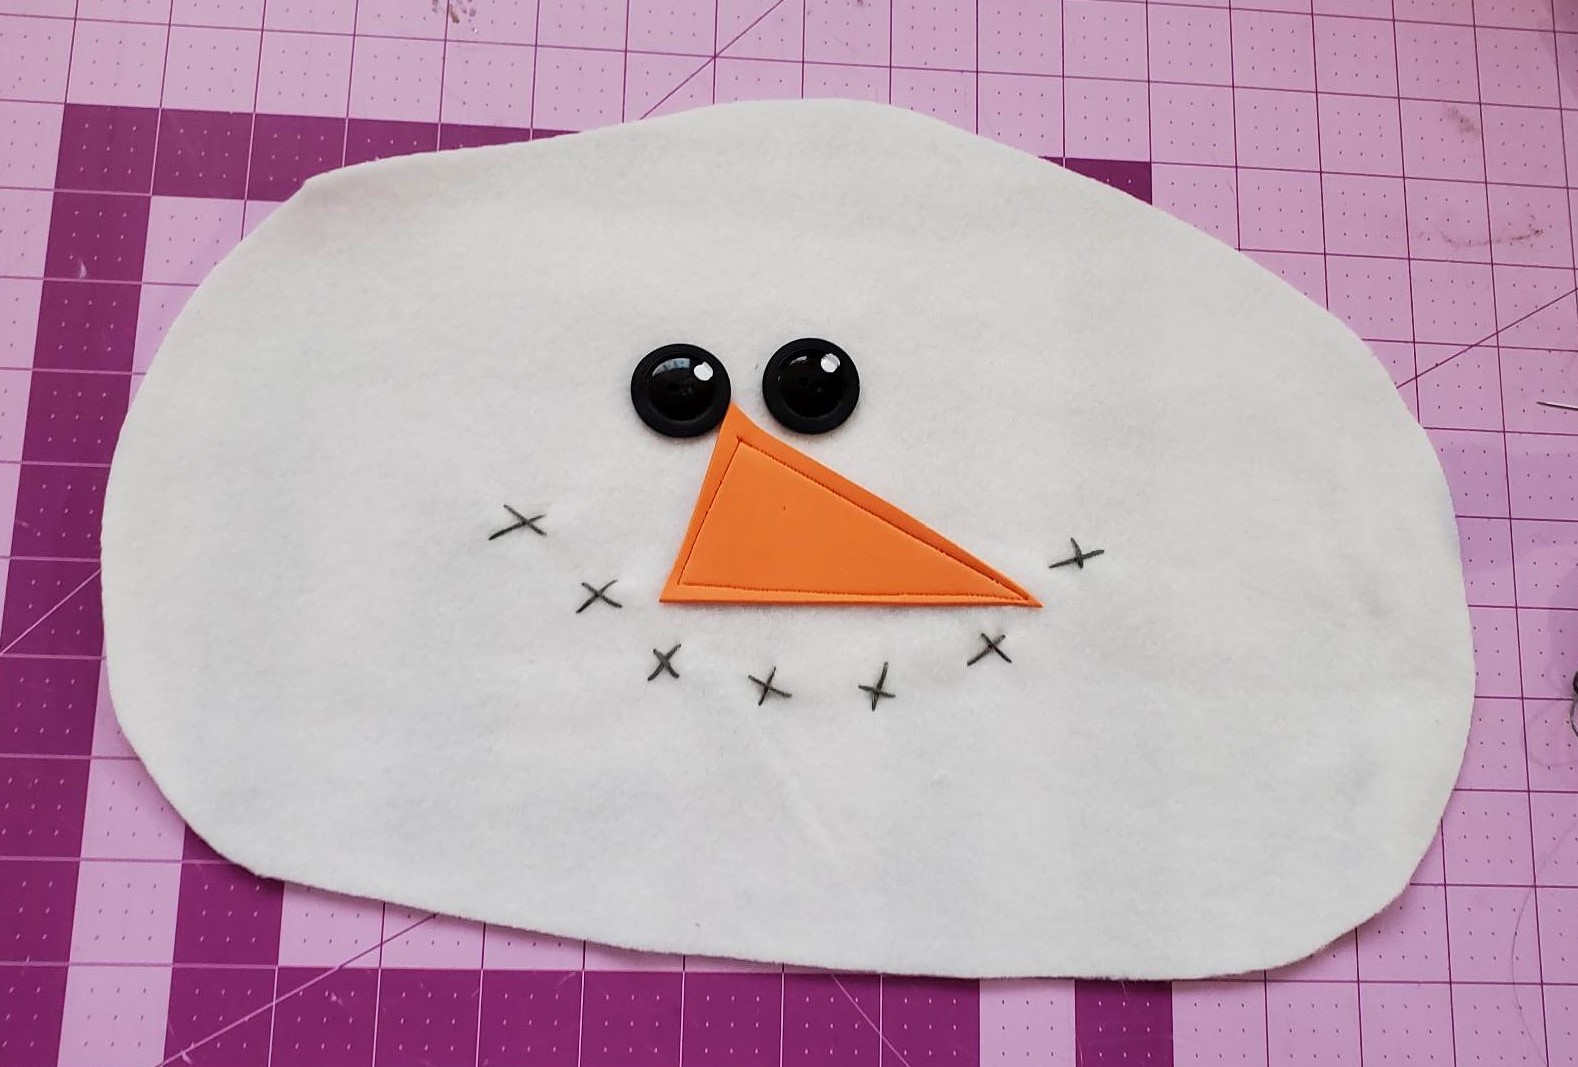
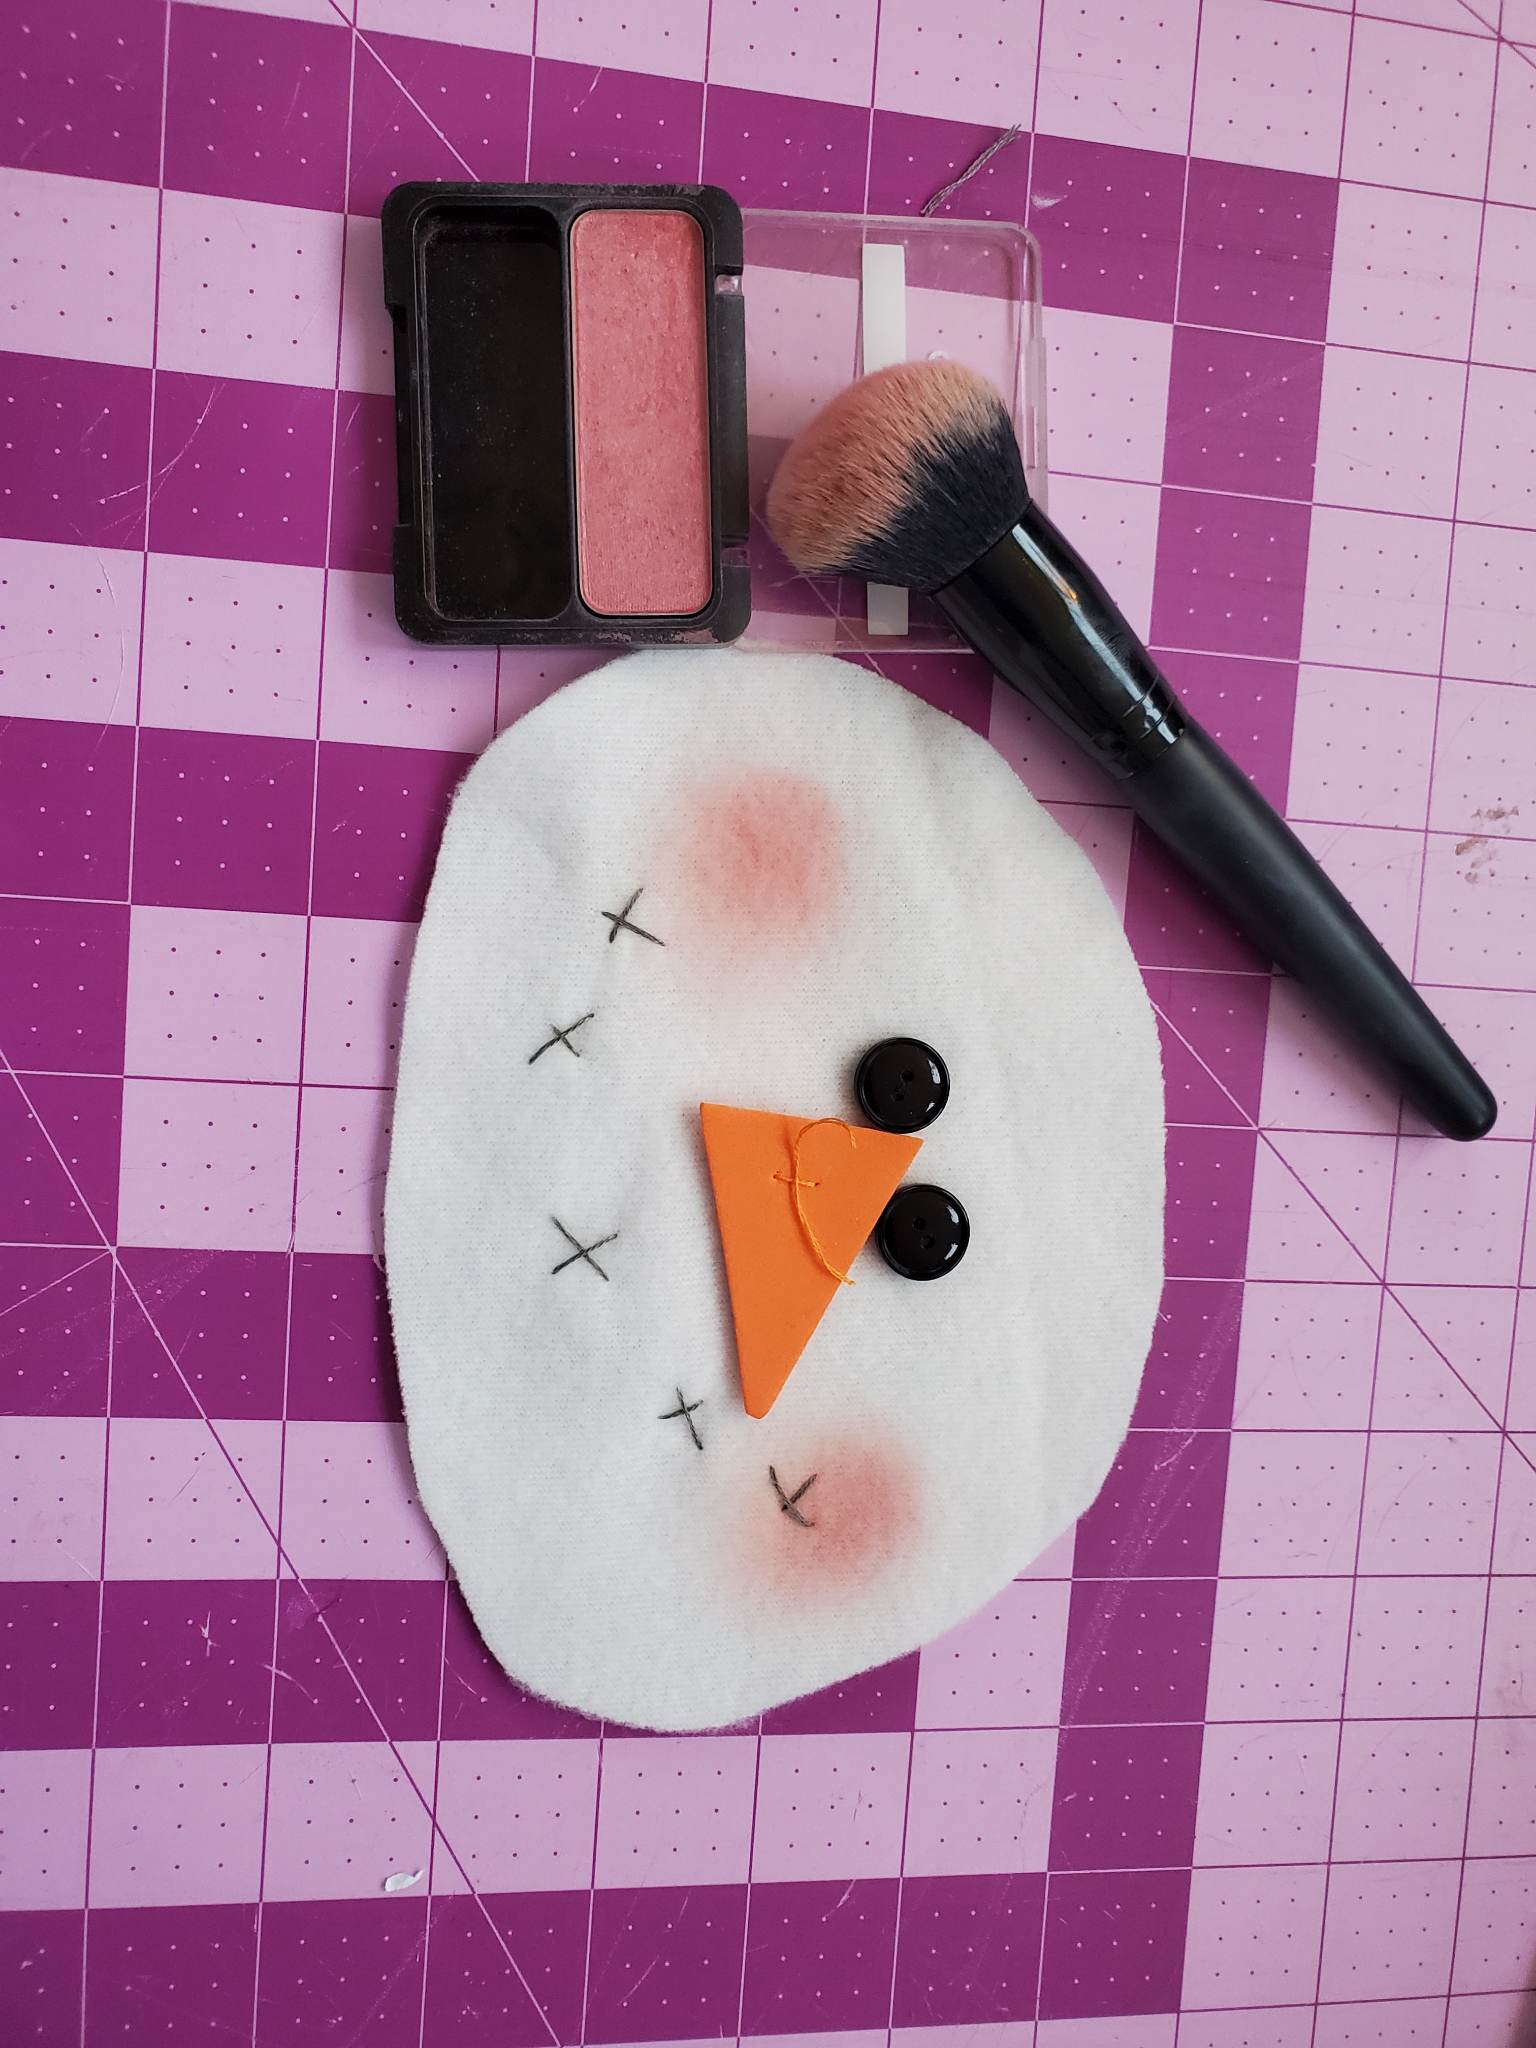
4. Now my favorite step, as this will bring your snowman to life! Using a make up brush and blush, make your snowman's cheeks rosy! Do not get your brush too full of powder, as any loose powder will pretty instantly stain your snowman in places you may not want it to! I used a dabbing motion to apply a little at a time. The blush can also go right over any mouth stitches.
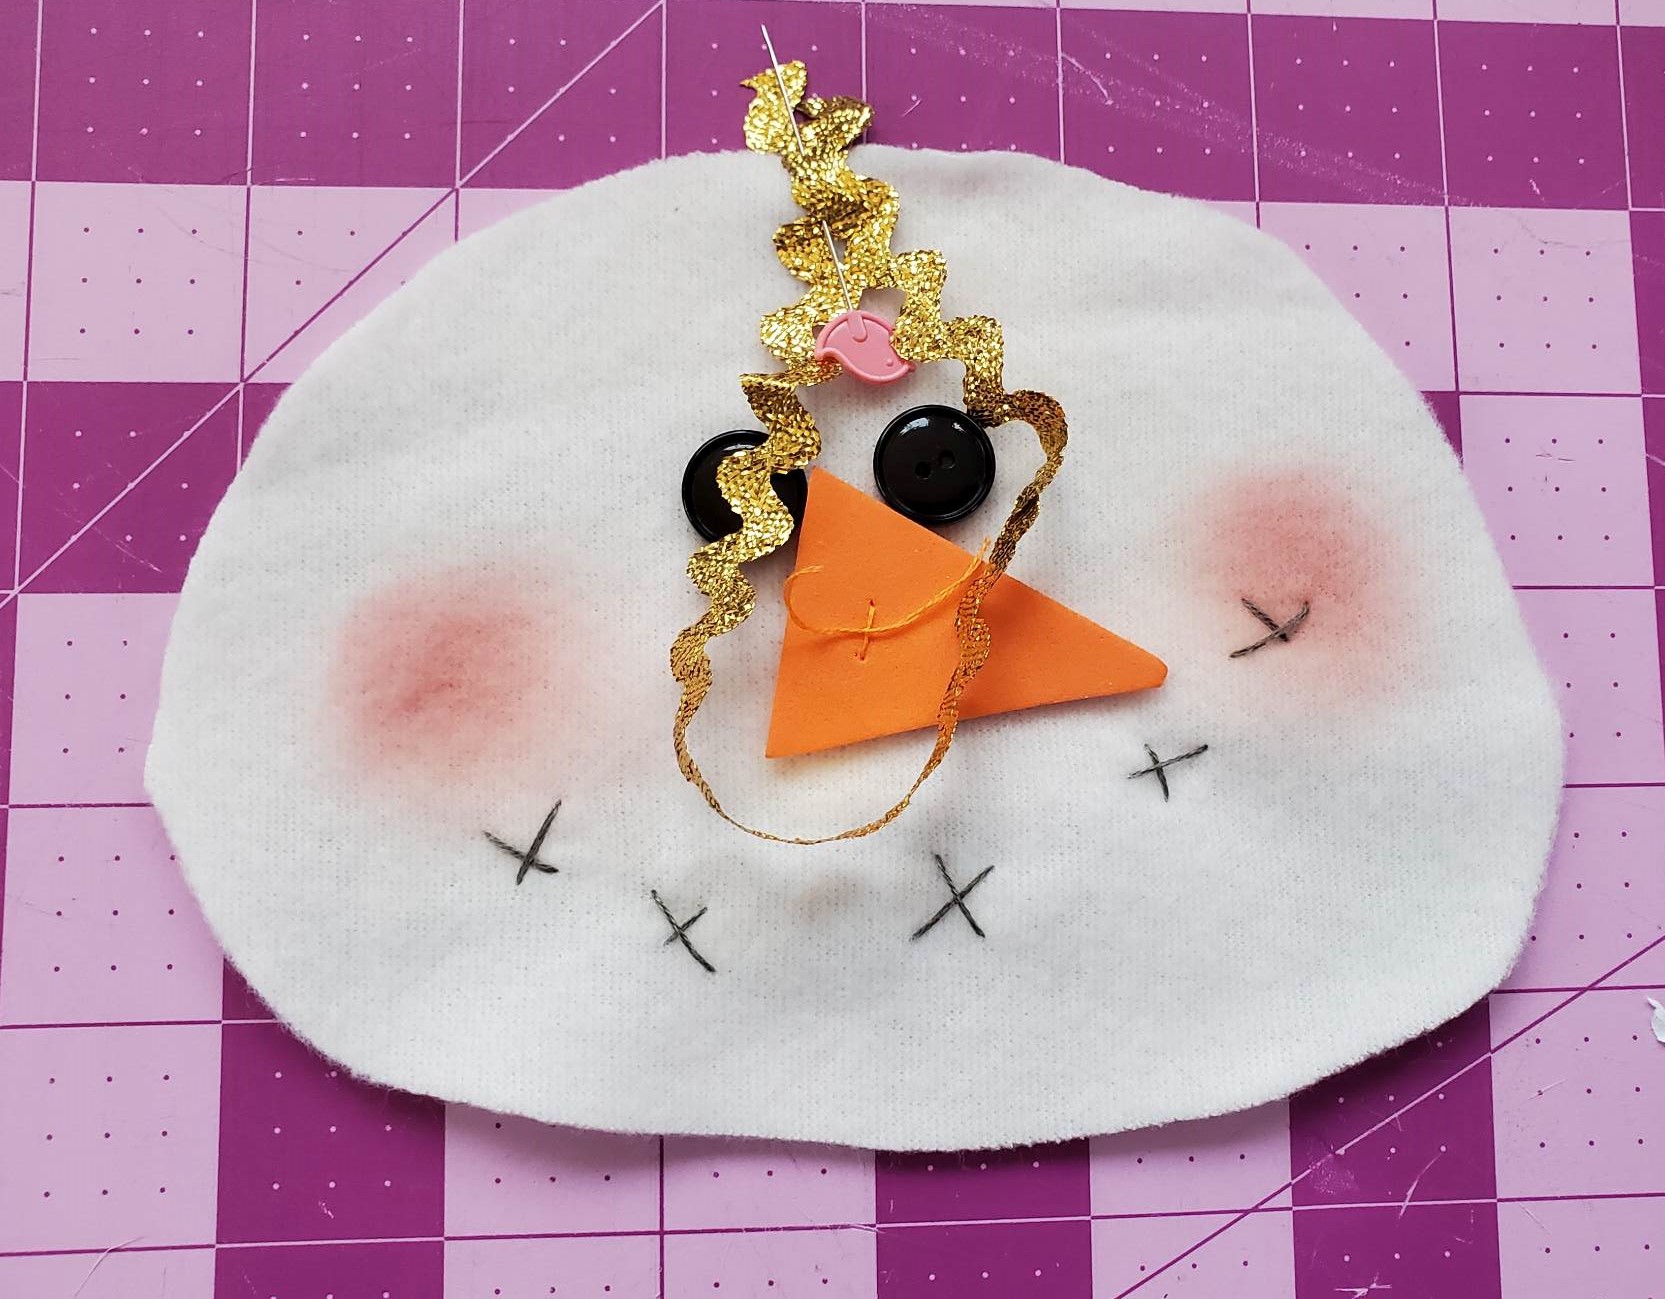
5. We will now sew your snowman together and prepare it for stuffing.
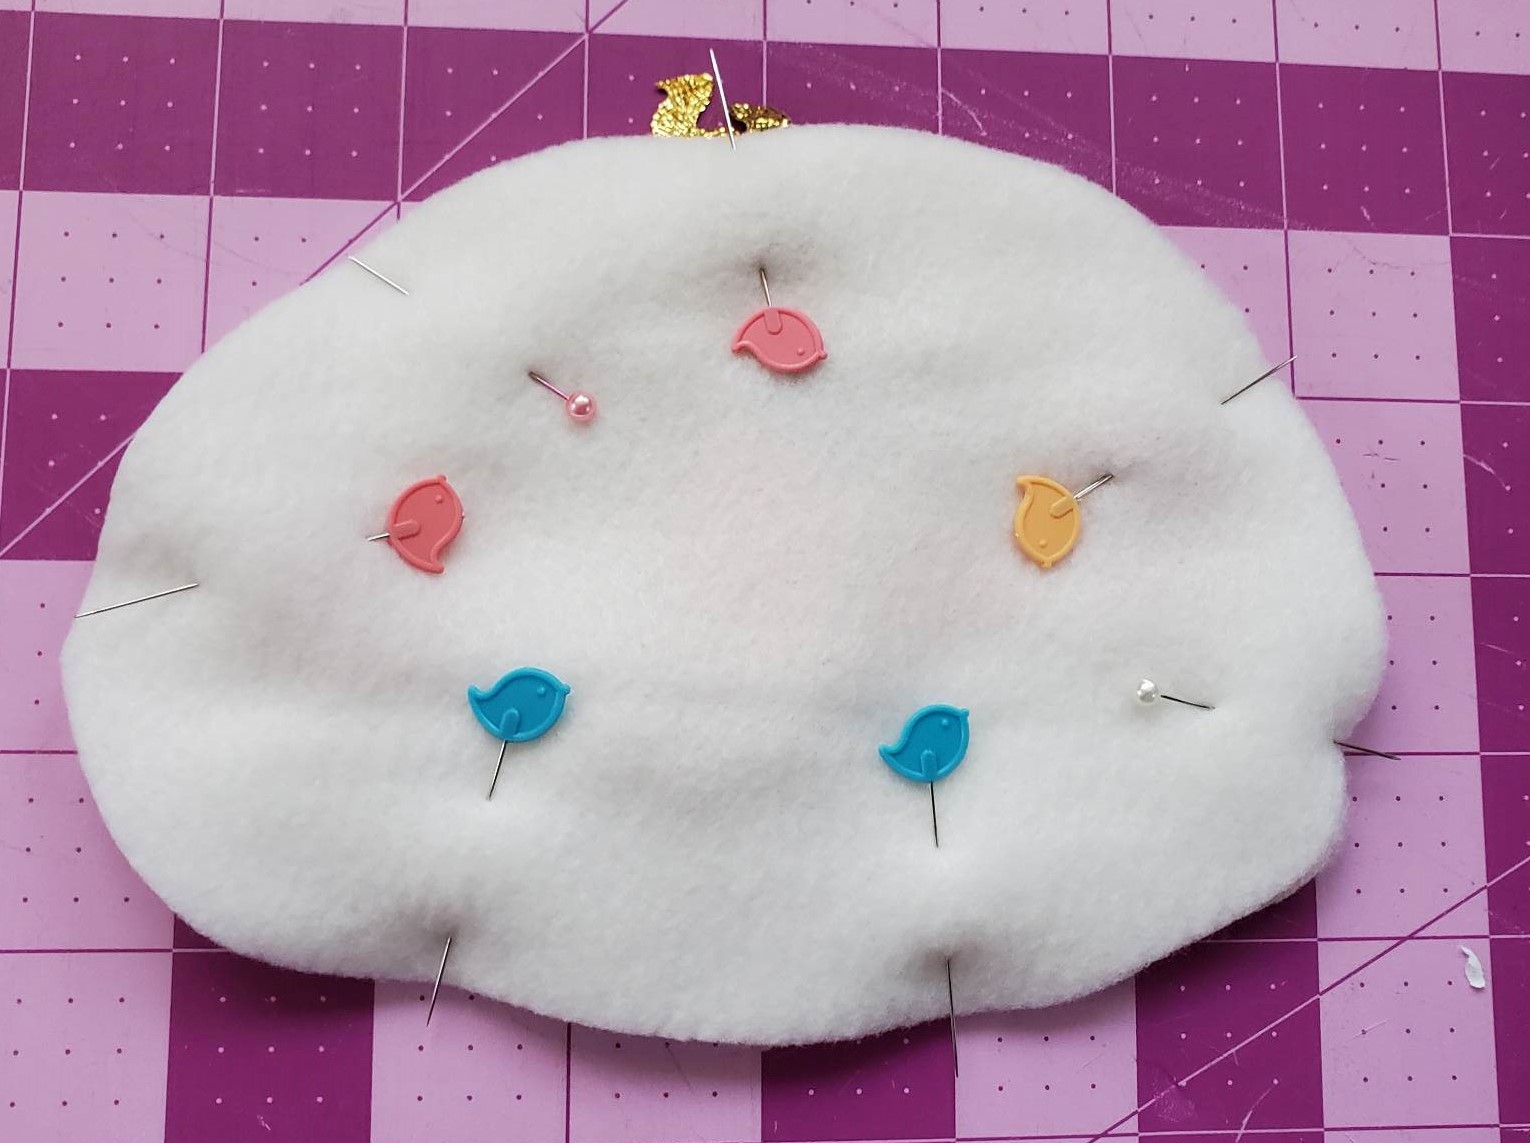
A. If you are making an ornament: Loop your 9" ribbon and pin to the top of the snowman's head, as shown. Baste in place. Now pin the front and back pieces together, right sides facing, leaving a 3" opening at the bottom for turning (in the image, the blue pins indicate the area I will leave open). Sew around the snowman head and clip your curves.
B. If you are making a pillow: Pin the front and back pieces together, right sides facing, leaving a 3" opening at the bottom for turning (in the image, the blue pins indicate the area I will leave open). Sew around the snowman head and clip your curves.
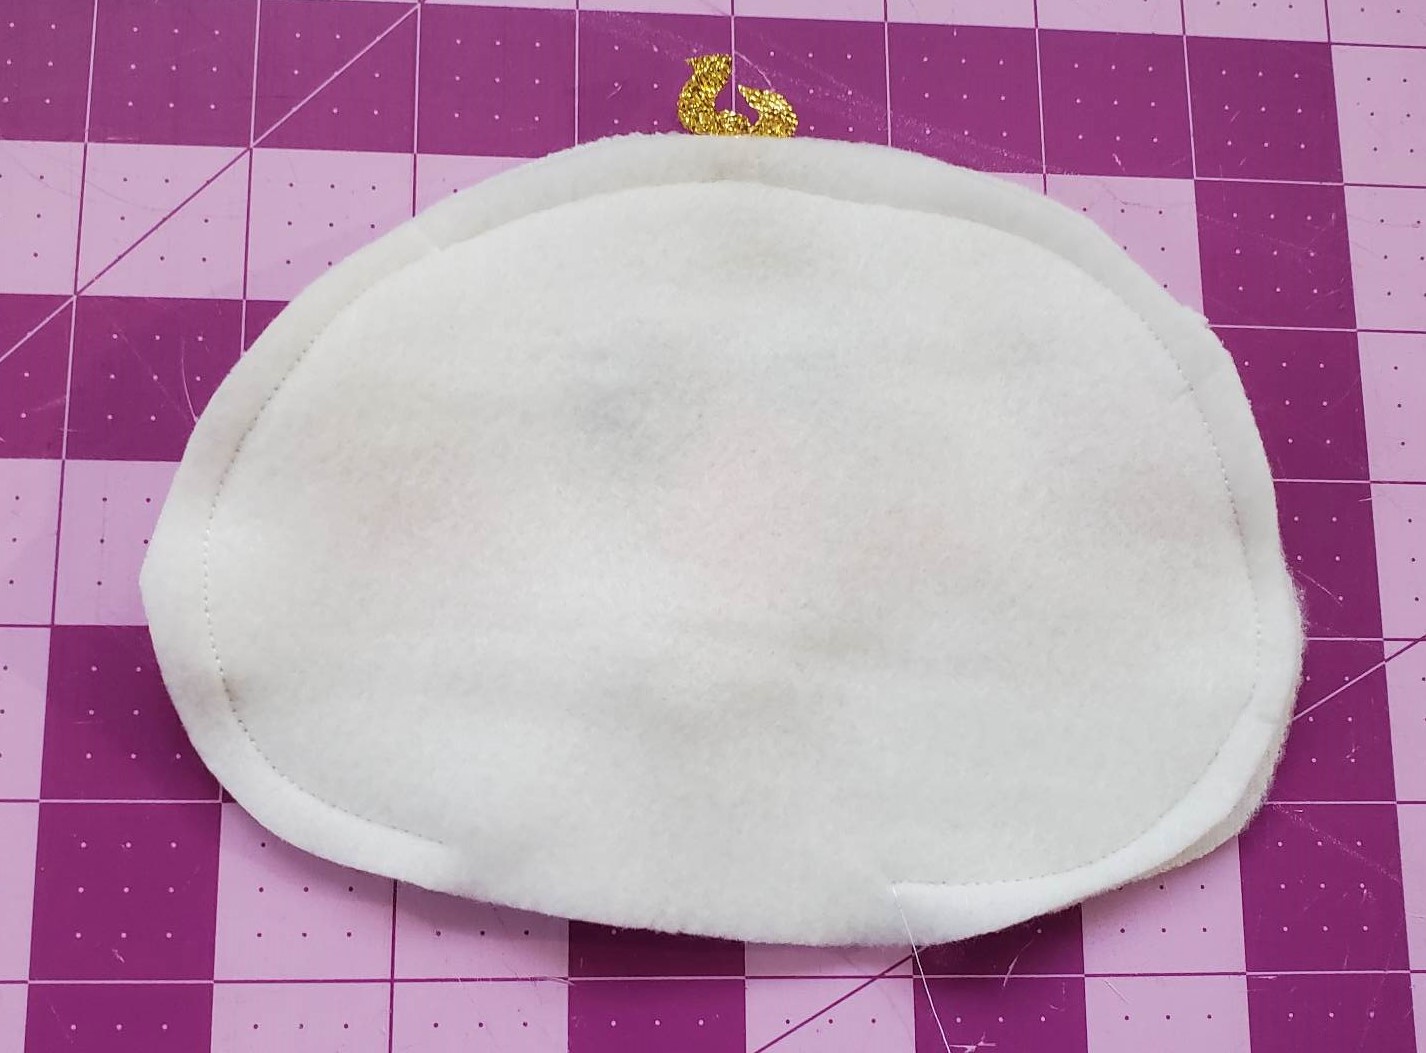
6. Turn your snowman right side out. Now you can stuff with polyfil.
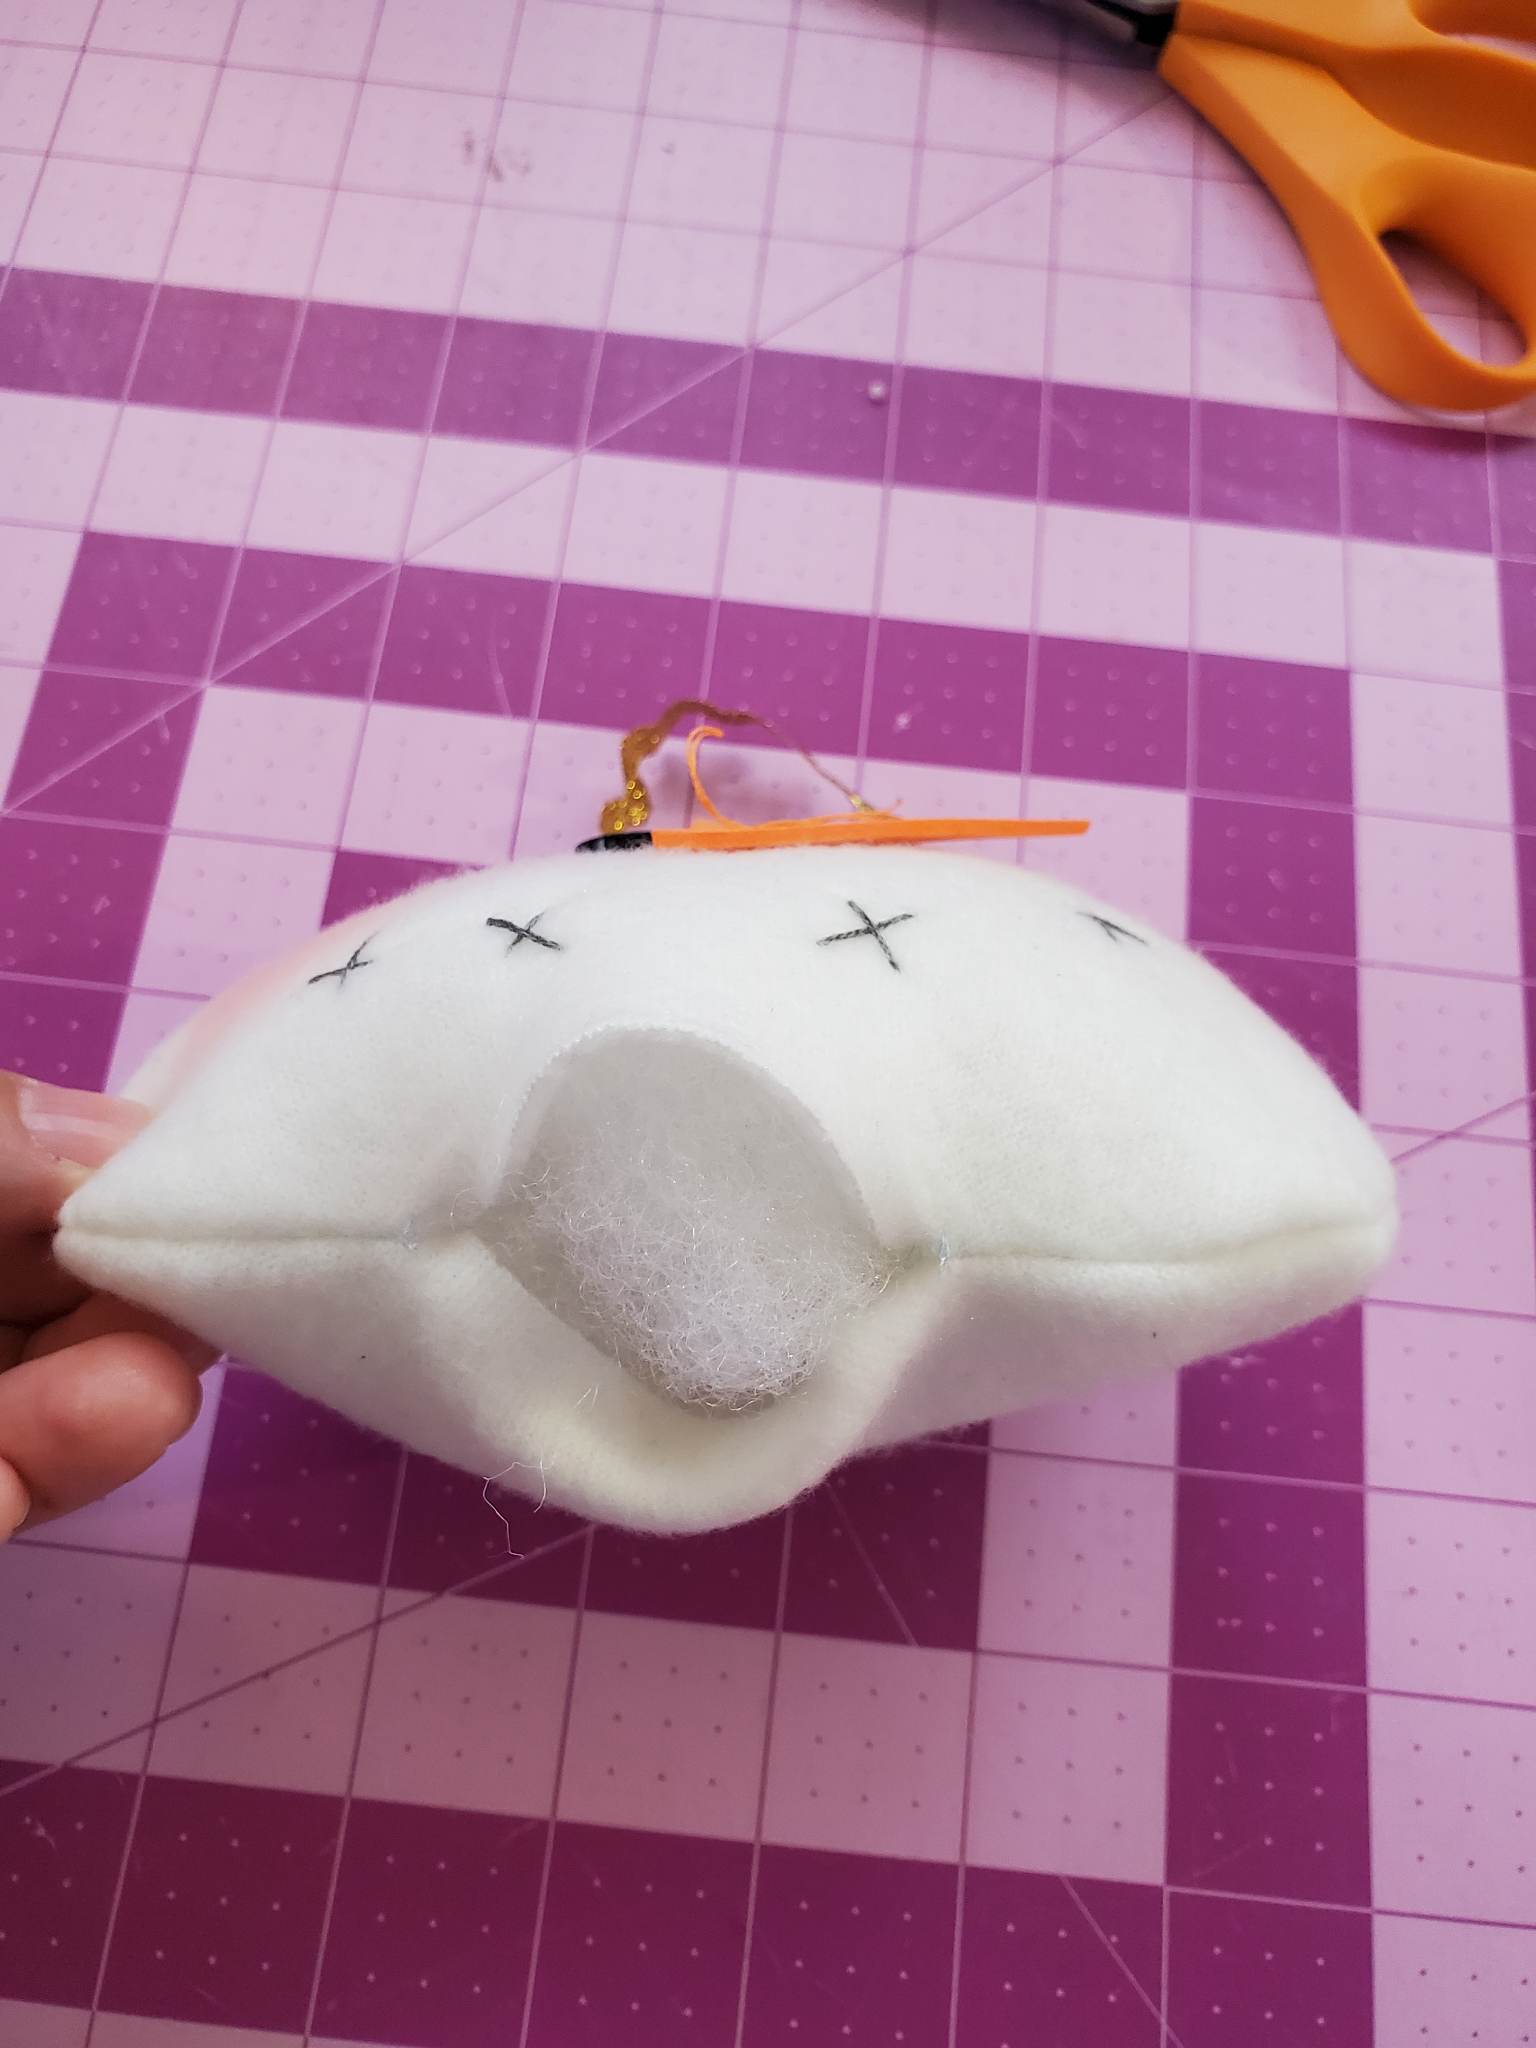
7. Use a ladder stitch to close your snowman. If you need support in learning to ladder stitch, there is a tutorial as part of Binx's Scaredy Cat that can help!
And you are done!
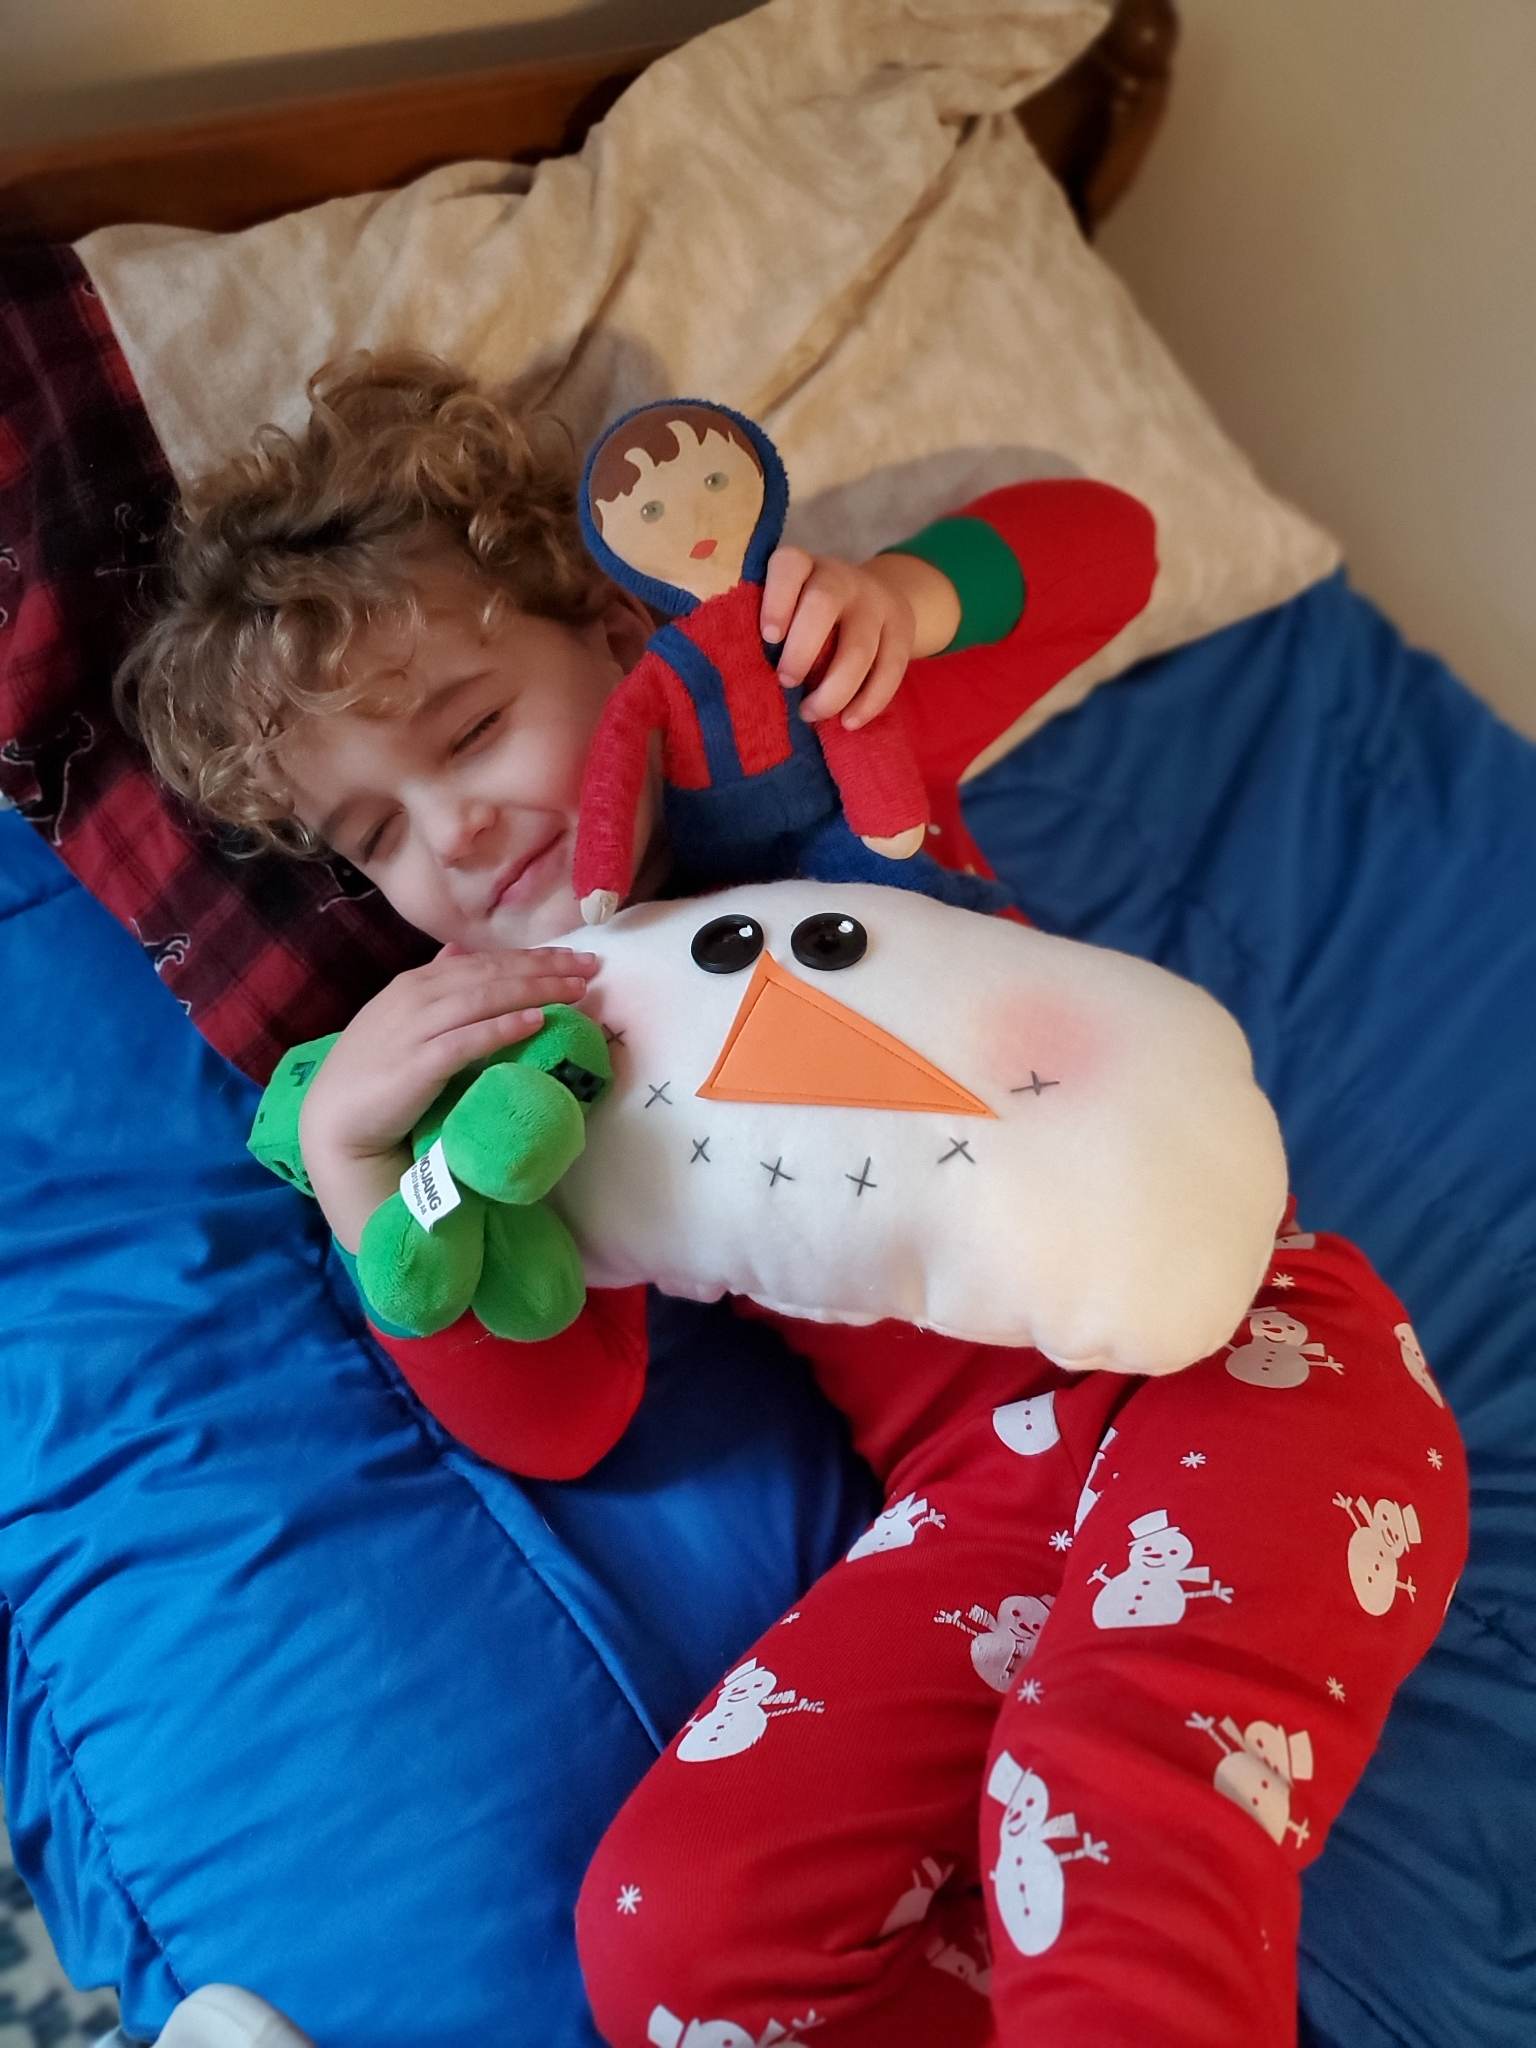
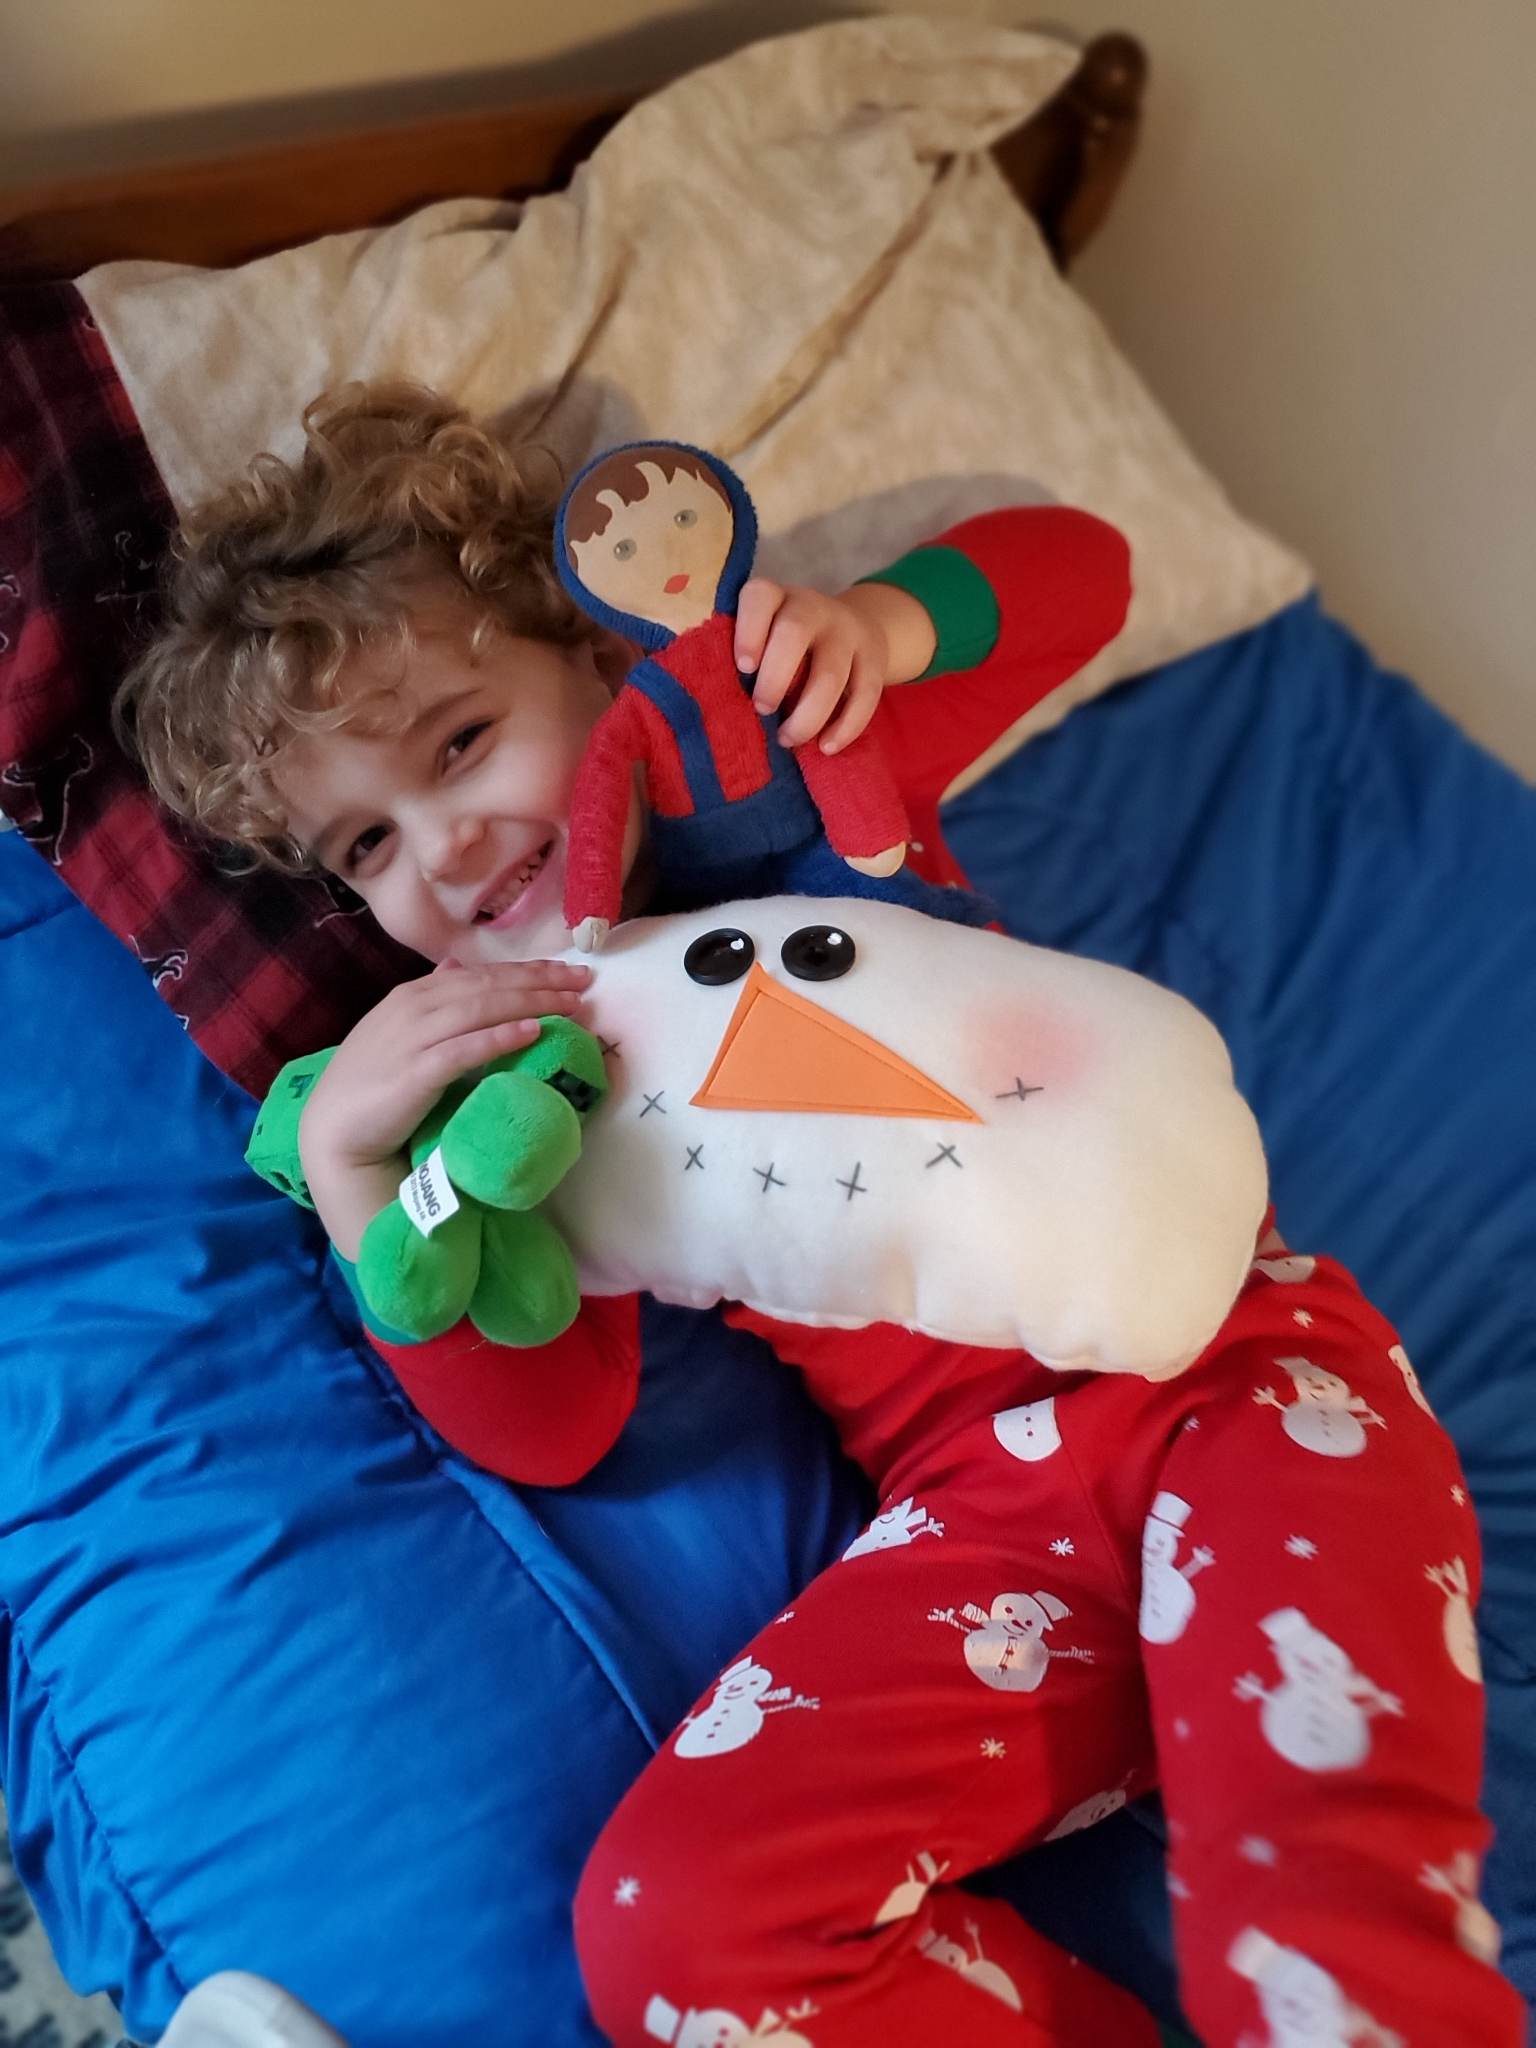
My son has officially claimed this pillow as his own and is snuggling with in in bed tonight. It got to meet all of his stuffies, which made him very happy!
Come back tomorrow night for a tutorial that will go well with our surprise release!! We cannot wait to see what you create! Be sure to share with us in the CKC Facebook group, or tag us on Instagram!
Meg
