
Posted by Meg Hess on 19th Dec 2022
12 Days of Christmas 2022: Buffalo Gals Table Runner
"Buffalo gals. won't you come out tonight?
Come out tonight?
Come out tonight?
Buffalo gals won't you come out tonight
And dance in the light of the moon?

Its the 10th day of Christmas and today we have a very special tutorial. Buffalo plaid is everywhere this time of year (and in my kitchen, year round!) and this tutorial gives instructions for sewing a buffalo plaid-inspired table runner! Even if you are new to sewing, this pattern is all straight lines and comes together much easier than you think! I have loved sewing some up as teacher presents (and have a selfish sew planned for my own post-Christmas dining room!)

Let's get started!
Choosing Fabric
This tutorial is written for cotton woven fabric.
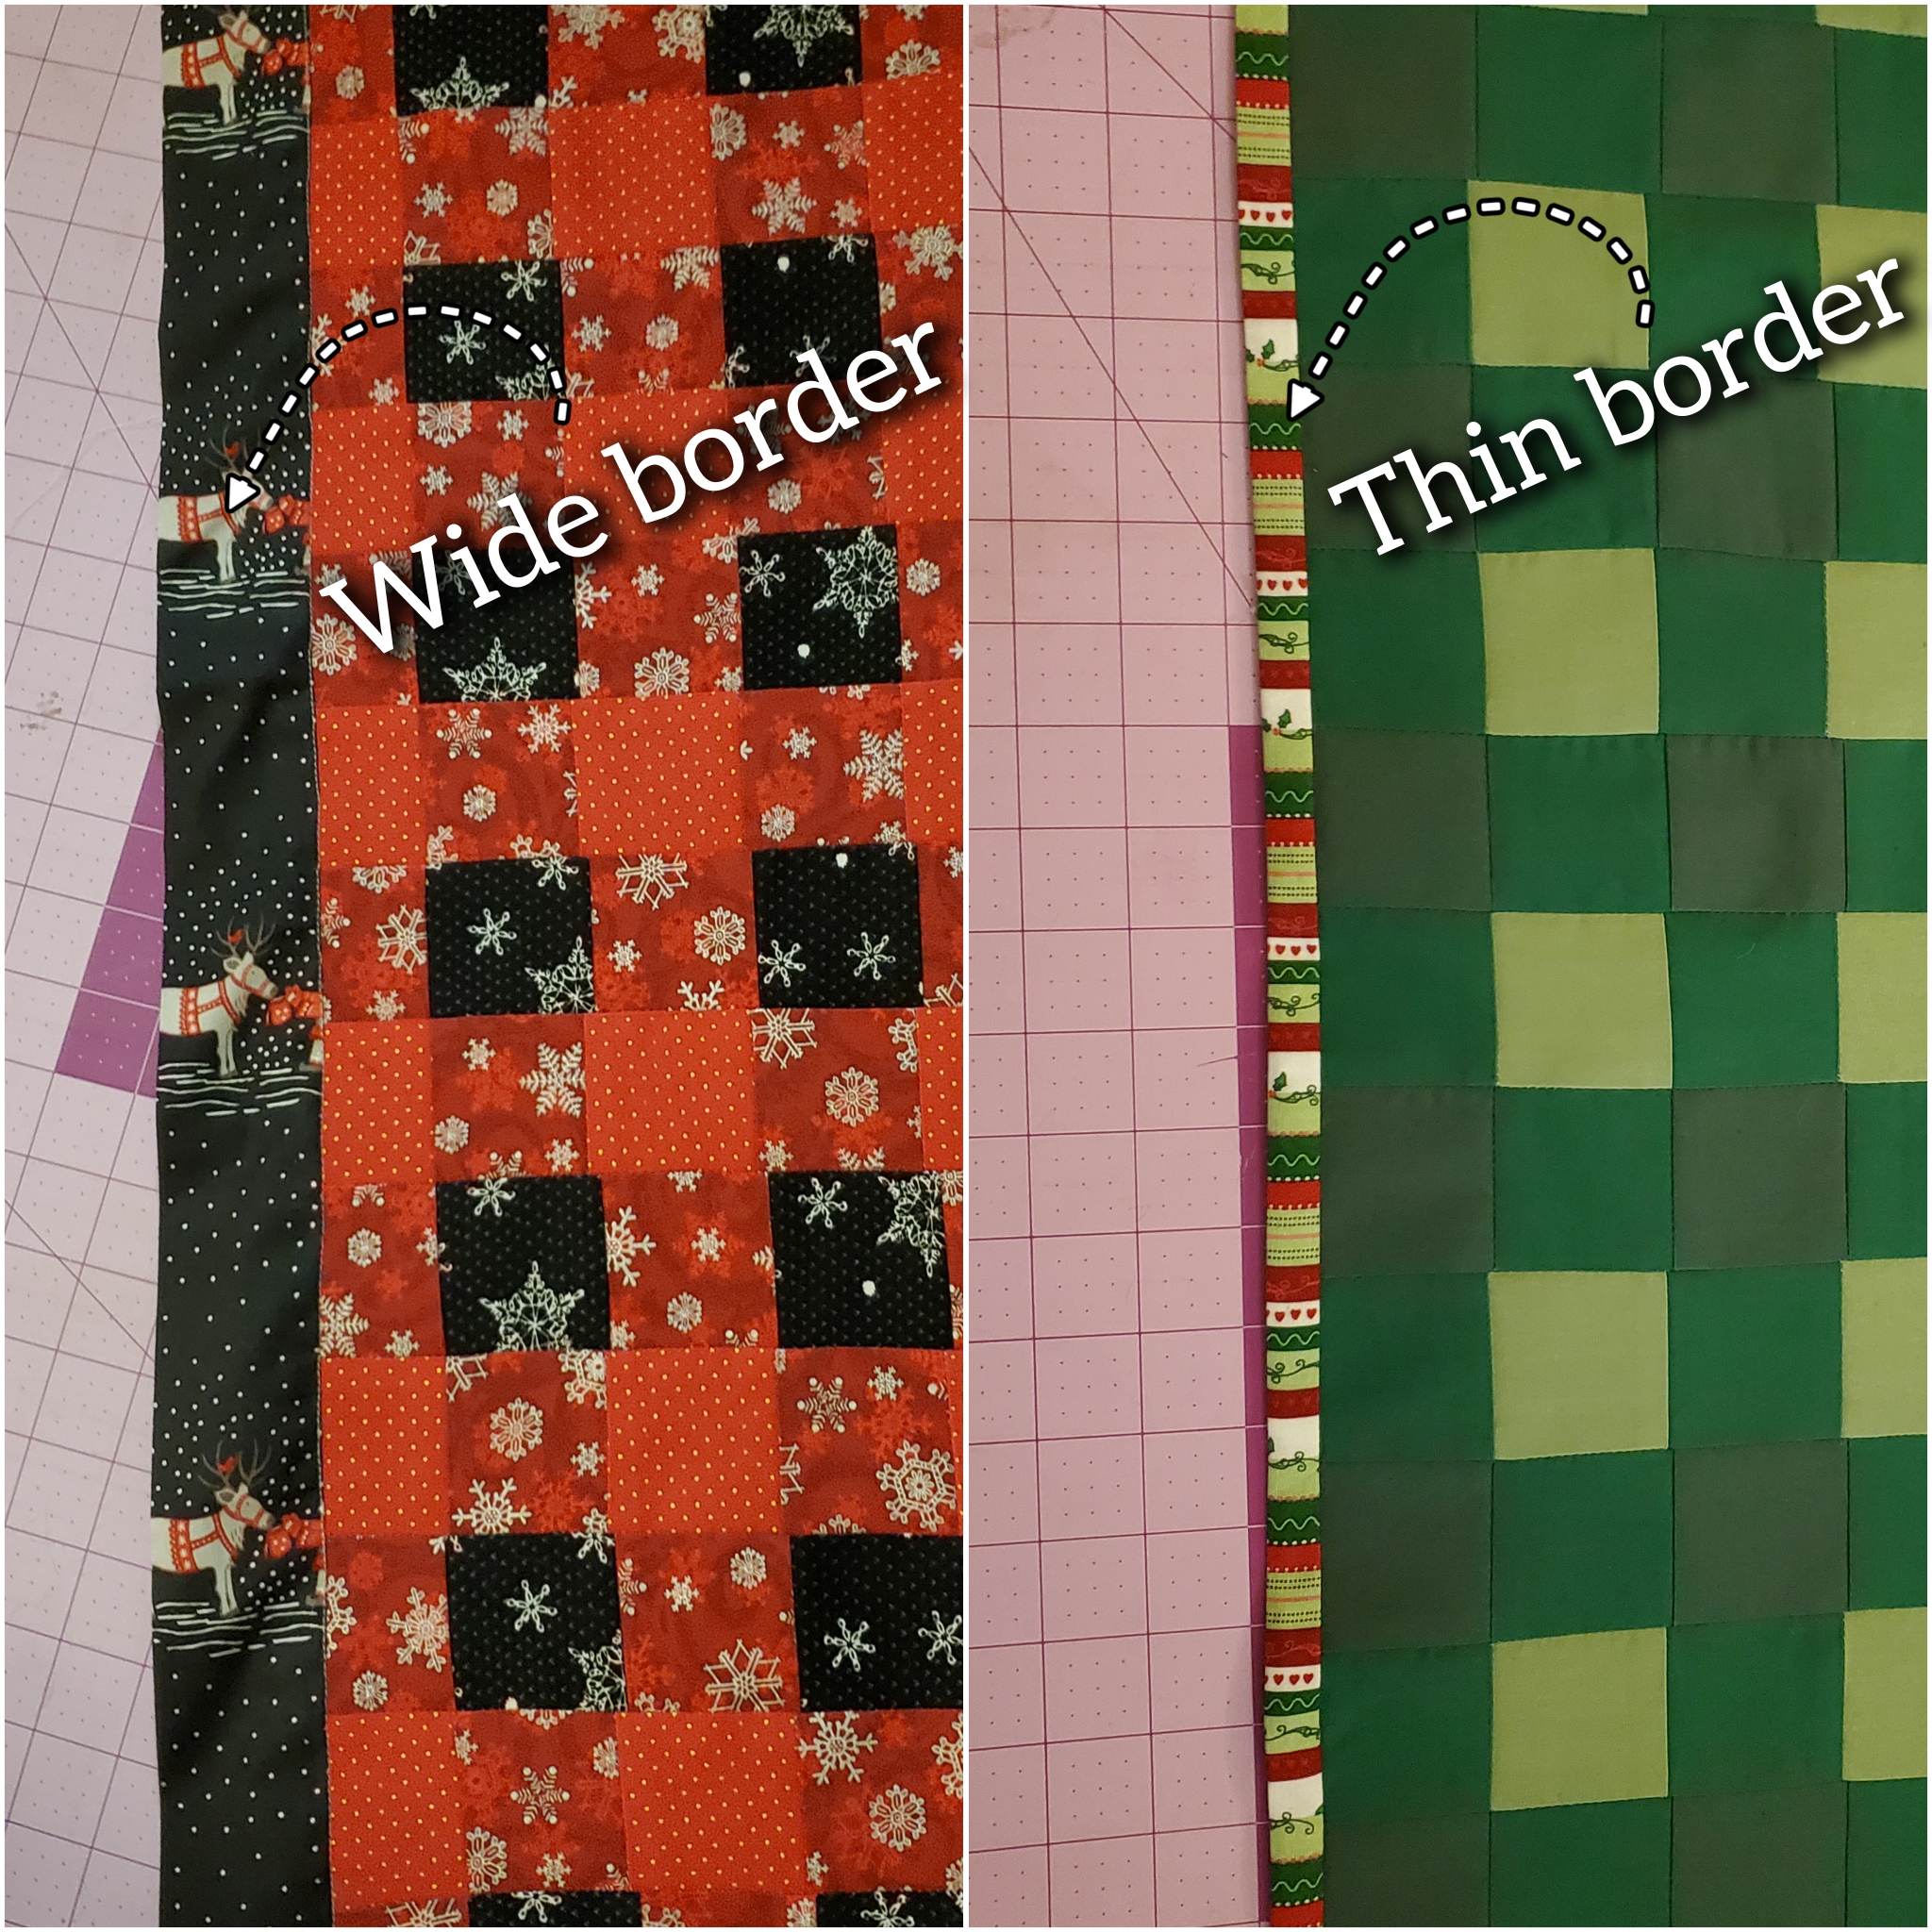
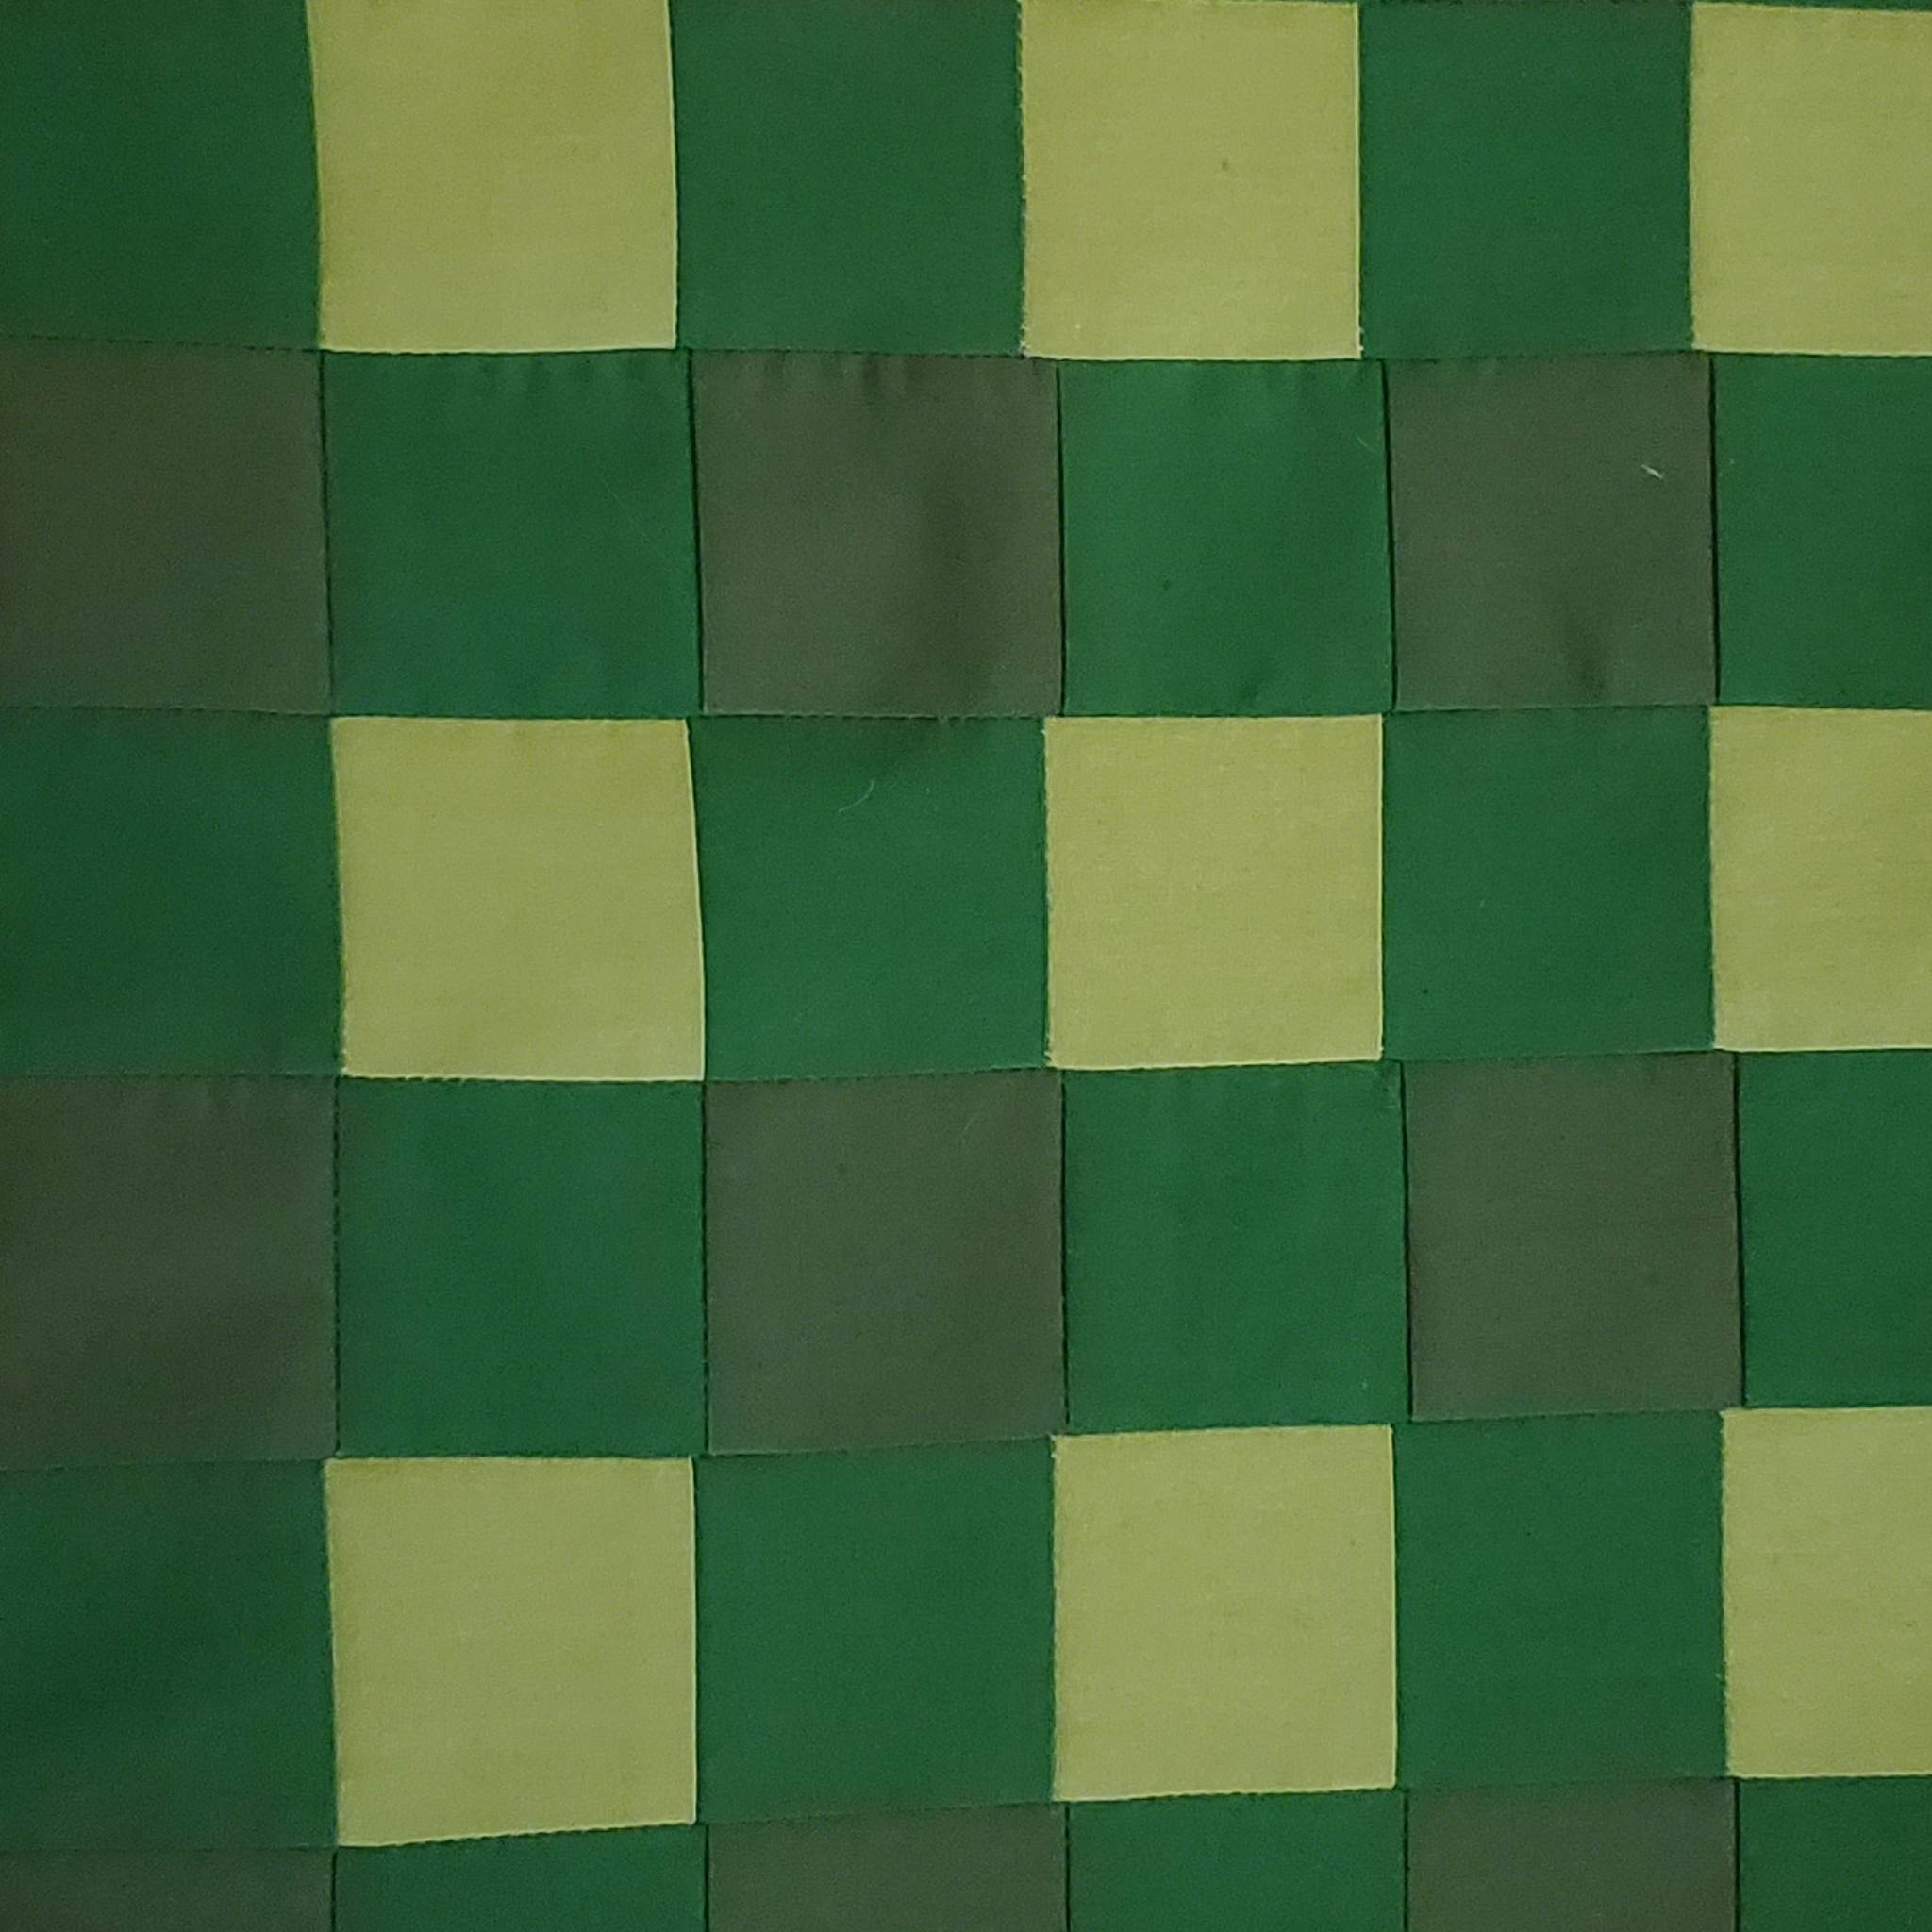
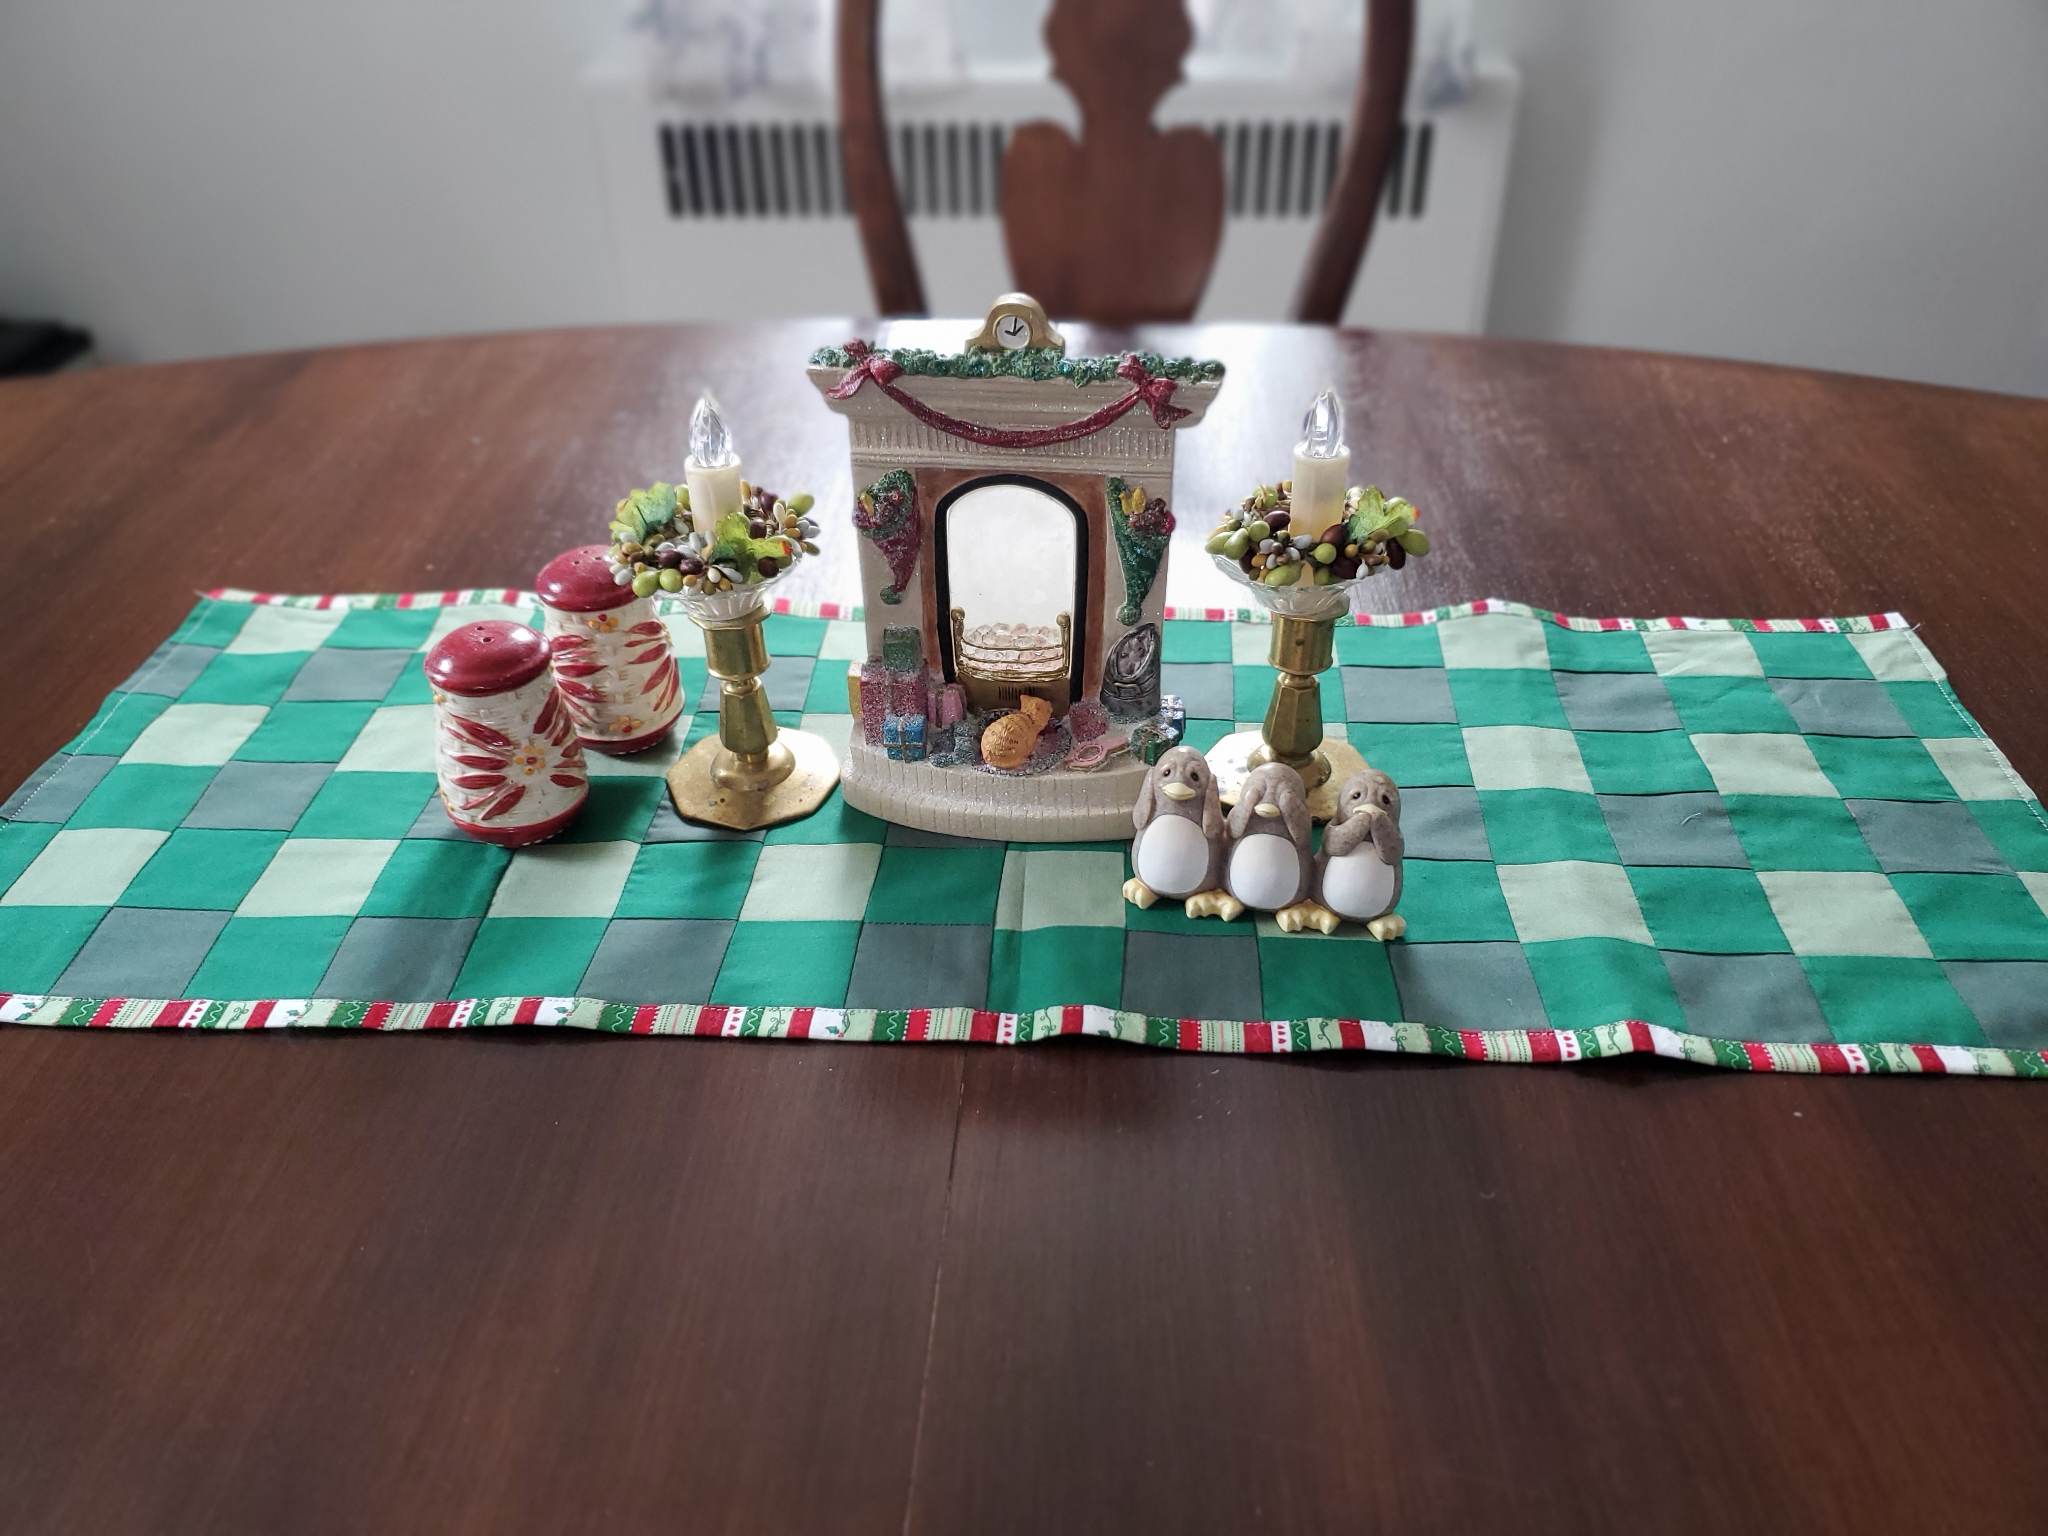
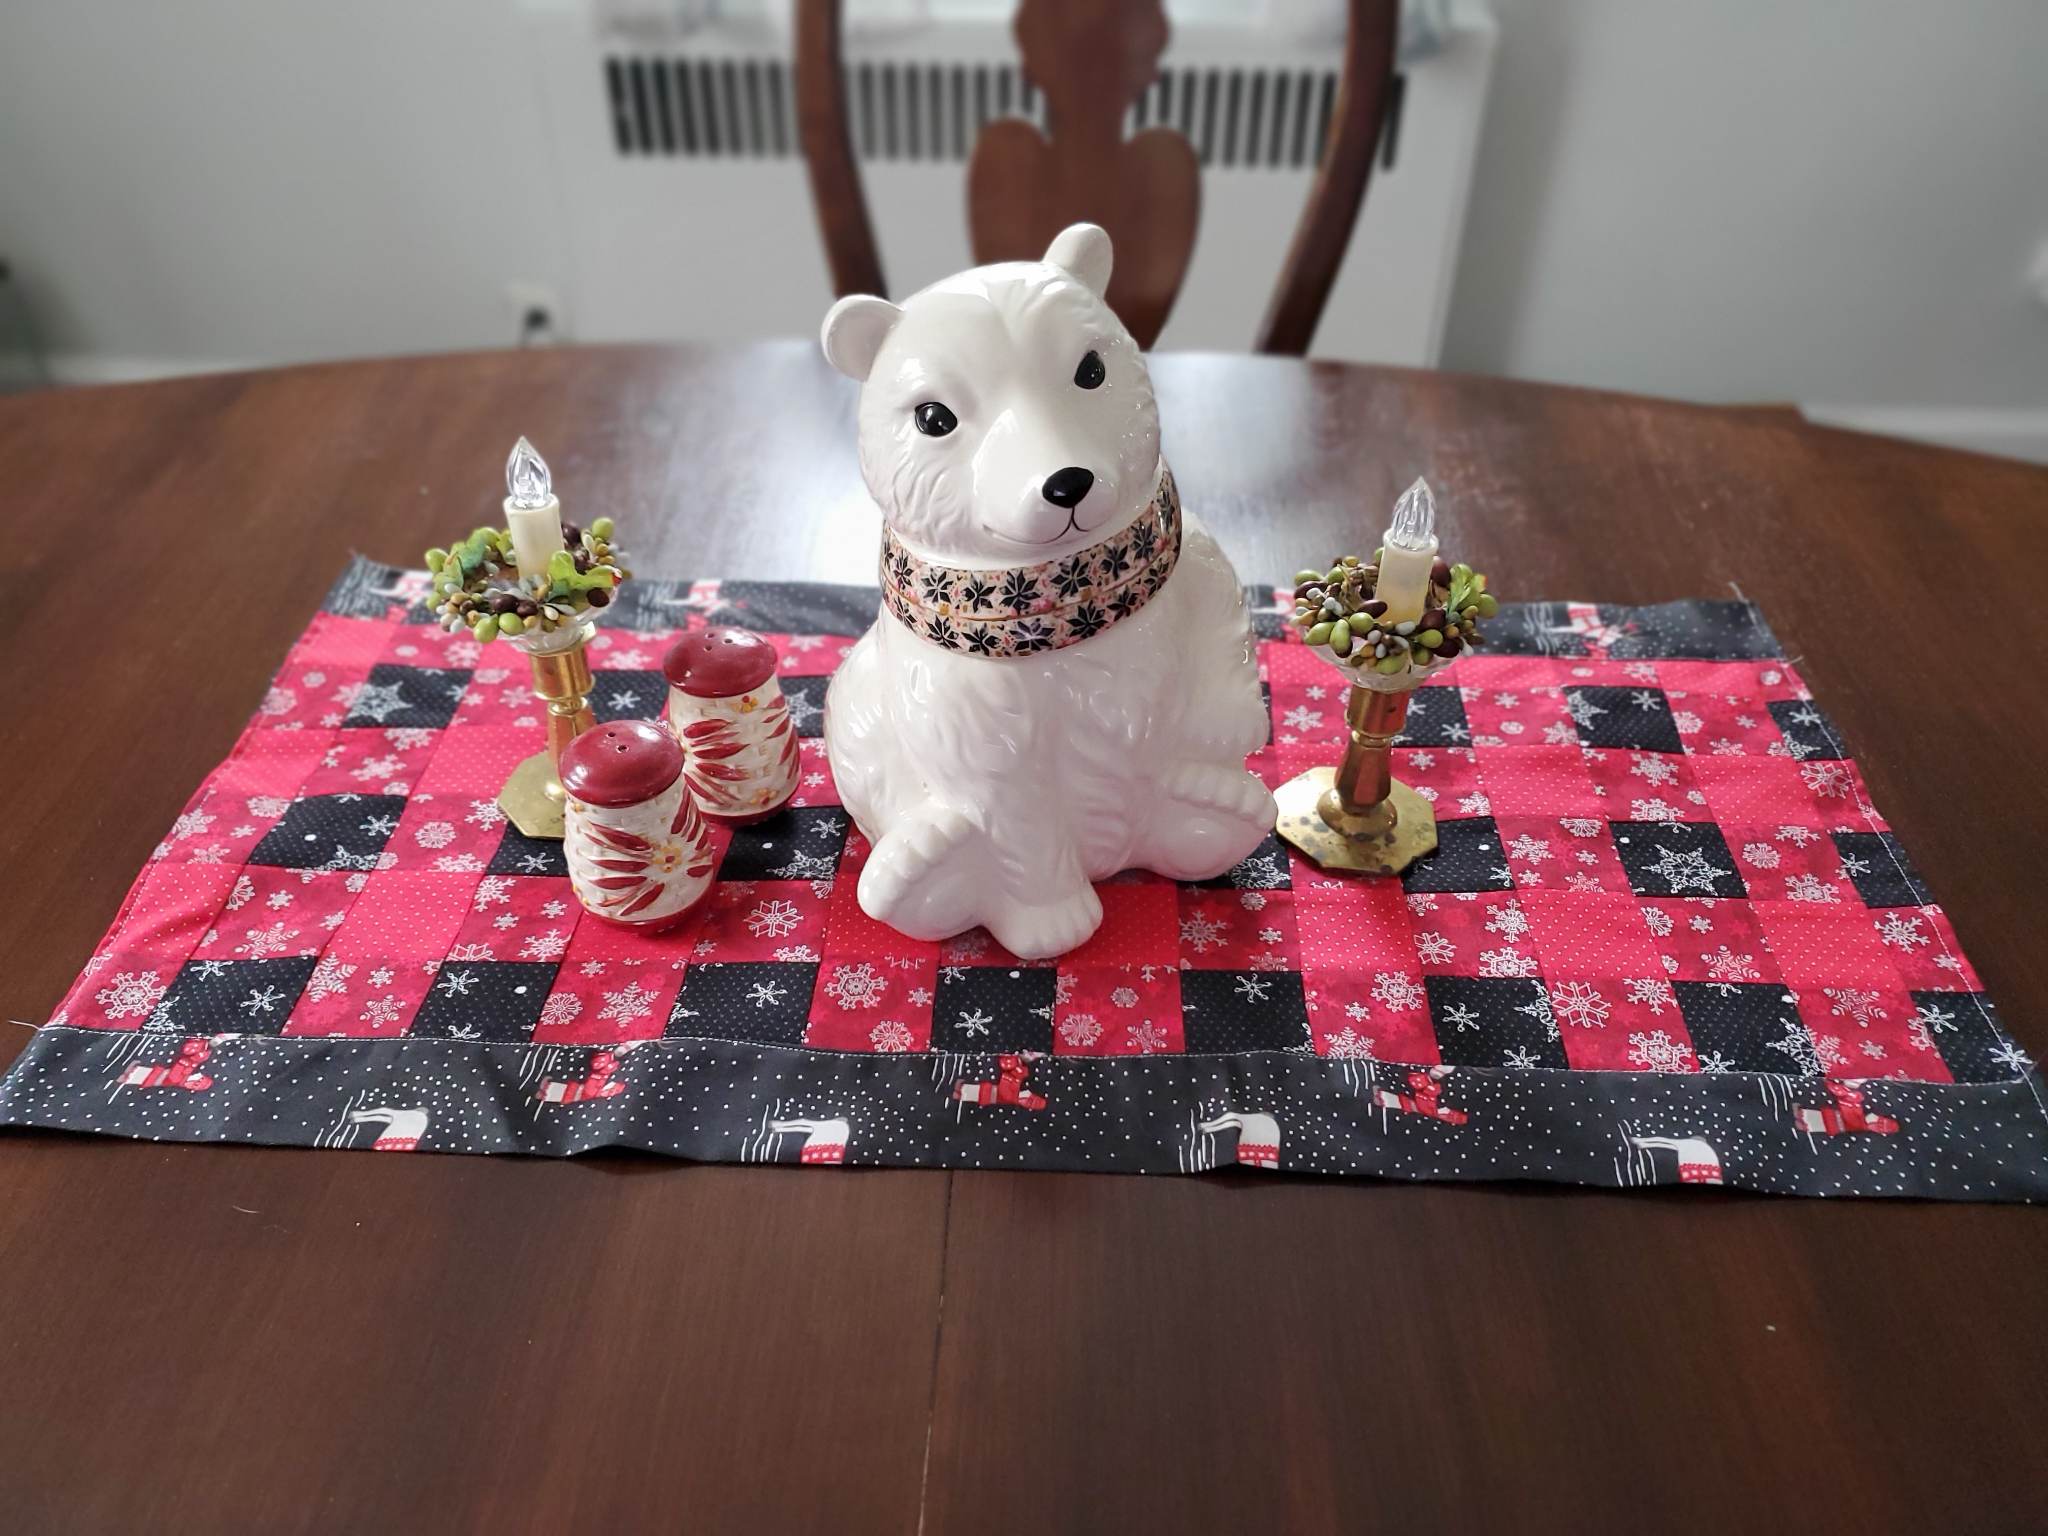
To get the buffalo plaid look, you will need 3 fat quarters. One will be a dark color (in traditional red buffalo plaid, that is normally black, but it can also be just a dark shade of the color you are using), one will be a middle shade, and one will be a light shade. See the picture below for 2 different colorway inspirations!

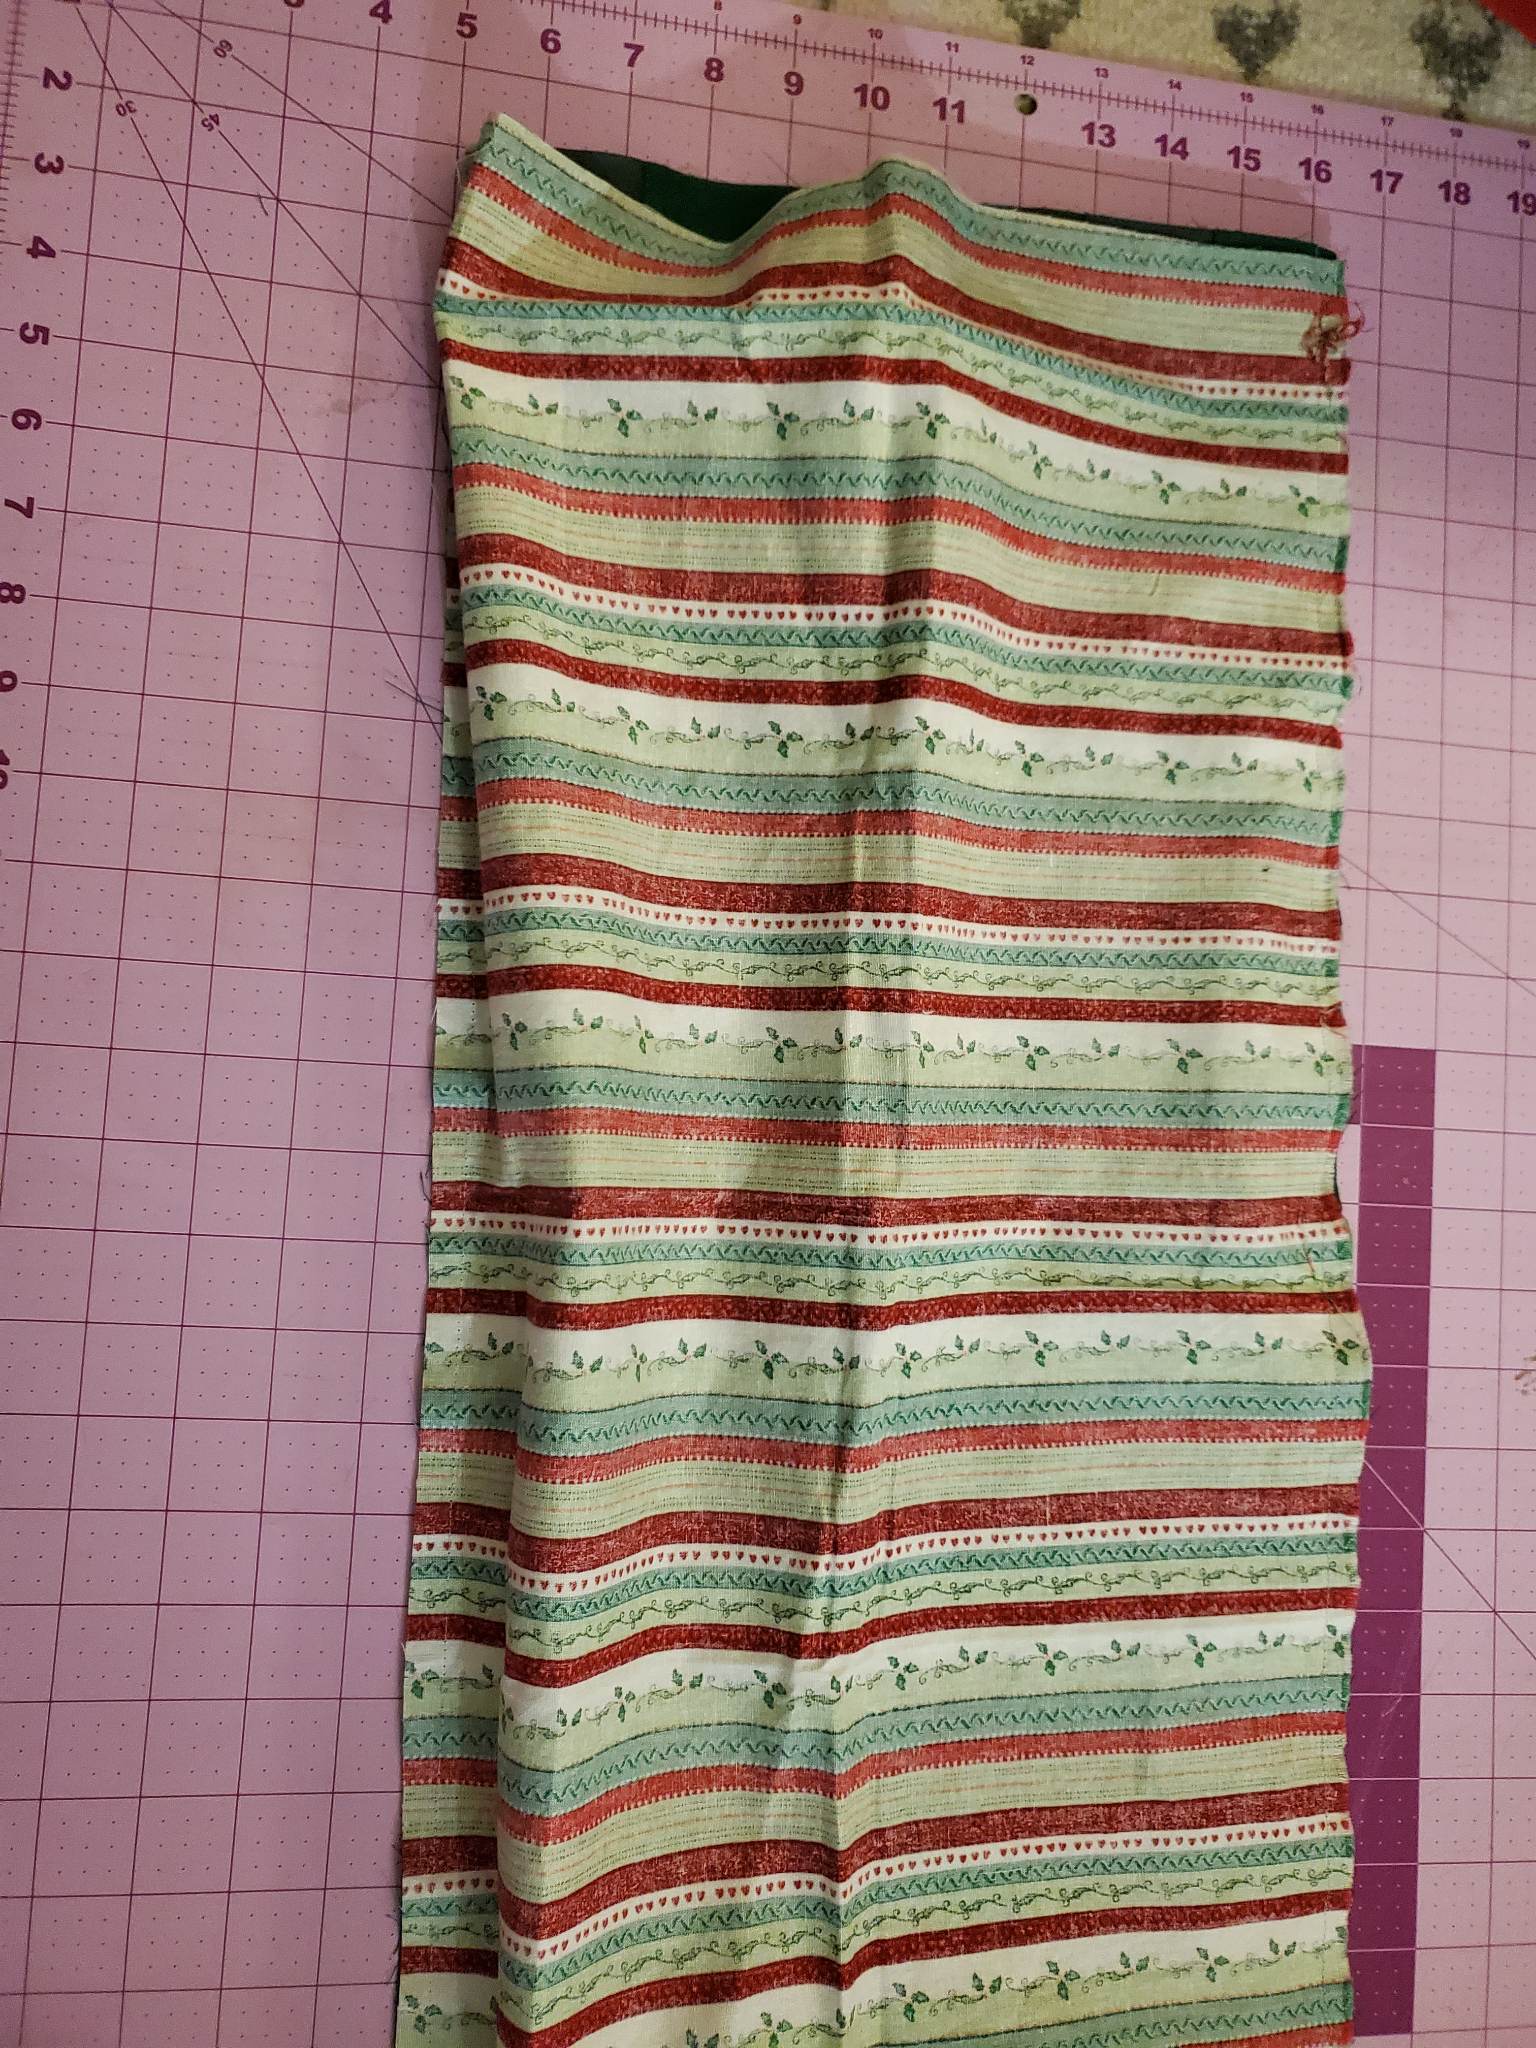
This tutorial has instructions for both a thin or a wide border. For a thin border, you will need a 32" by 14" piece of coordinating fabric. For a wide border, you will need a 32" by 19" border.
Other materials needed:
-Cutting mat and rotary cutter
-Ruler
-Sewing machine and thread
-An iron and ironing board or mat
Cutting Your Buffalo Plaid:
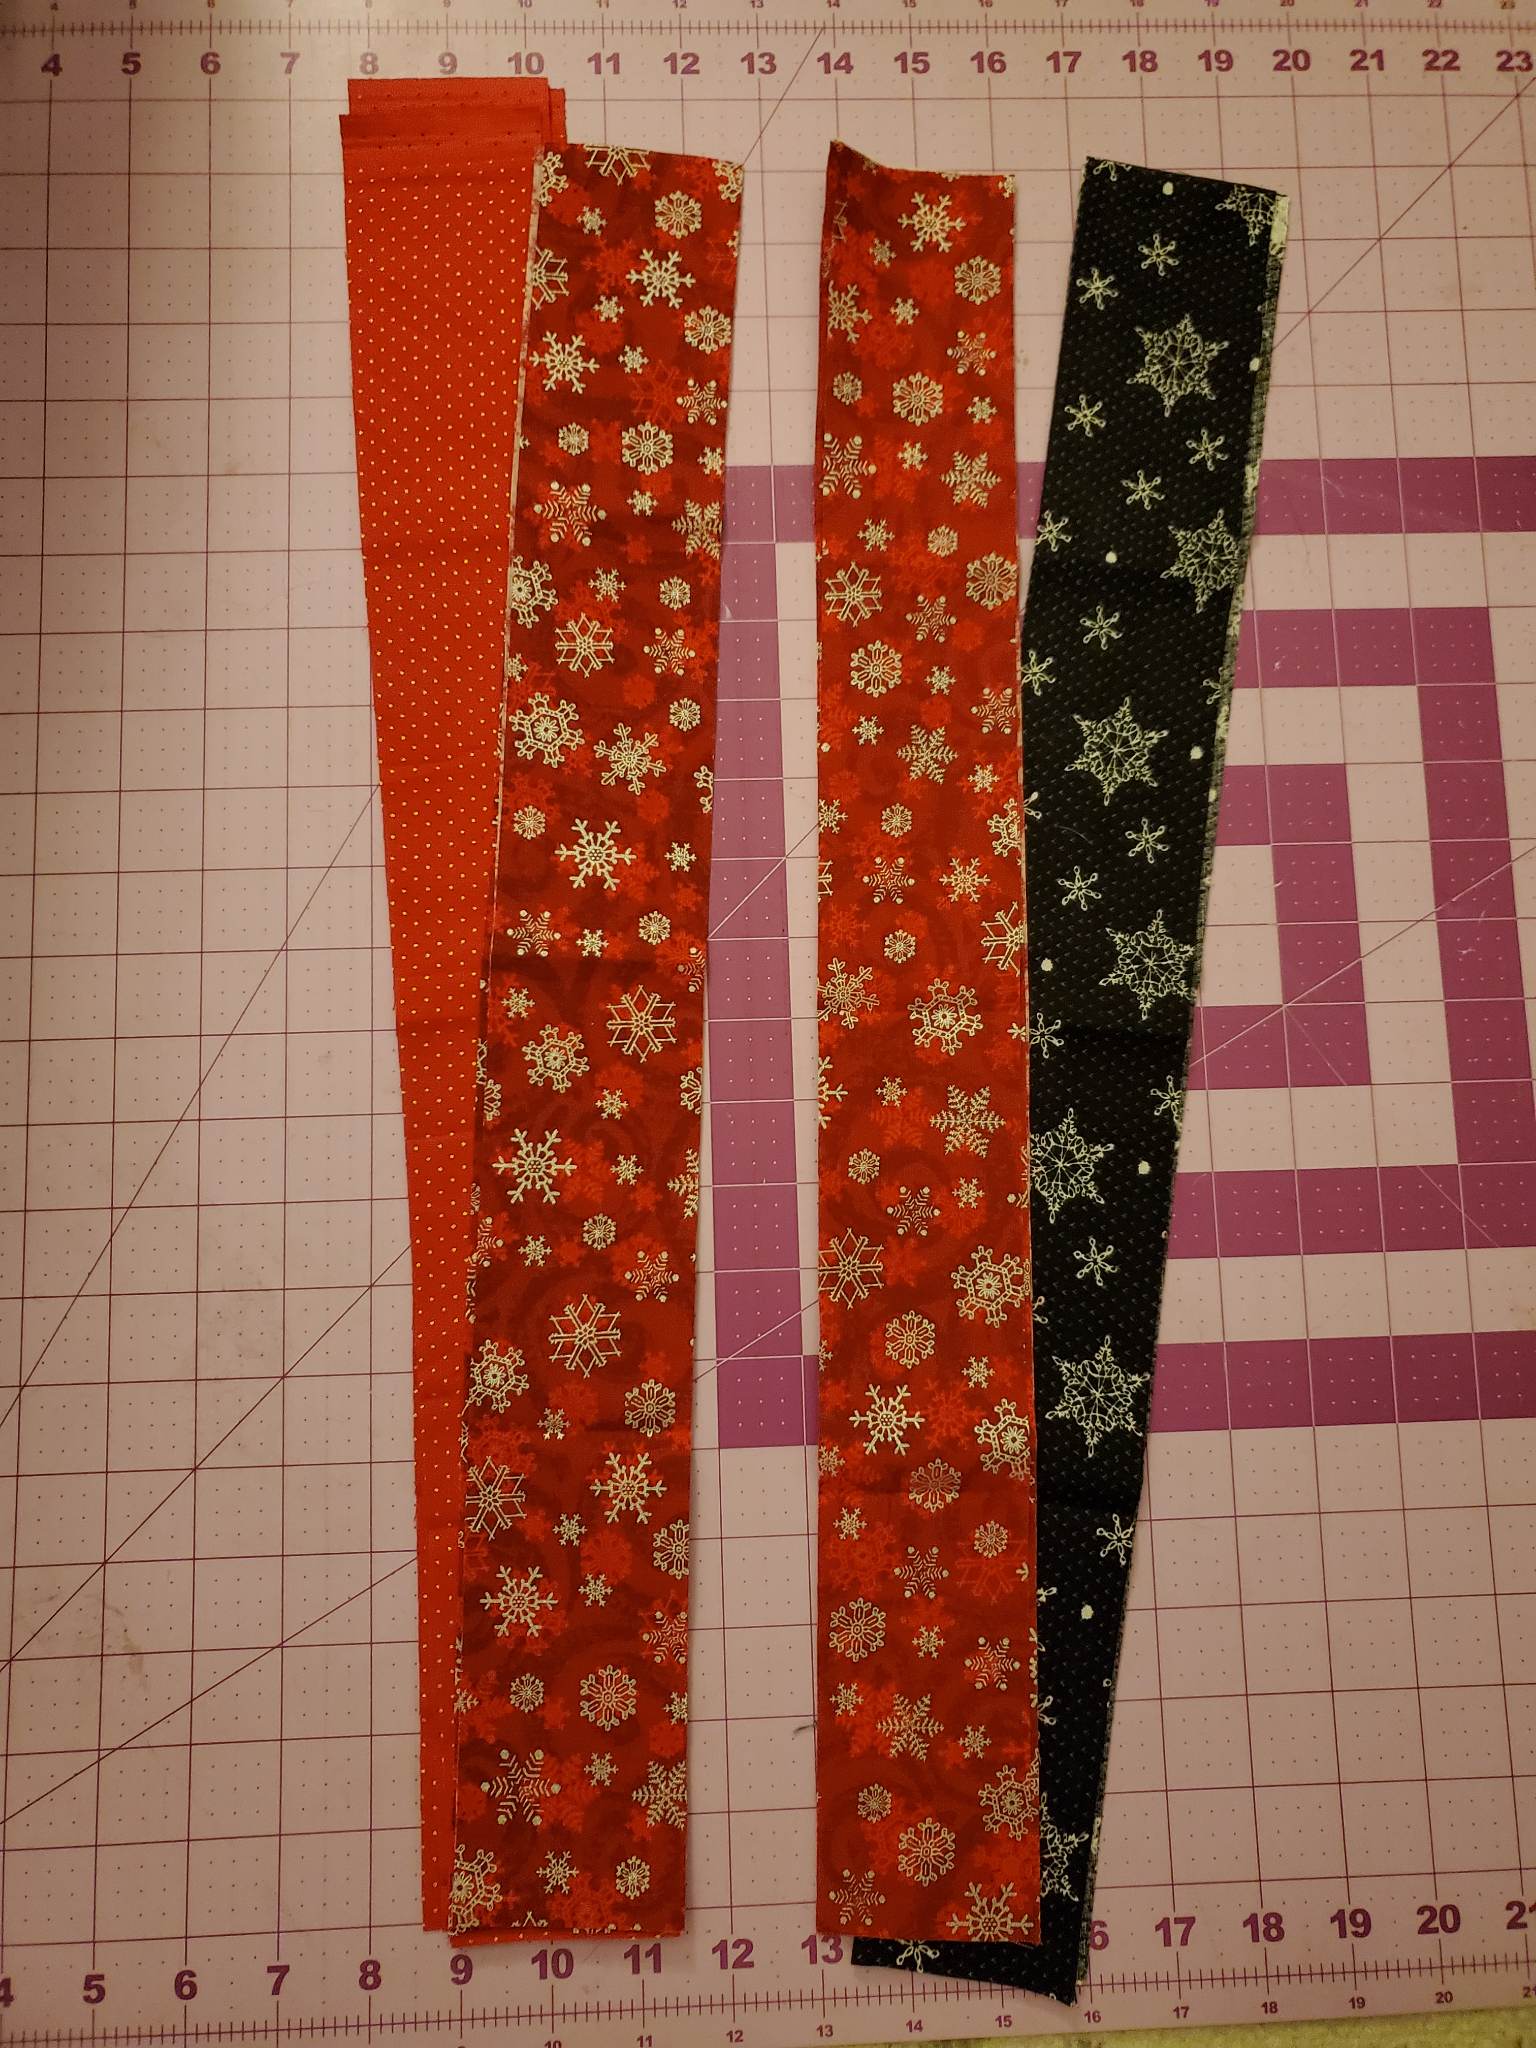
From Dark Fabric: Cut 3 2.5" X 24" Strips
From Middle Fabric: Cut 6 2.5" X 24" Strips
From Light Fabric: Cut 3 2.5" X 24" Strips
Assembly:
1. Begin by making 2 piles. The first will have all 3 dark fabric strips and 3 middle fabric strips. The second will have all 3 light fabric strips and the 3 remaining middle fabric strips.
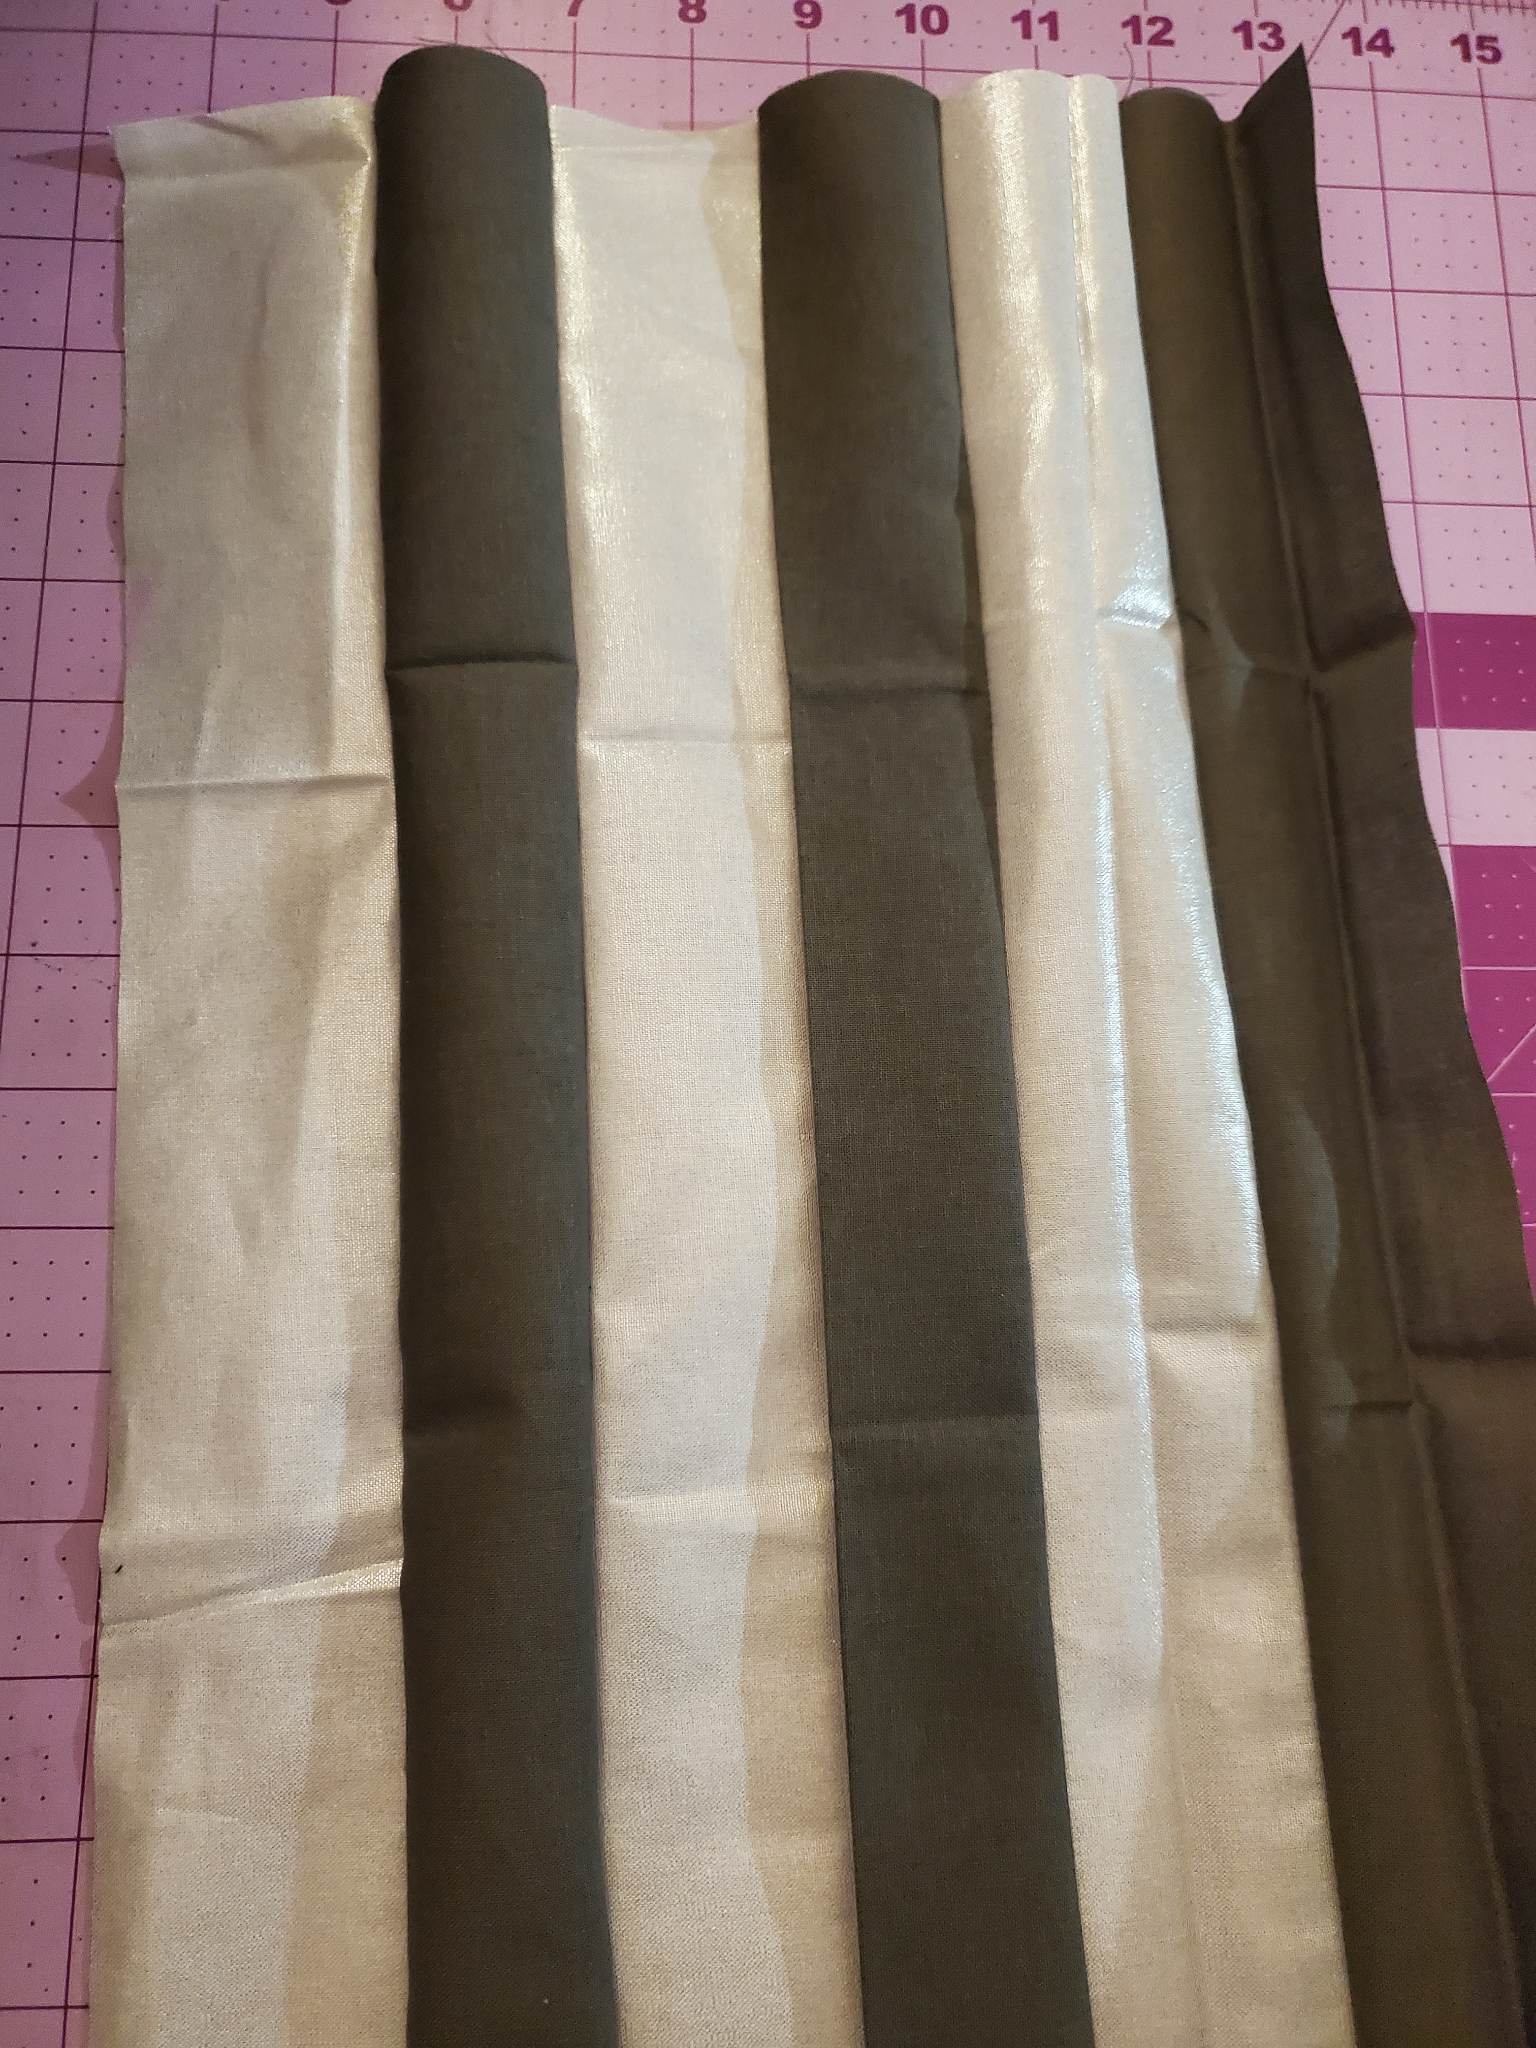
2. We are going to start with your middle and light pile. We are going to sew these strips together to create a block that will be our "light block." Begin by placing a middle strip and a light strip right sides together and sew down the long edge, using a 3/8" seam allowance. Open the fabric up and continue to sew all the strips from this pile, alternating middle and light strips until you have used up this entire pile. Your finished product will look like the one below. Set aside for now.
3. Repeat step 2 with the dark pile. We will call this our "dark block."
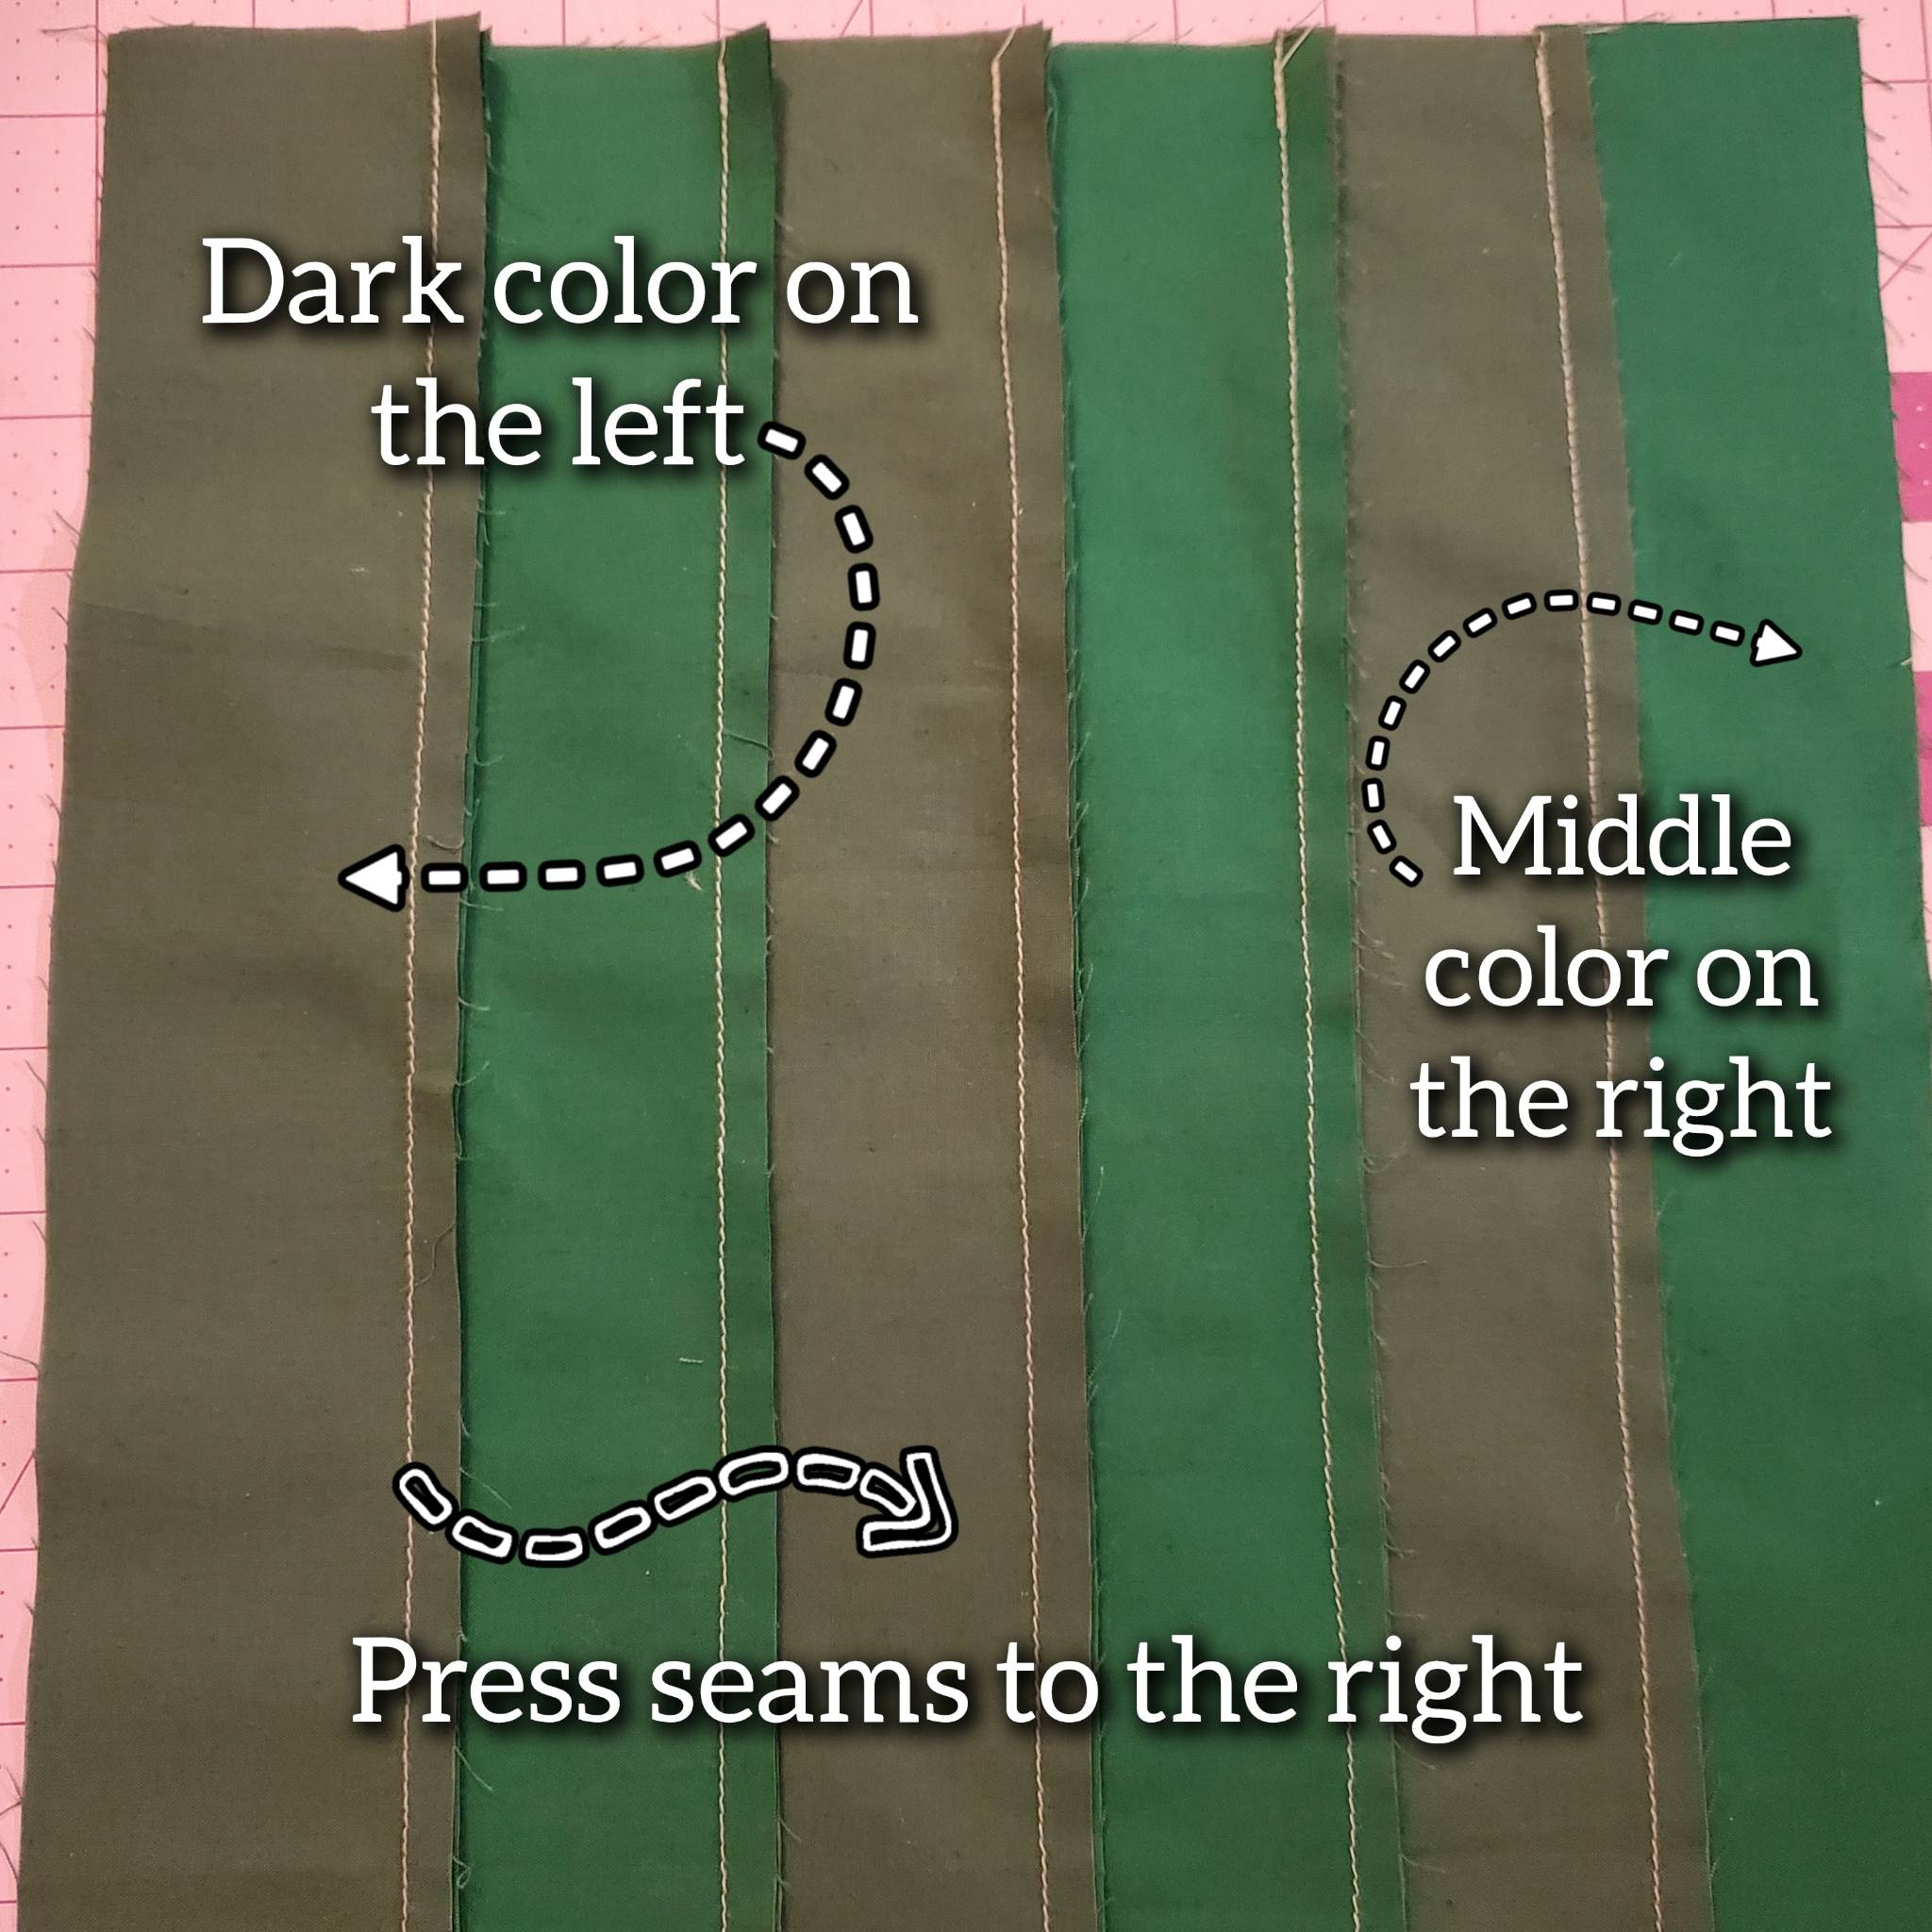
4. Now bring your light block to the ironing board with your wrong side face up. A strip of the light color will be on the left-hand side and a strip of the middle color will be on the right hand side. Press your seams towards the right hand side.

4. Set aside your light block and move your dark block to your ironing board. A strip of the dark color will be on the left-hand side and a strip of the middle color will be on the right hand side. Press your seams towards the right hand side.
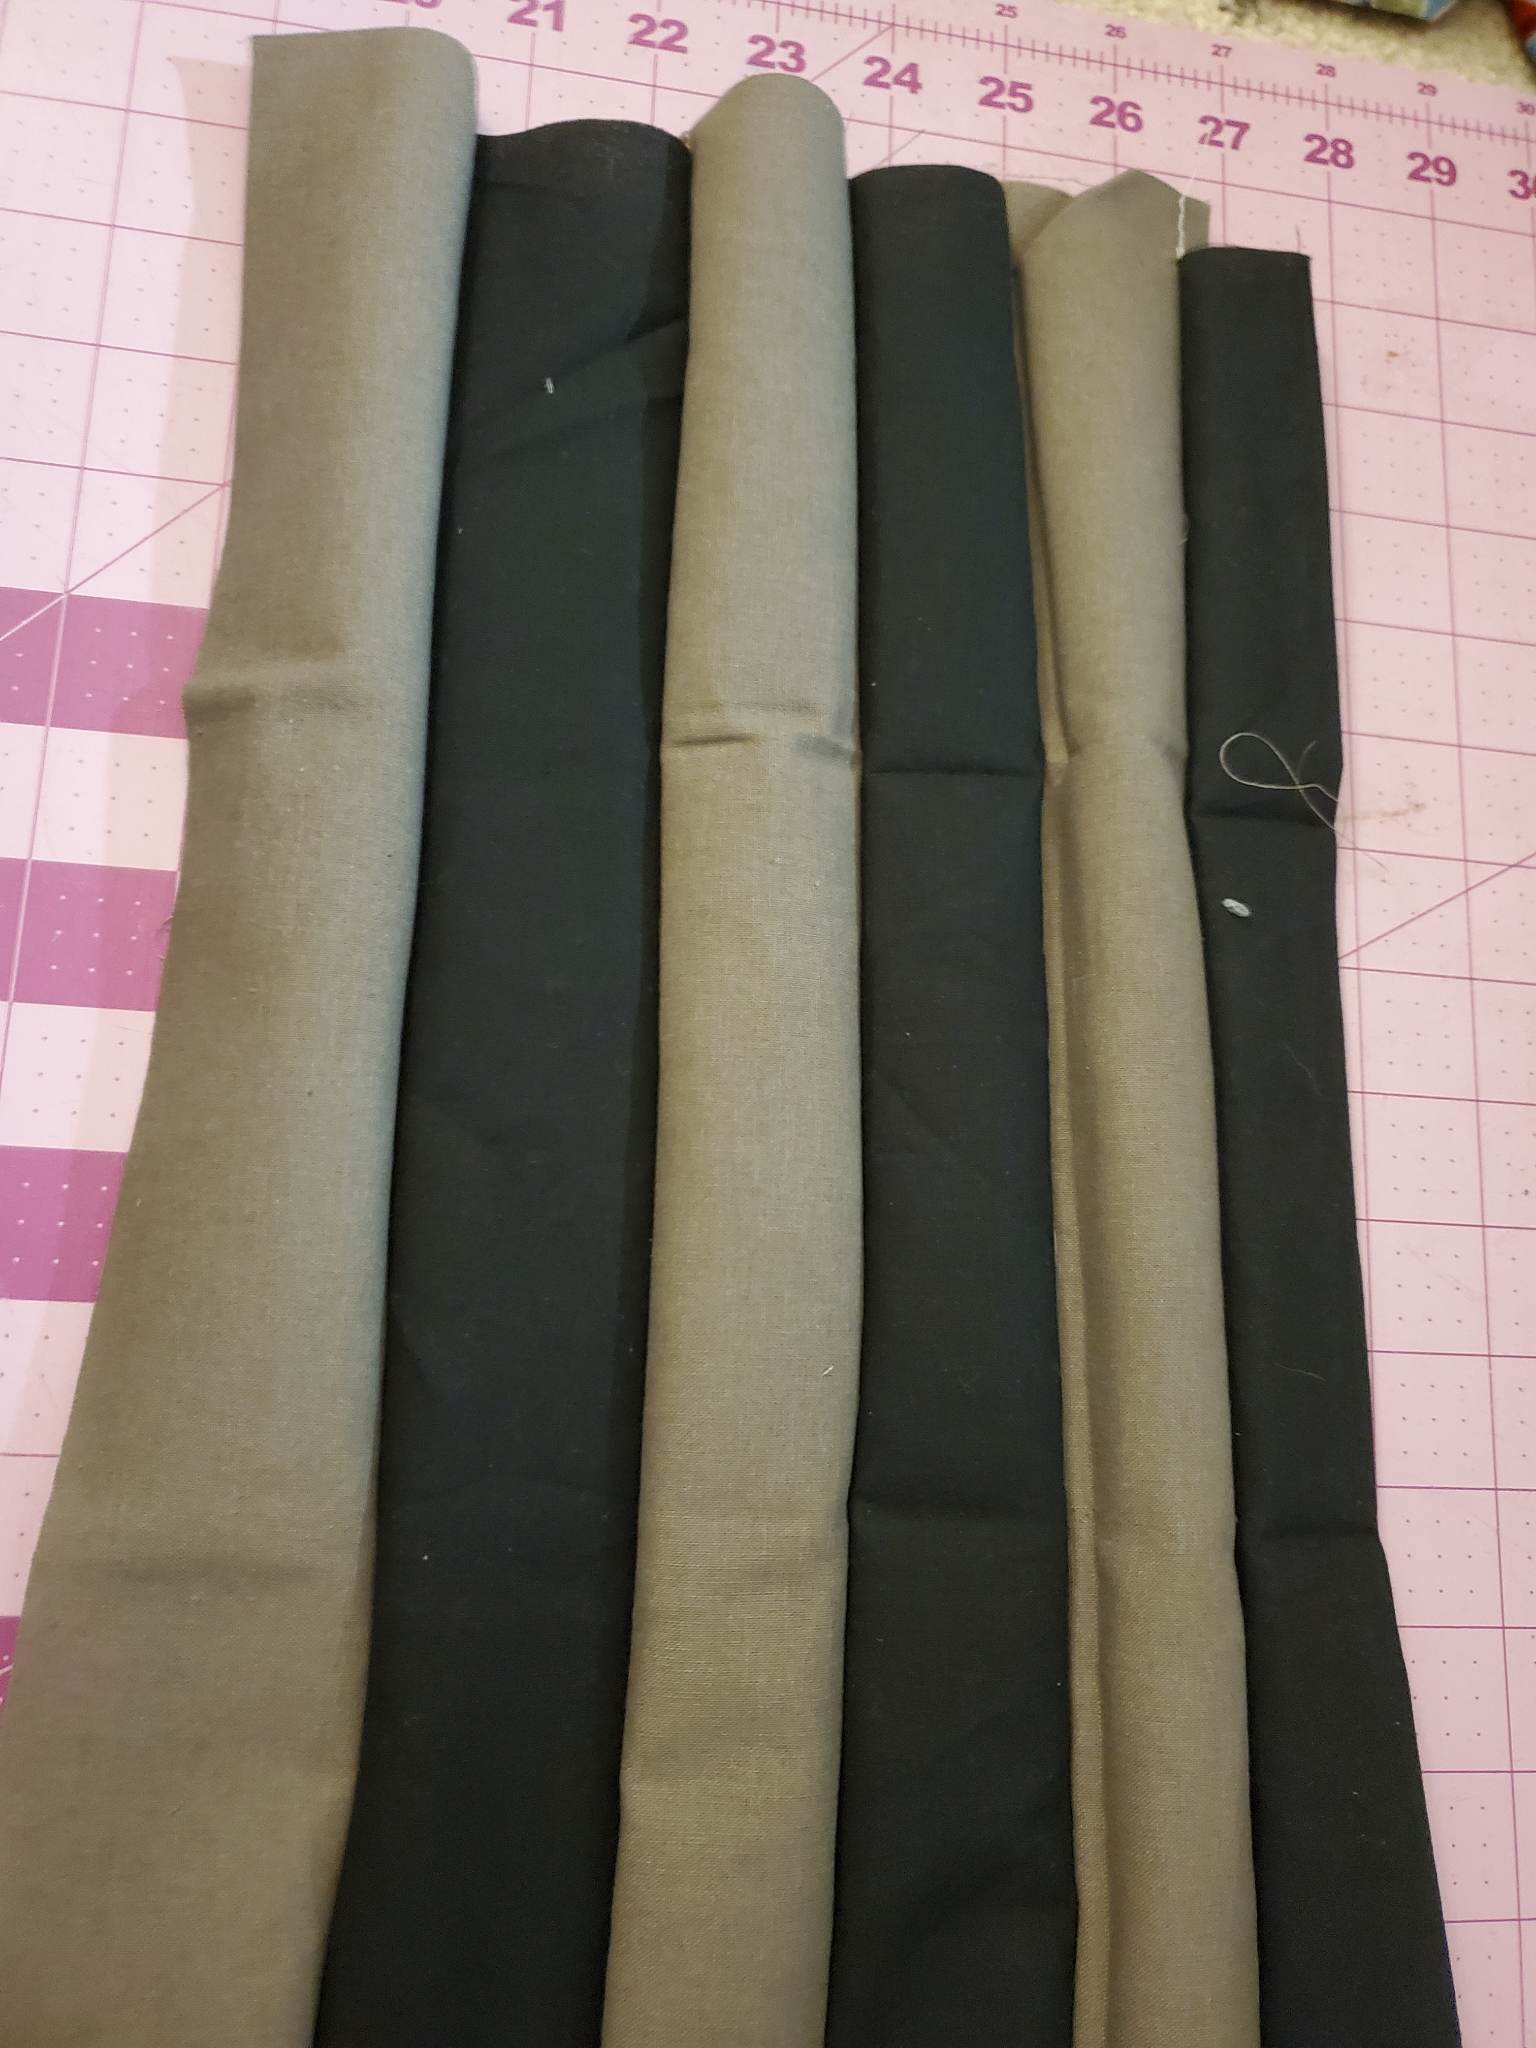
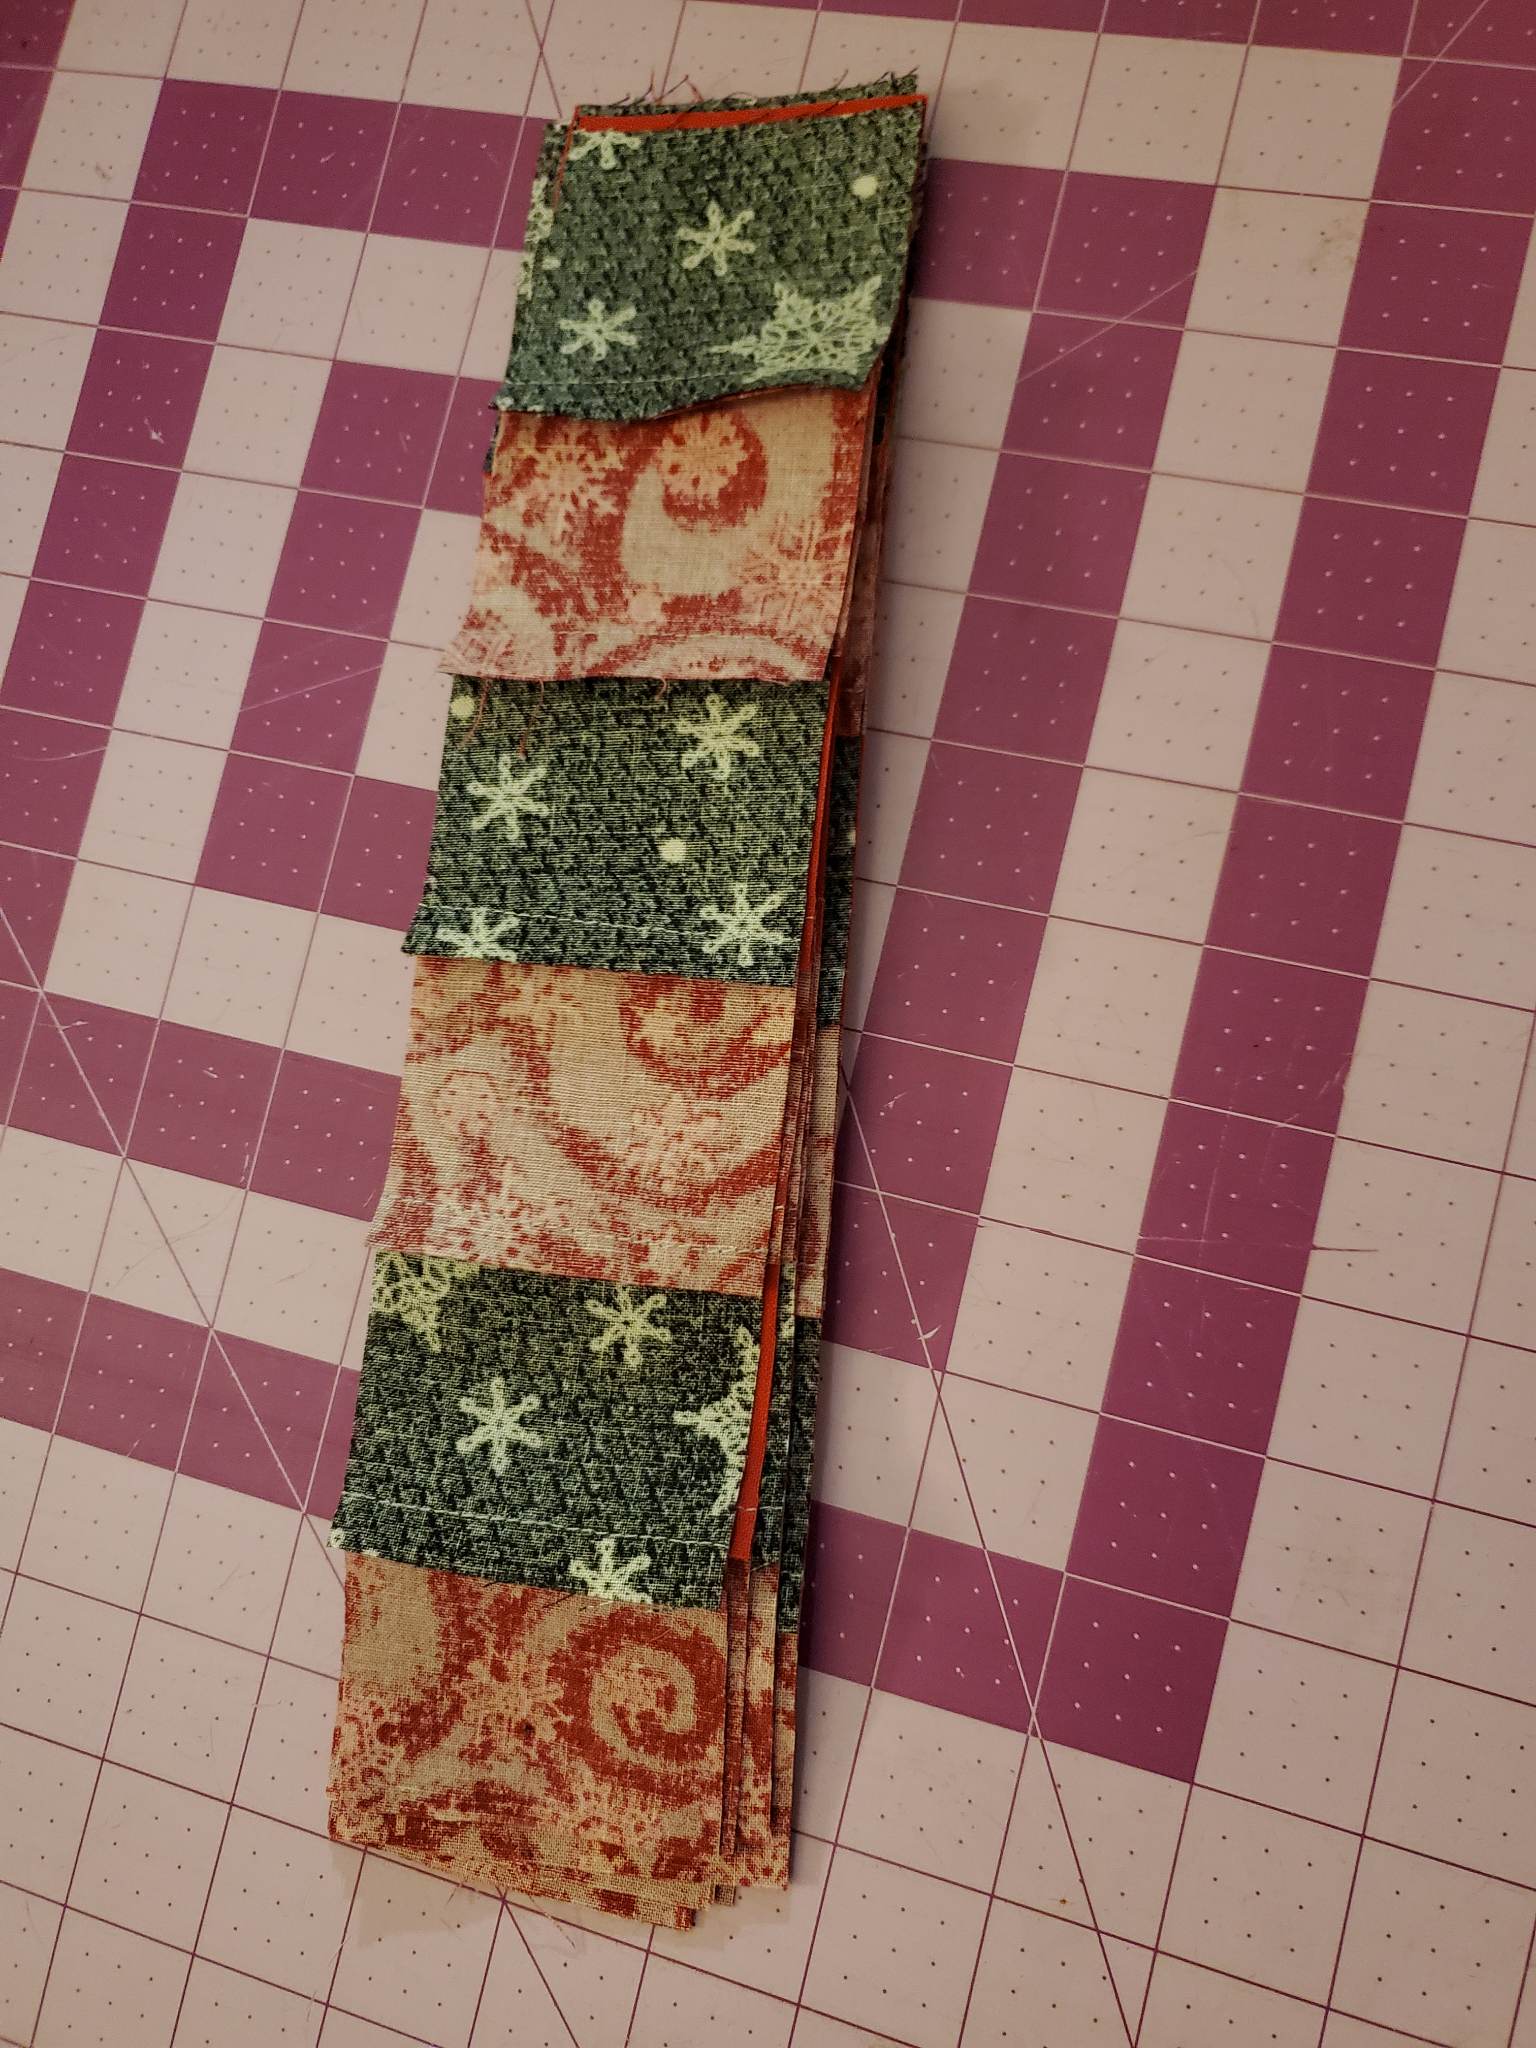
5. Stack your light block and dark block on top of one another, matching up the edges. Cut into 2.5" strips, cutting across the 6 sewn strips. You will have a pile as shown. Discard any scraps that may be at the end.
6. Now the magic happens! In order to make sure our runner lays nice and flat, we will nest our seams. This takes a tiny bit of practice, but it is so worth it!
Nesting Seams:
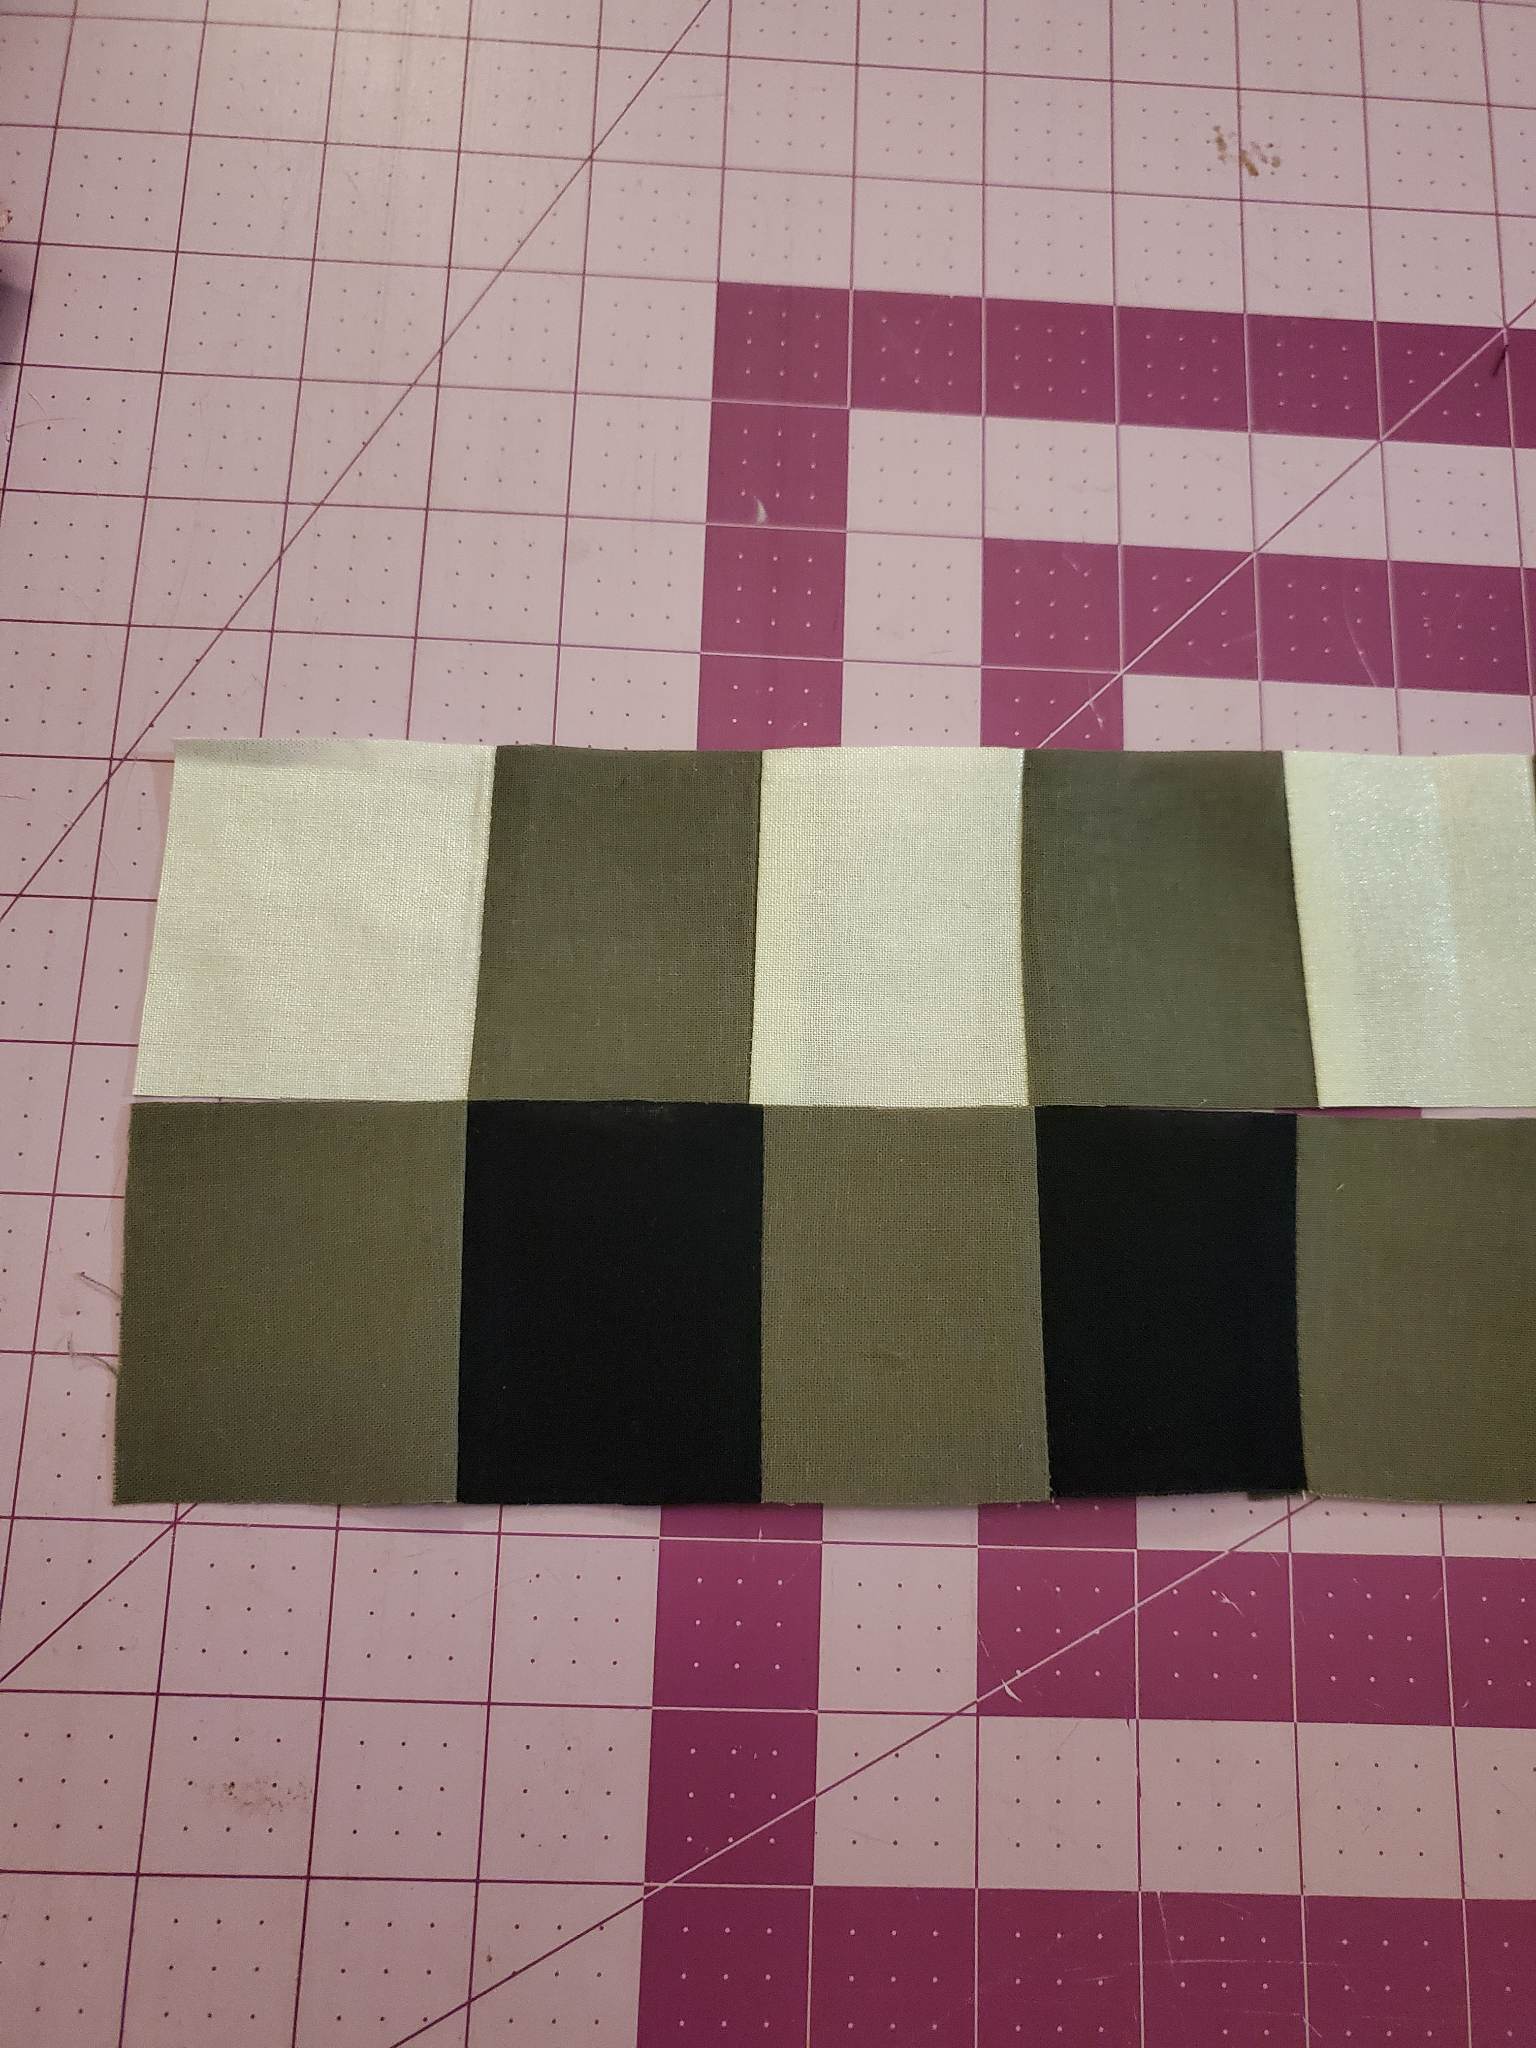
A. Take one light piece and one dark piece and lay them down, right side up, so the pattern is alternating, as shown.
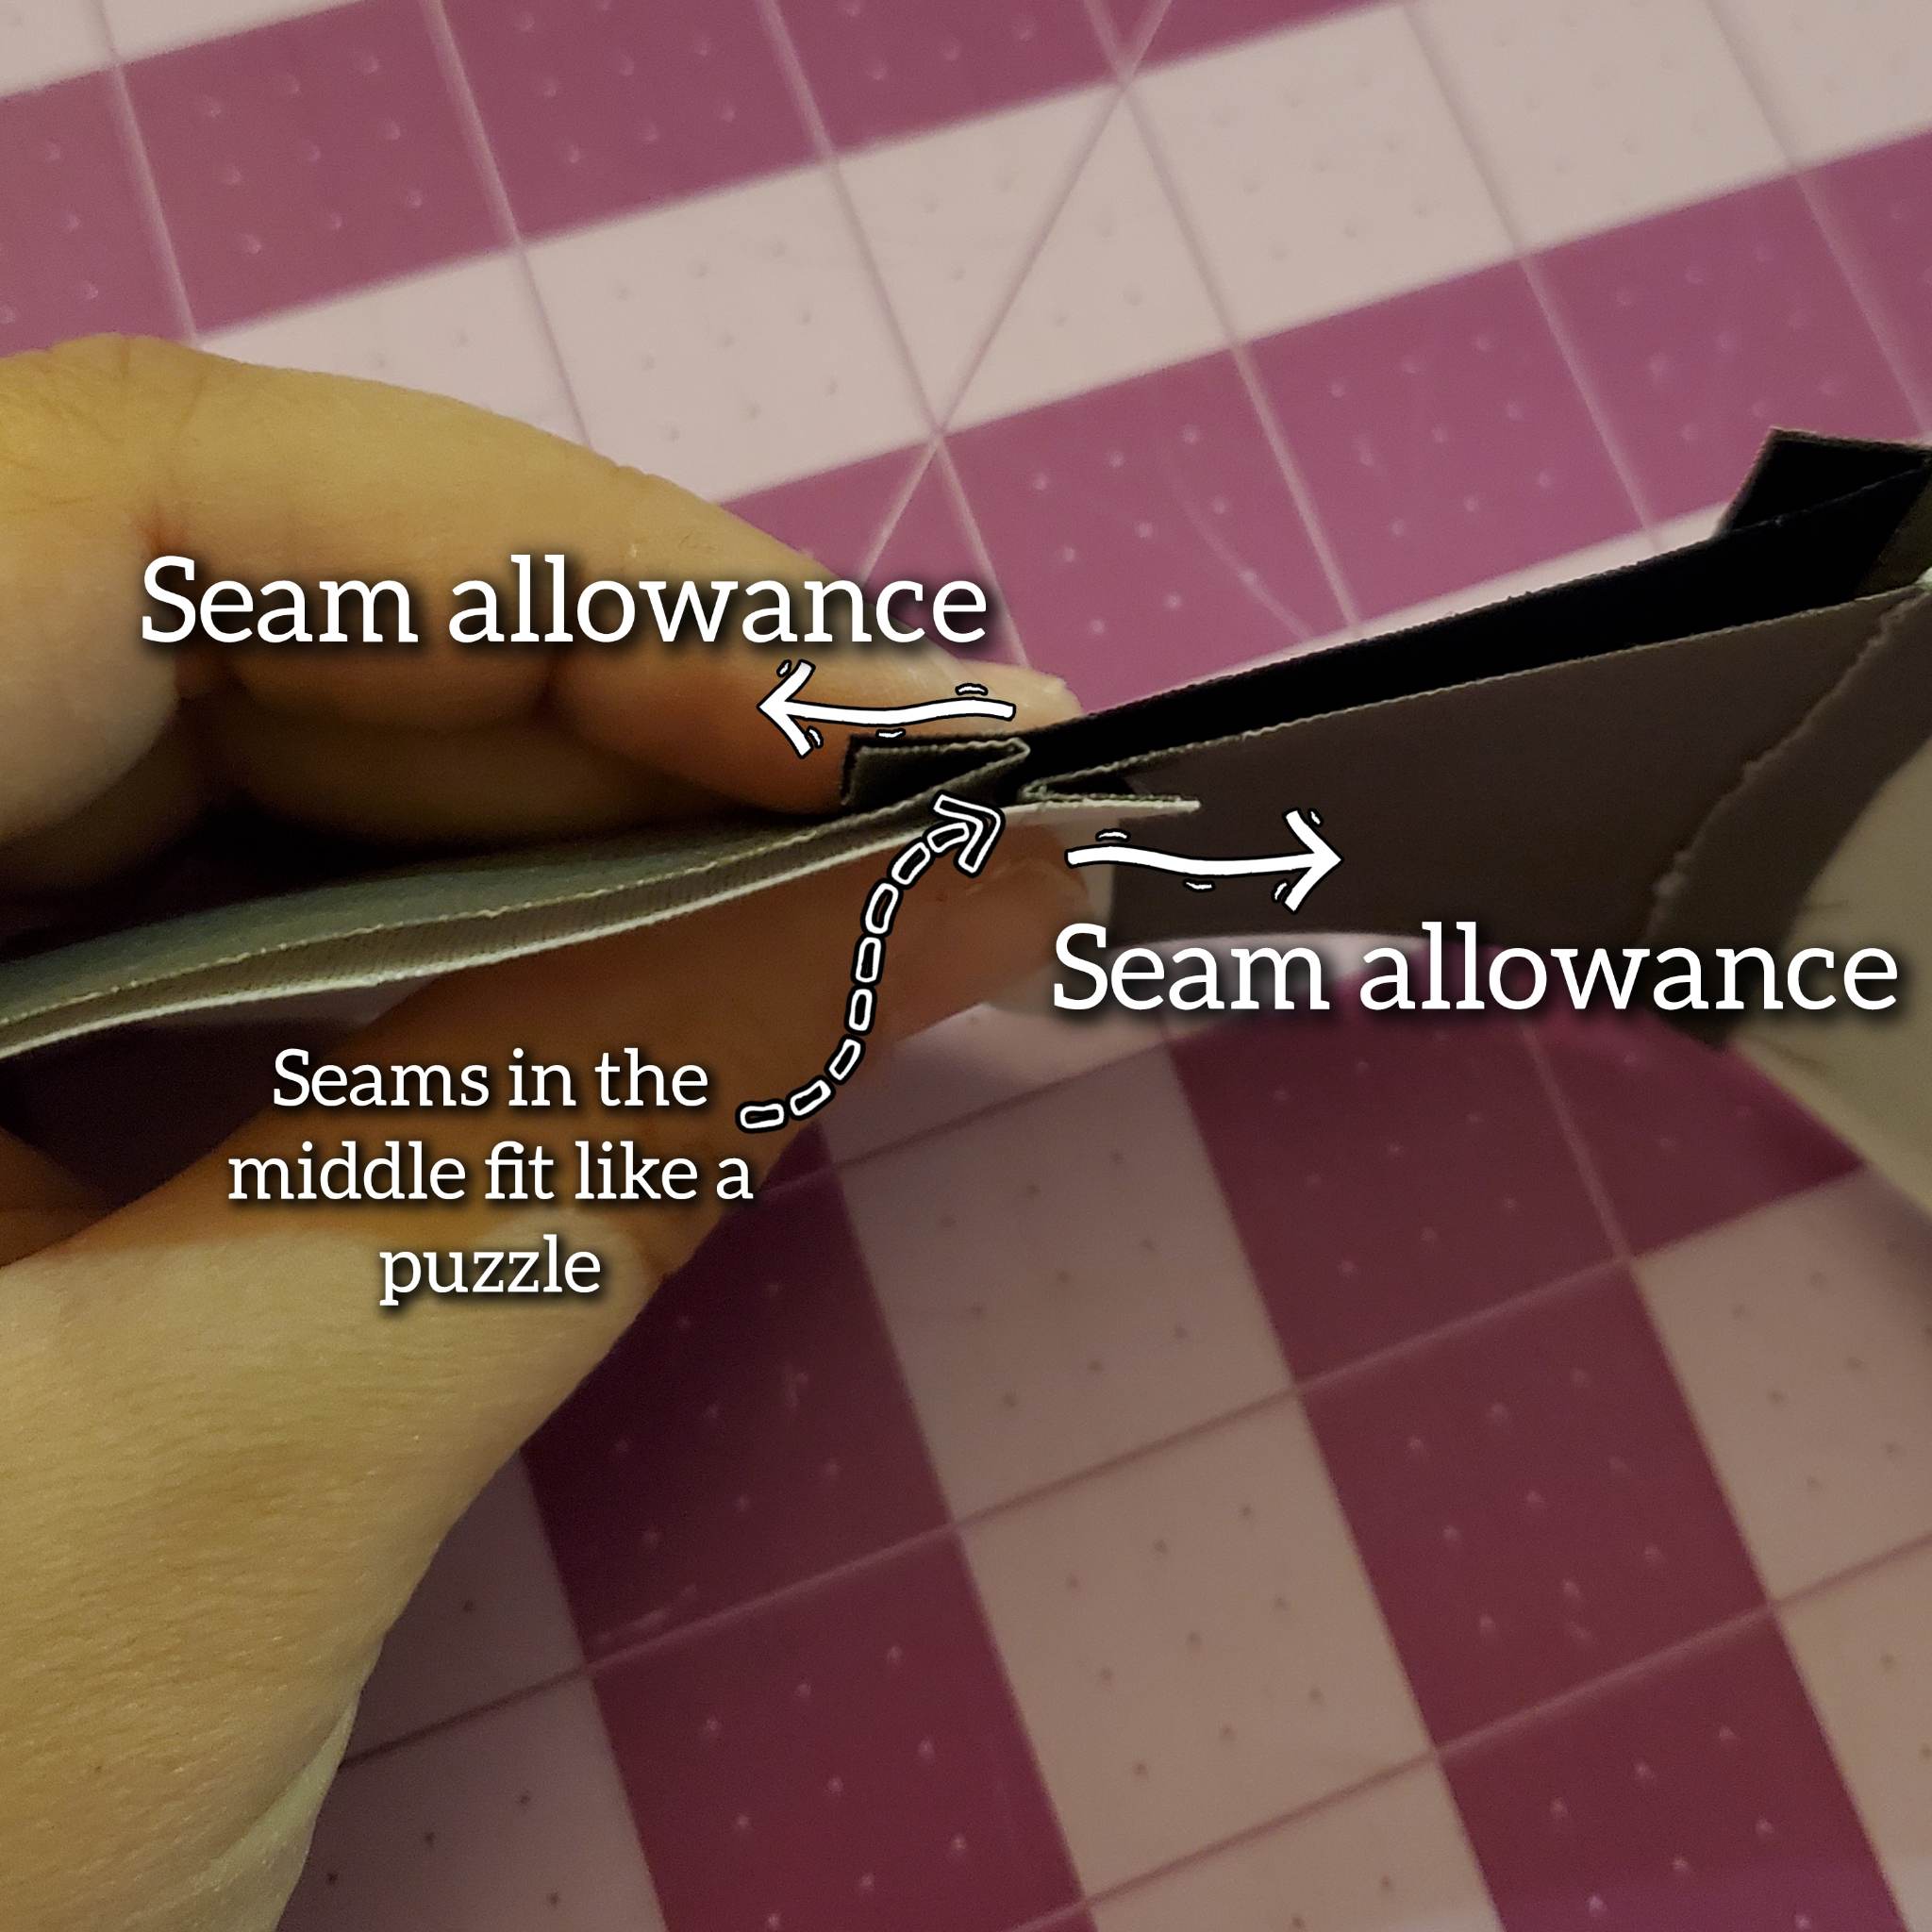
B. Now place the light strip on top of the dark strip right sides together. When seams intersect, one seam allowance will be going in one direction and one will be going in the other. The actual seam where they meet will fit together like a puzzle and it will feel flat and smooth. You may want to pin your pieces together at the seams (I don't do this, but you can!) Sew across your strips, connecting them. When sewing, make sure that the seam allowances continue to face opposite directions. This is very important to help your runner lay flat when complete.
Note: Do not stress if your seams do not match perfectly. This is the goal, but it does not always happen this way! Enough of them will line up that this will mostly work, which is a great goal!
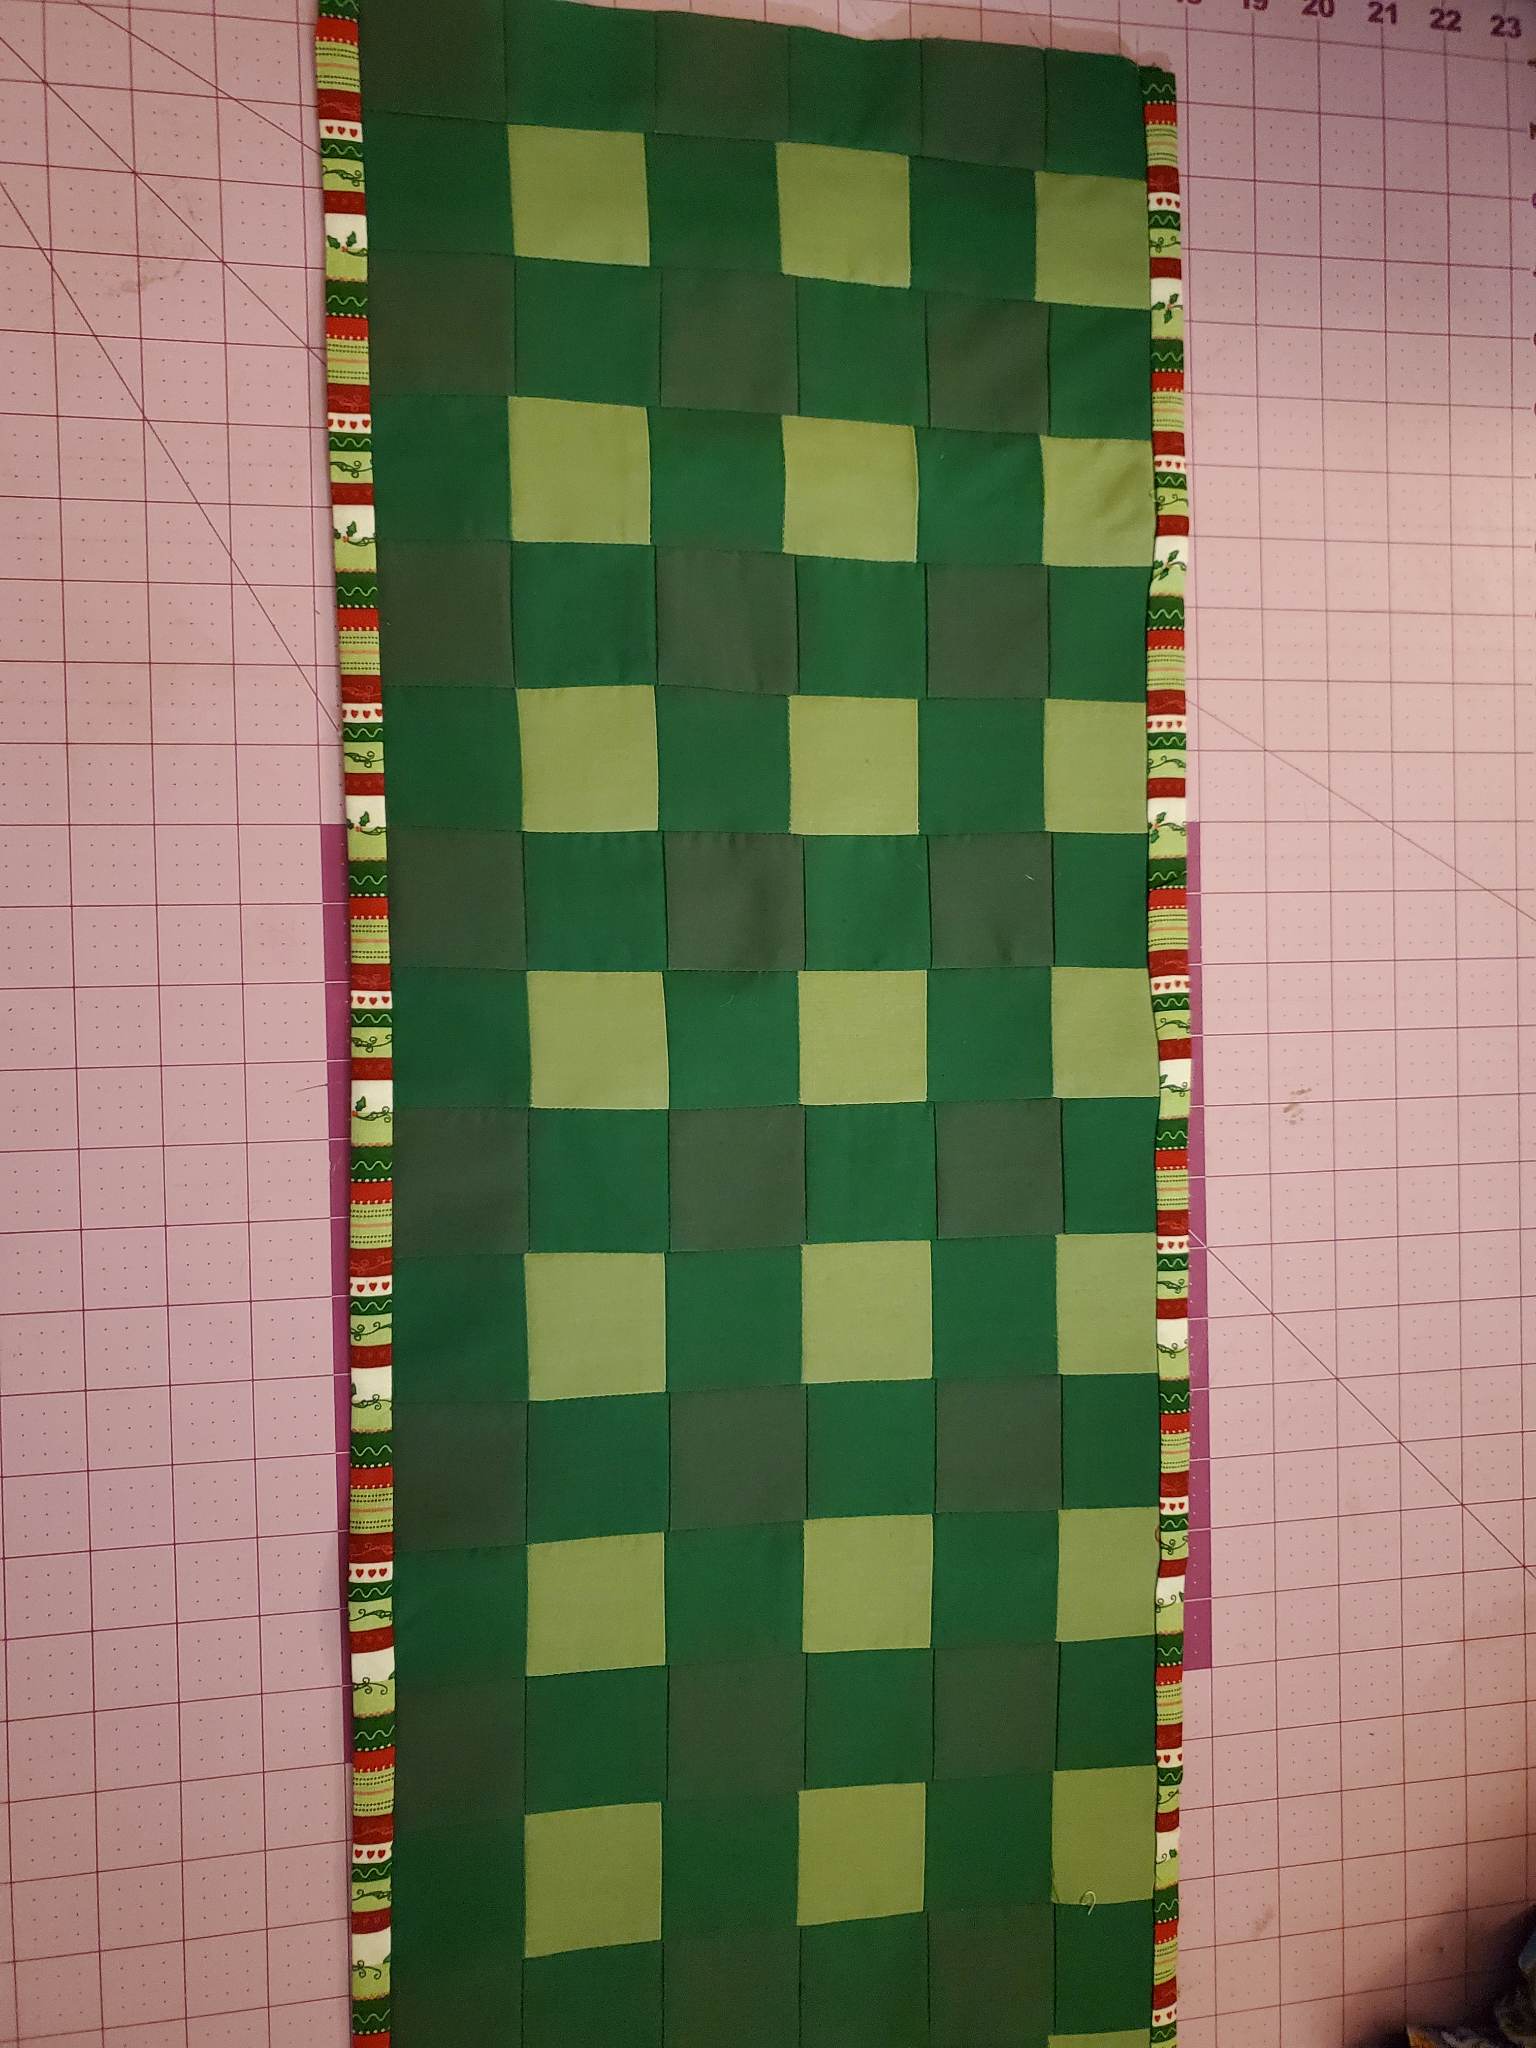
7. Open the fabric up and continue to sew all the strips from your pile, alternating dark and light strips, nesting your seams as you go, until you have used them all. Your finished product will look like the one below.
8. Press all of your new seams in the same direction. Give the entire patchwork section a solid press.
9. It is not likely your runner will be perfectly rectangular at this point. You can square up the sides by taking a rotary cutter and ruler and conservatively cutting off uneven pieces
10. Now we will use the accent fabric to make a border and backing. 32" is a generous estimation of the finished length of the patchwork section. Your first step will be to cut off excess length from your accent fabric based on the size of the patchwork (so, if your patchwork ended up being 30" long, you will remove 2" from your accent fabric.) DO NOT take width away from the accent fabric. It is deliberately wider than your patchwork, regardless of the size border you are making.
11. Lay your accent fabric right side up on a clear surface. Place your patchwork on top, right sides together, lining up a long edge. Sew down the long edge. Now line up the patchwork on the other side of the accent fabric and sew. The accent fabric is wider and will therefore create a tube with a bubble in the middle, as shown. Do not sew the short ends.
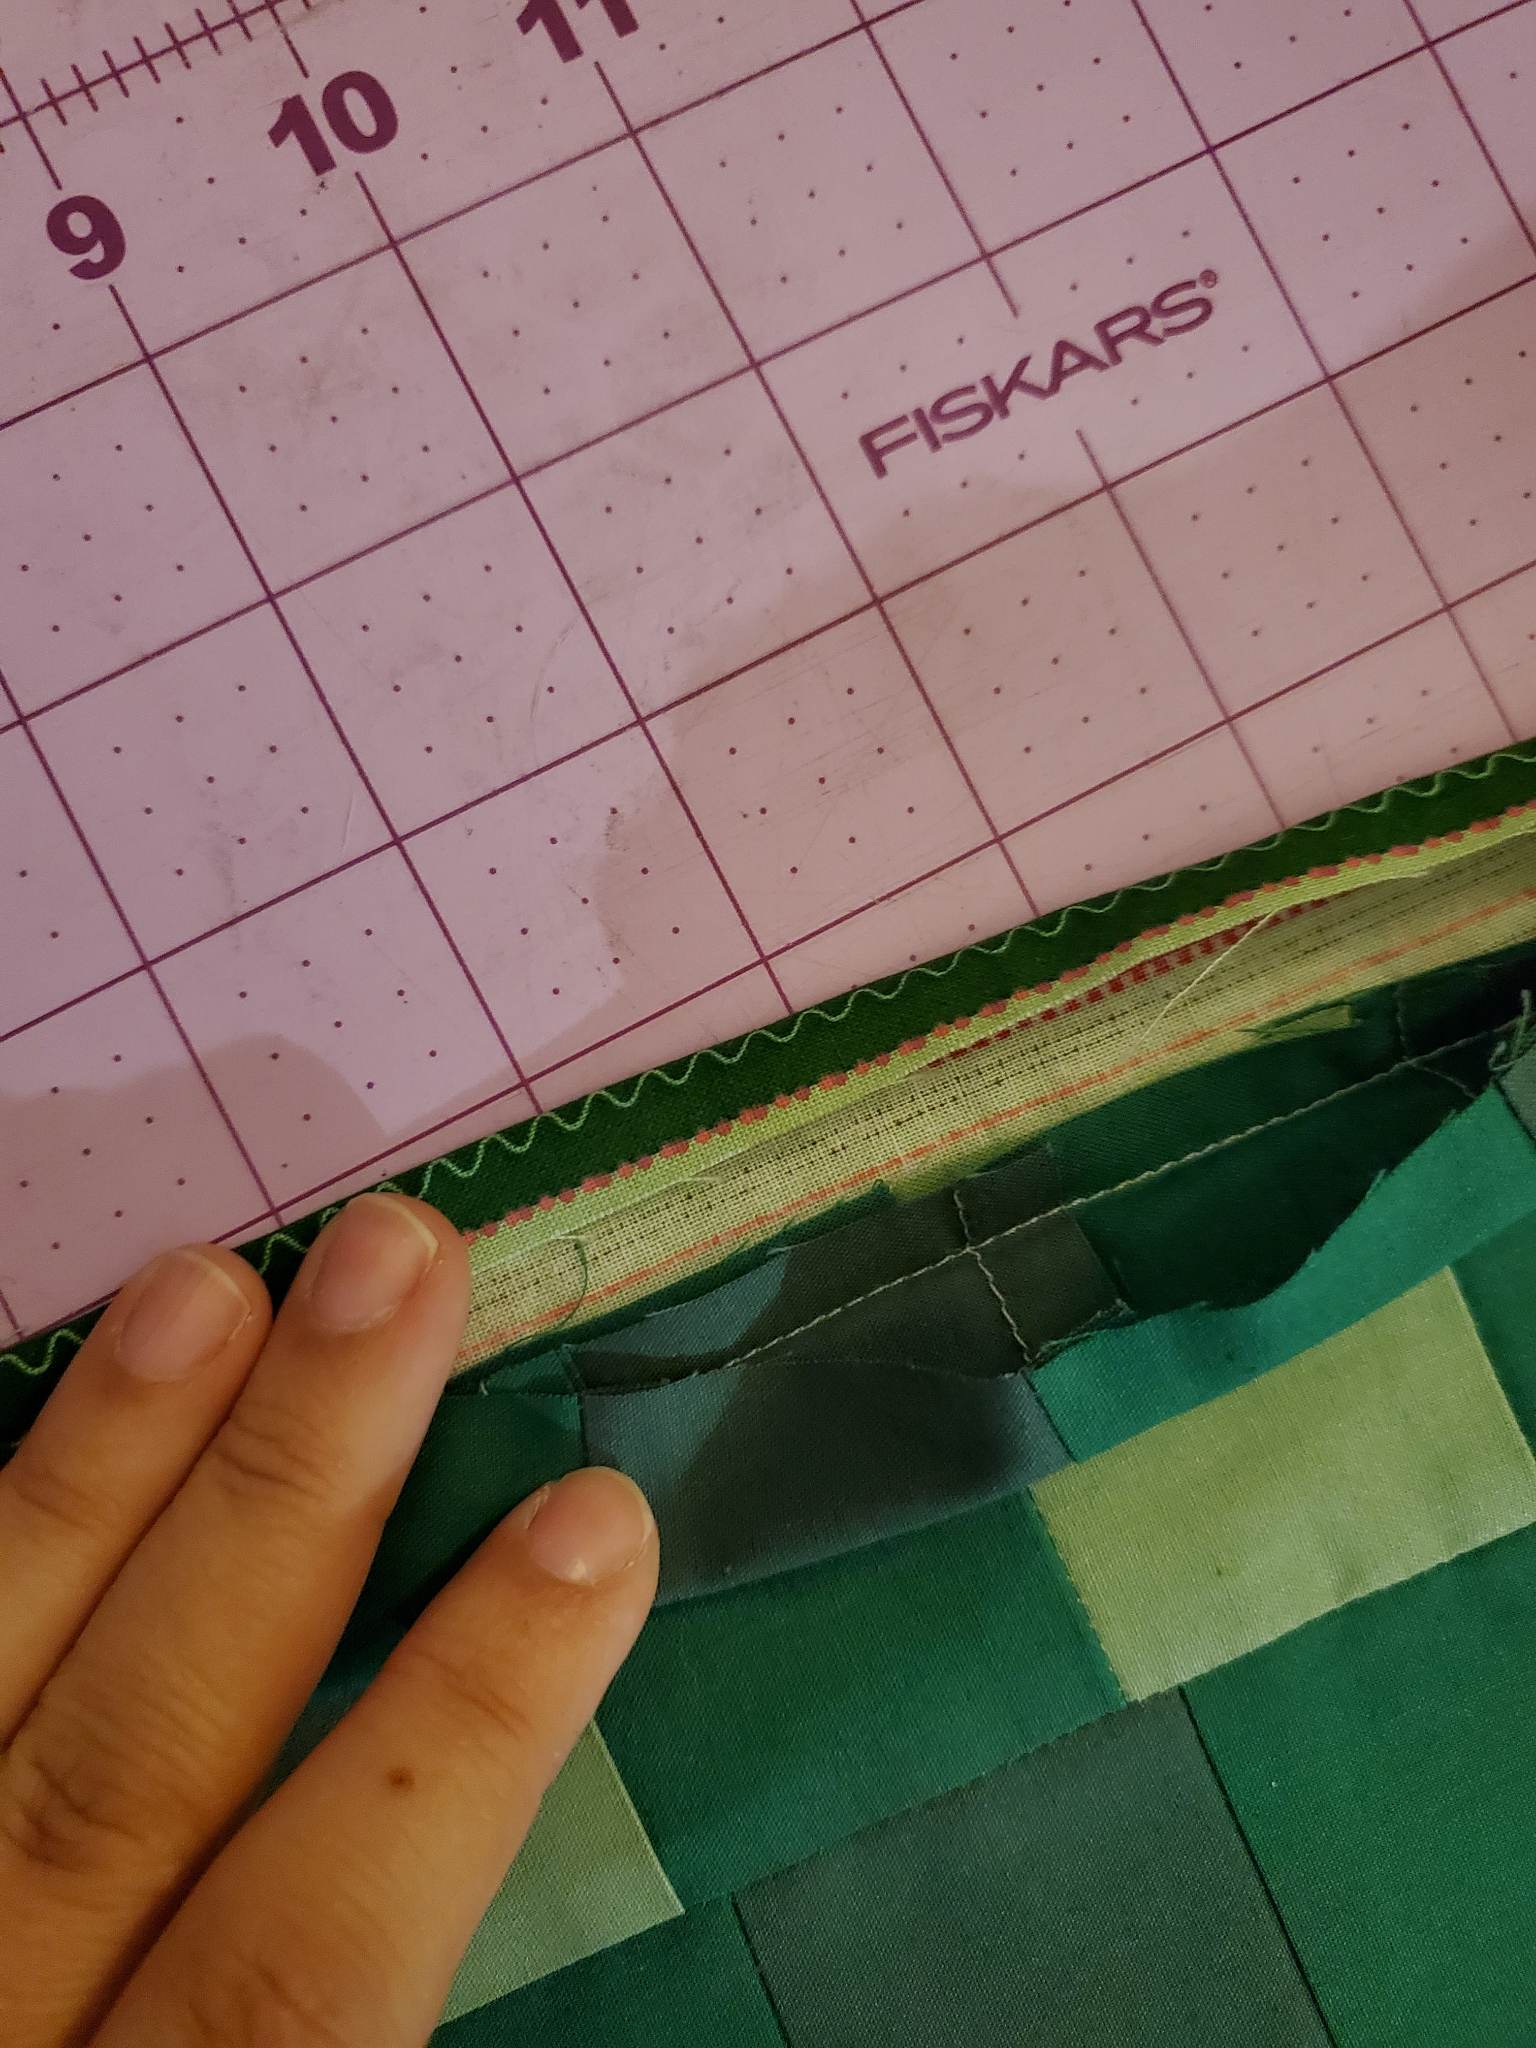
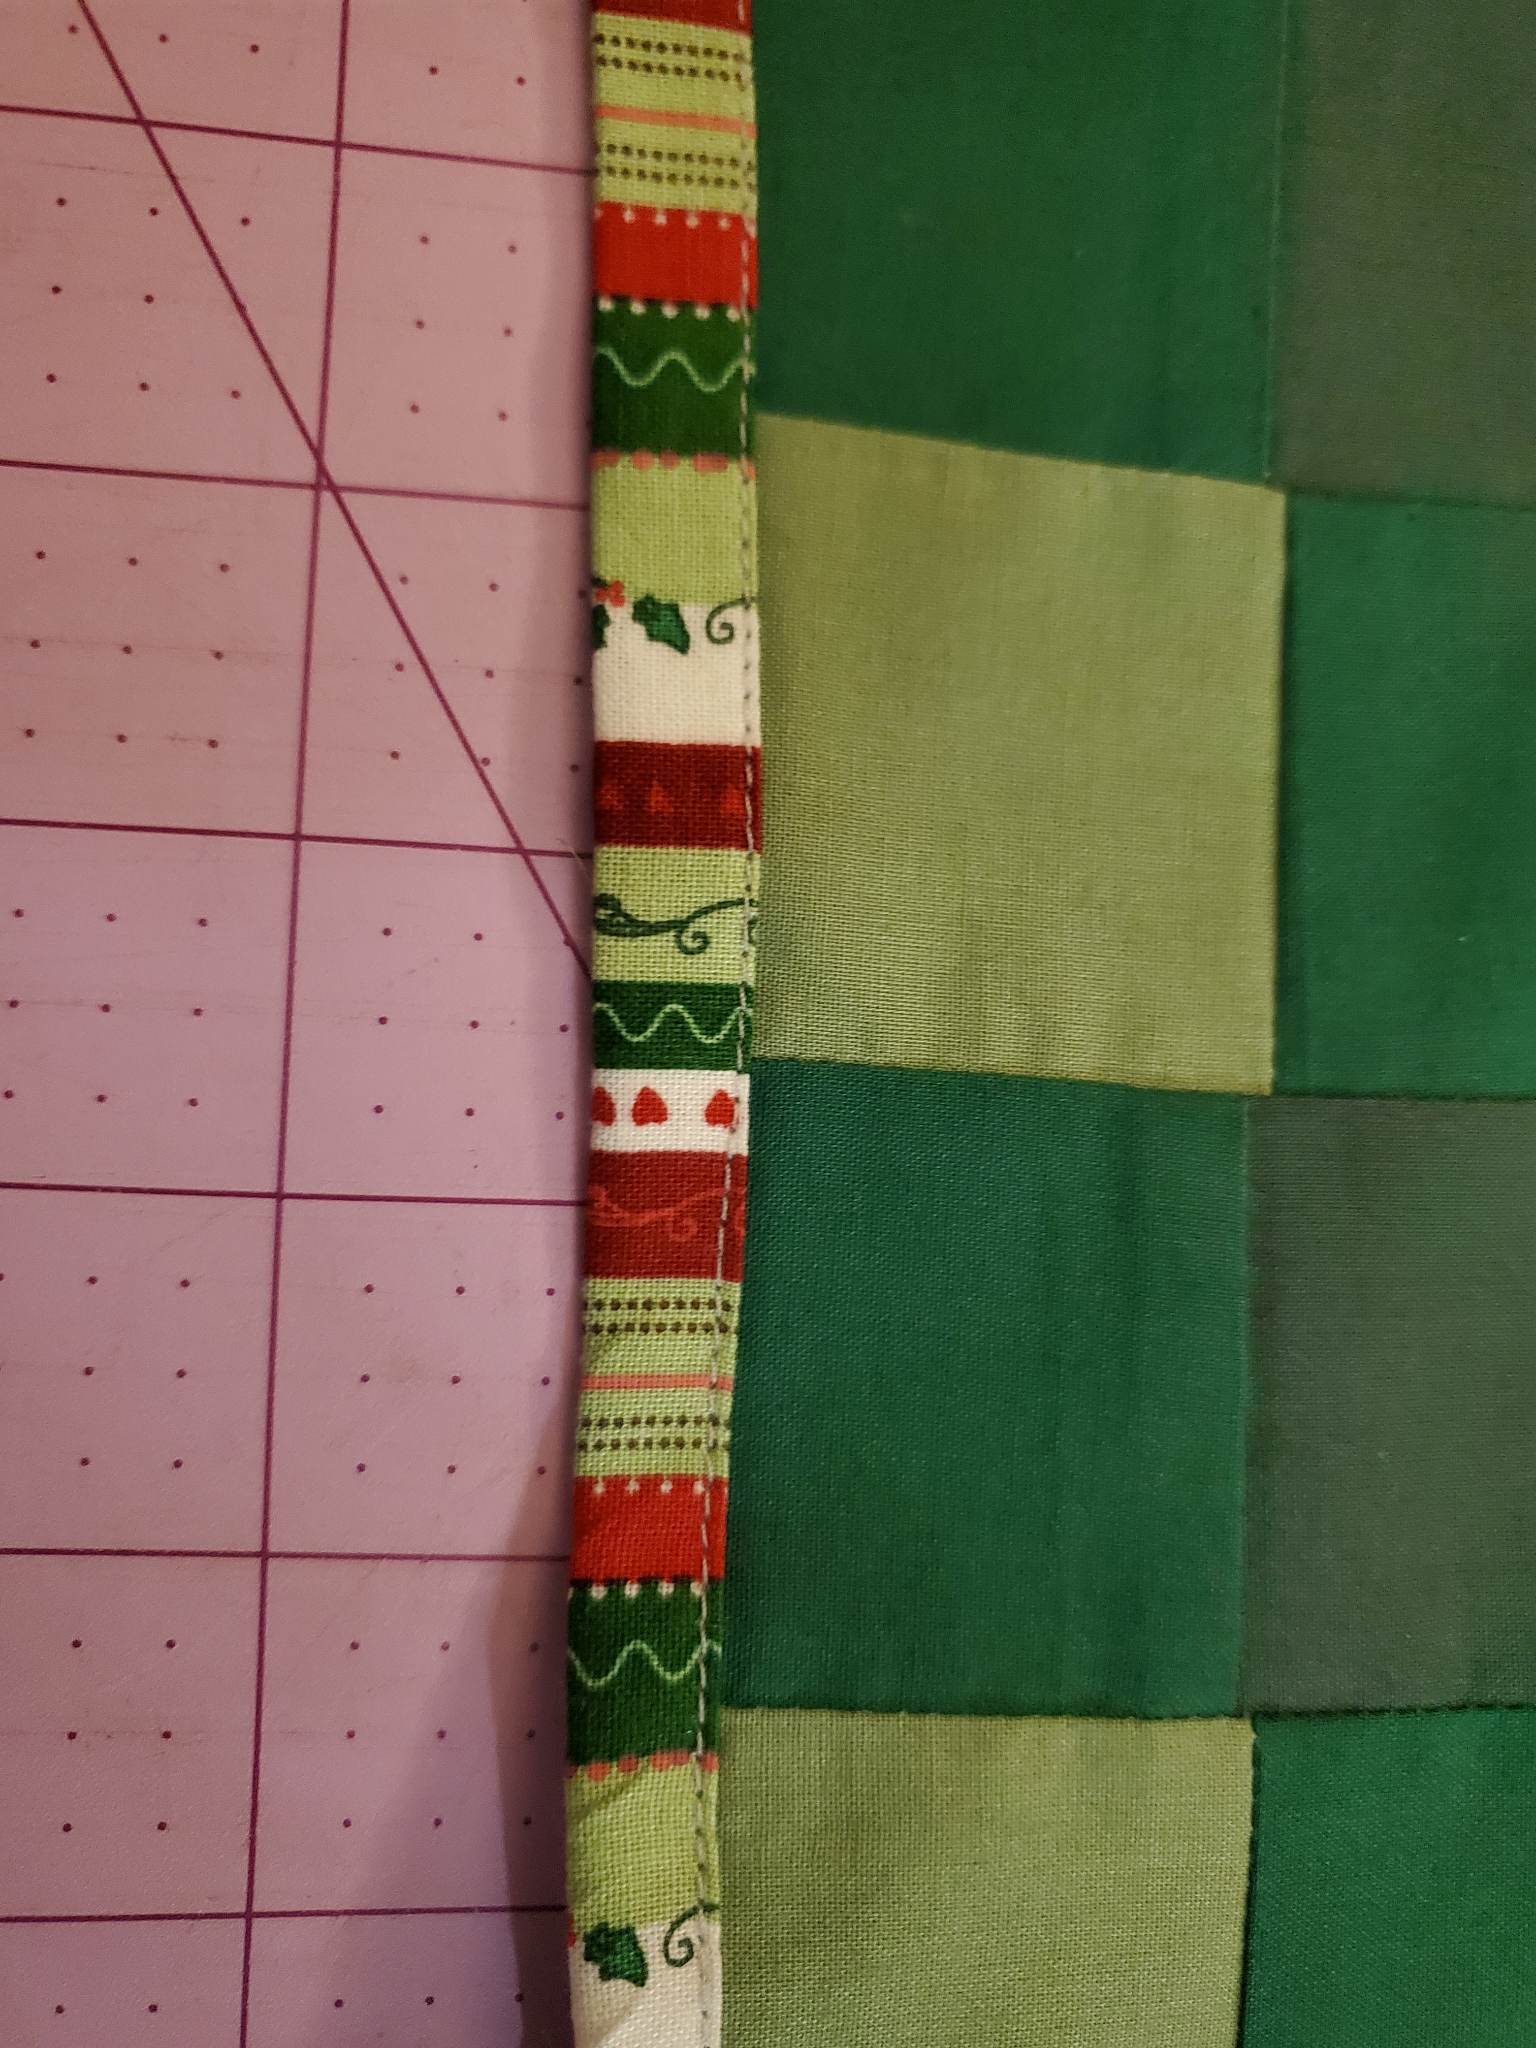
12. Turn your tube right side out. Center your buffalo plaid patchwork piece so that the accent fabric is even on either side. Press well. (Shown below is a thin border)
13. Turn your short ends in toward the inside of your runner 1/2" and press well.
14. Sew a scant 1/4" top stitch across the short ends of your runner, being careful to grab both the top and bottom of the runner in the seam.
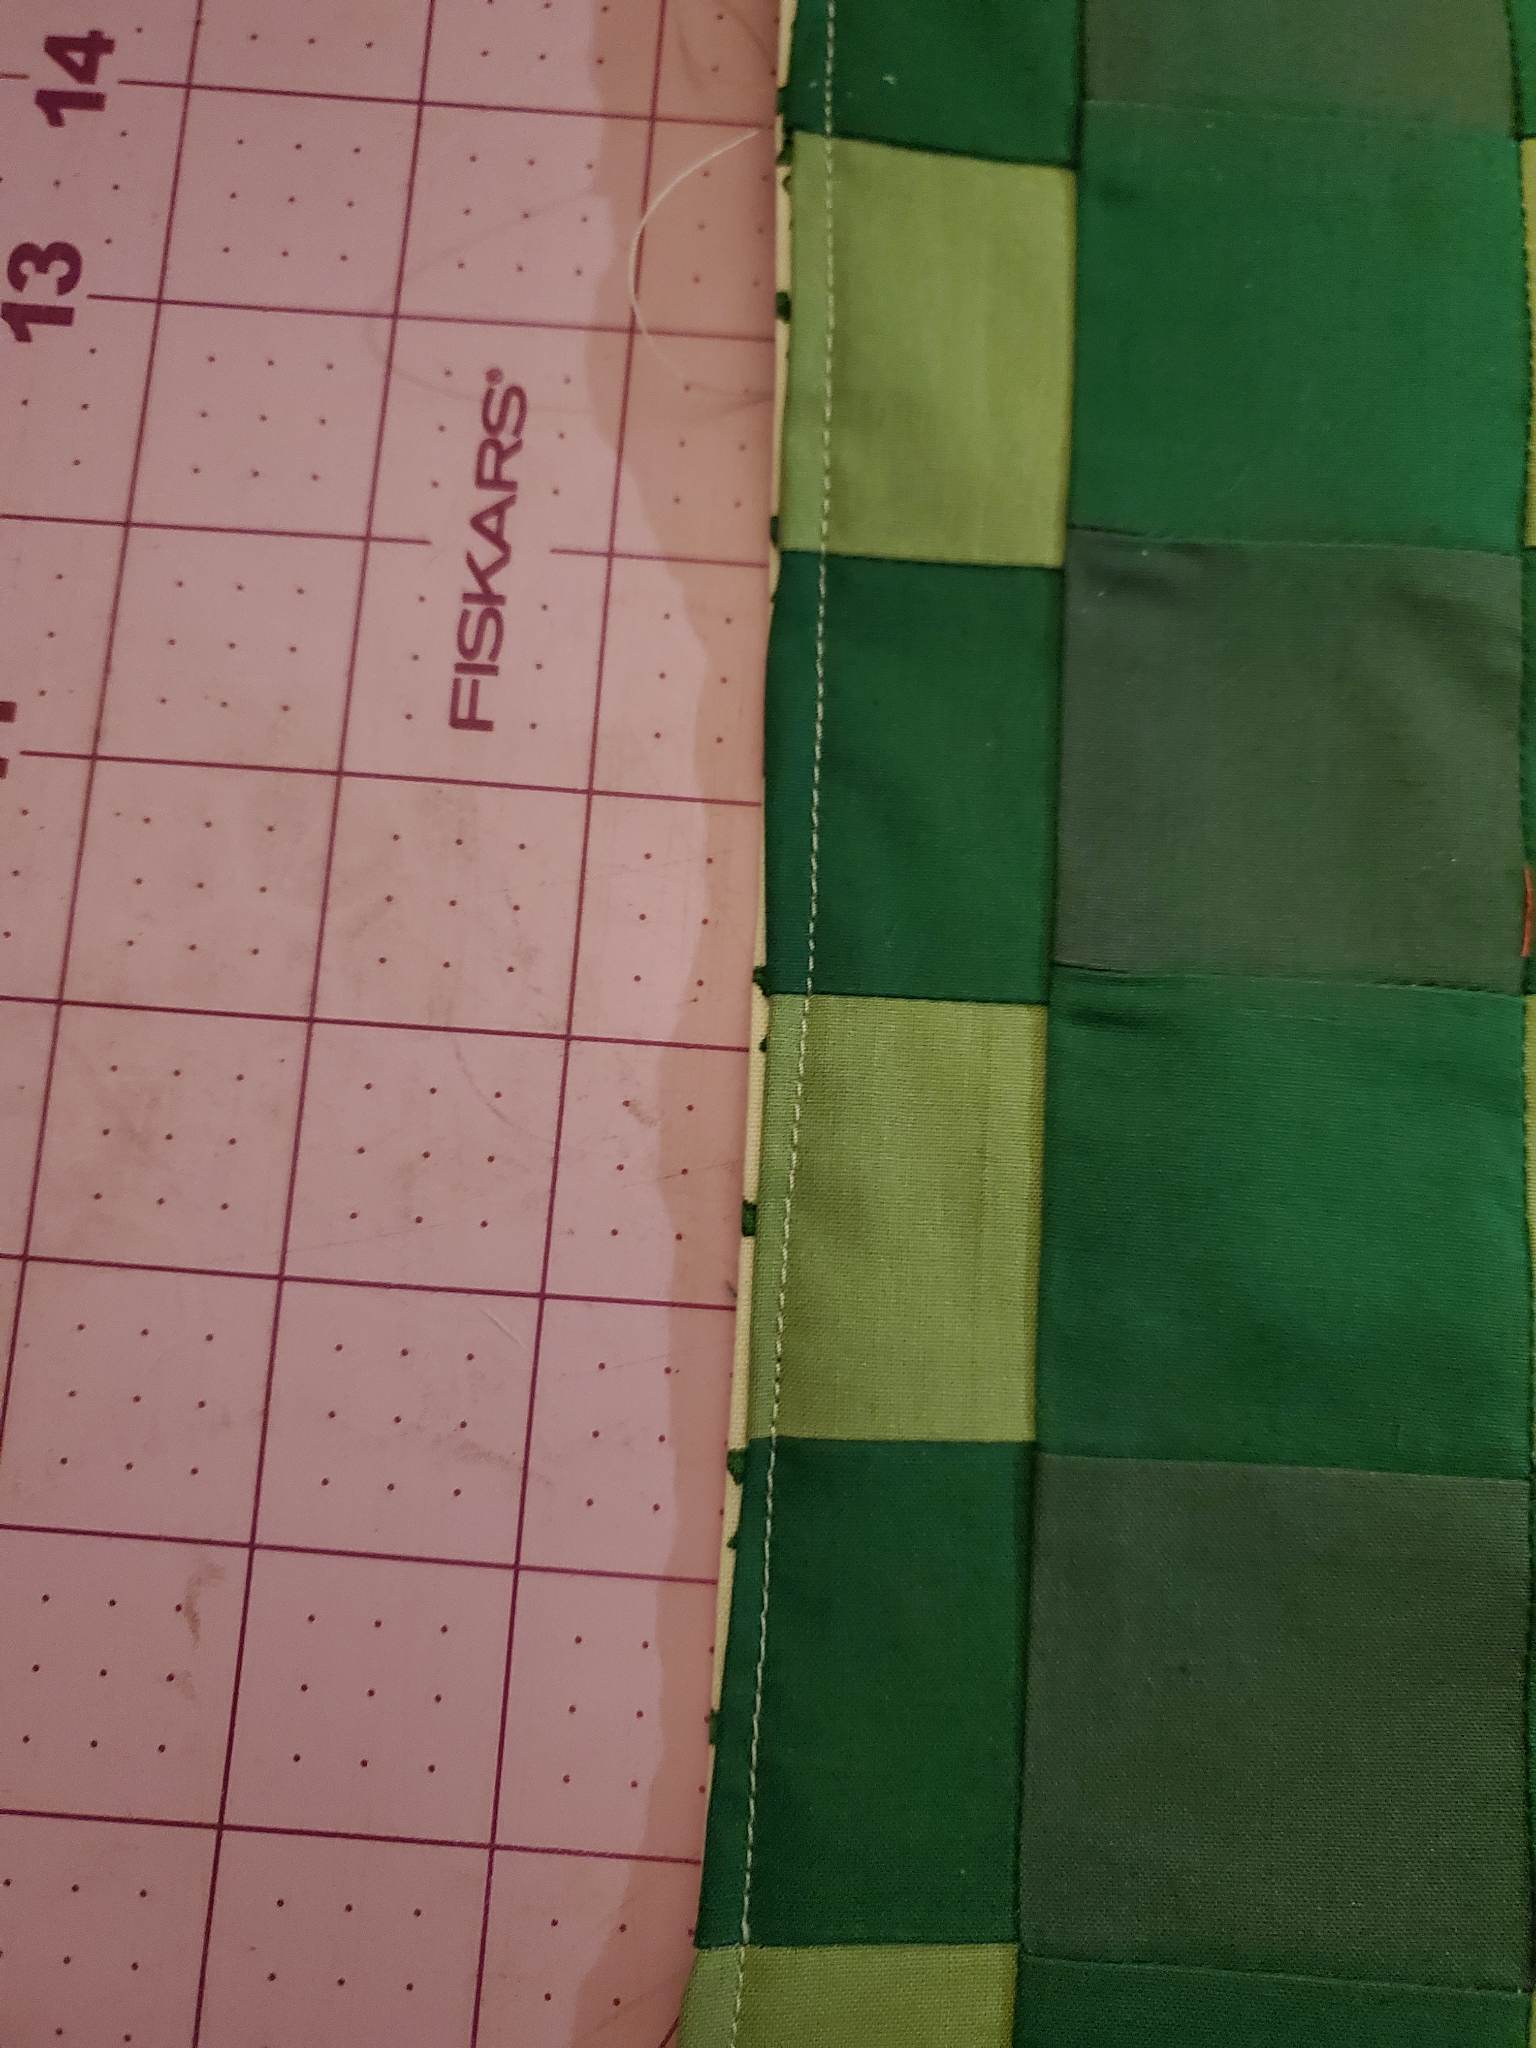
15. "Stitch in the ditch" between the border and the buffalo plaid piece to prevent your runner from shifting in use.
And you did it!
Come back tomorrow night for a tutorial from Christmas past!! We cannot wait to see what you create! Be sure to share with us in the CKC Facebook group, or tag us on Instagram!