
Posted by Emily Foster Wise on 10th Feb 2022
2022 Bow Along: Knit Fabric Bow Headband
Note from CKC: We are so pleased to share this post, perfect for any little one's precious hair, and originally from 2018, as part of our "Bow Along Sew Along" . In 2022, we will be highlighting posts from our old blog, knowing that they will gain new life here. And we are so thrilled to be putting many of our bows and hair accessories on the blog this week!
Oh Good Gracious, SEW BOW-dacious! We have a luscious large knit bow headband tutorial for you today. It's a trendy accessory for your knit creations.

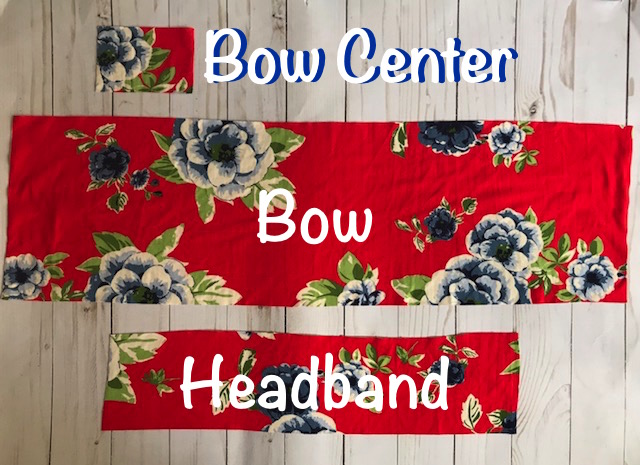
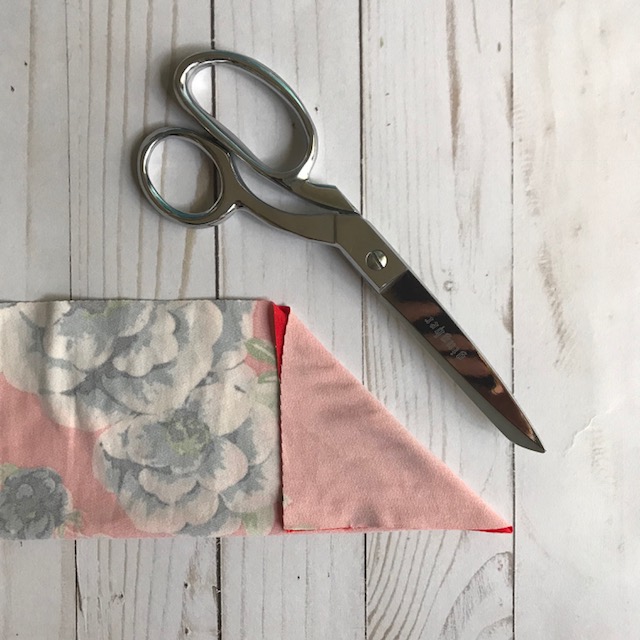
Step 2: Fold your BOW rectangle in half like a hotdog and fold the corners to make a triangle. Cut off the ends you just folded.
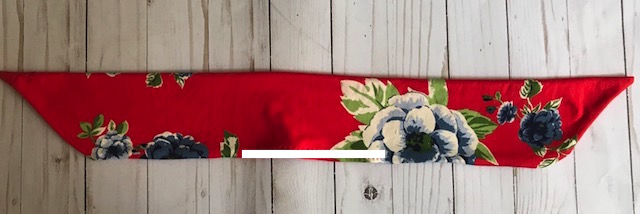
Step 3: With the right sides of your fabric together, fold all of your rectangles in half like a hotdog, matching up the raw edges. Pin and sew down the long edges of the headband and bow center as shown below. Pin and sew the angles and long edge of the bow, leaving a 2-3" section OPEN. Clip the corners of the bow angles and turn the bow and other rectangles right side out.

Step 4: Press the seam of the bow center and headband so it is centered on what will be the inside of these pieces. This is optional, but I find it easier to work with these pieces if pressed.

Step 5: Fold the seam allowance of the opening in the bow towards the inside of the bow. Sew the opening of the bow closed. You can use a long straight stitch or a zig zag stitch.
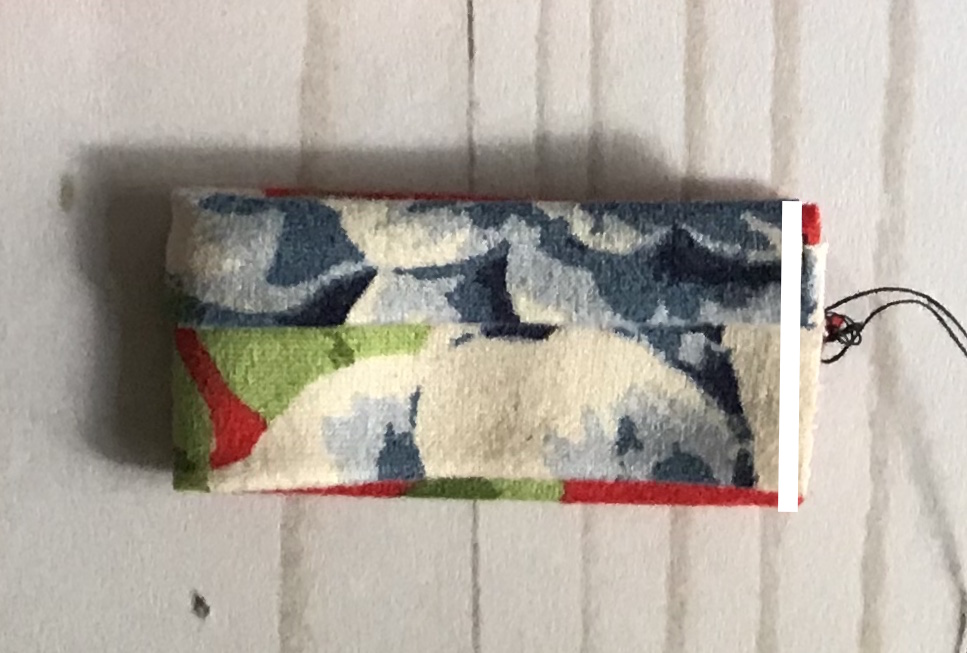
Step 6: Fold the bow center with the right sides together (the center seam is the "wrong side" and will be facing you). Pin and sew the raw edges together. Turn the loop right side out so the center seam is on the inside of the loop.
Step 7: Slide the bow loop onto the headband.

Step 8: With the loop in the center of the headband, center the bow through the loop.

Step 9: Now take the bottom of the bow on the right side, and slide it through the bow center so there is a bow loop on the right, and the bottom angle of the bow is now on the left side of the bow center.
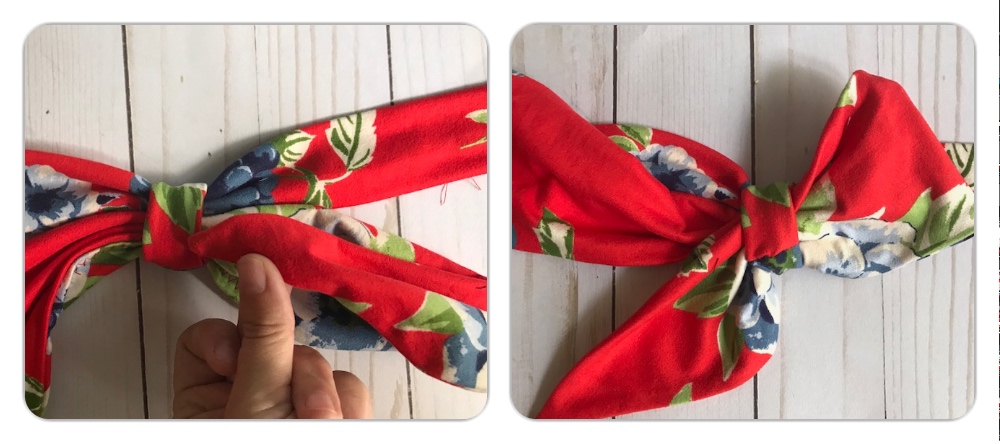
Step 10: Repeat Step 9 with the left side of the bow.

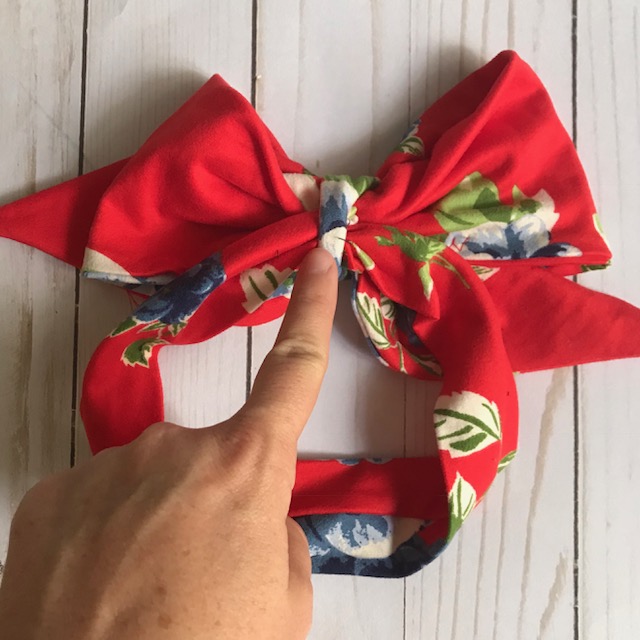
Step 11: Place the headband raw edges right sides together. Pin and sew down the short edge.

Step 12: Center the bow center over the end of the headband we just sewed. You can secure it with a few stitches, or leave it as is. You will want to secure the bow for babies and toddlers who tend to tug at headbands.
 |
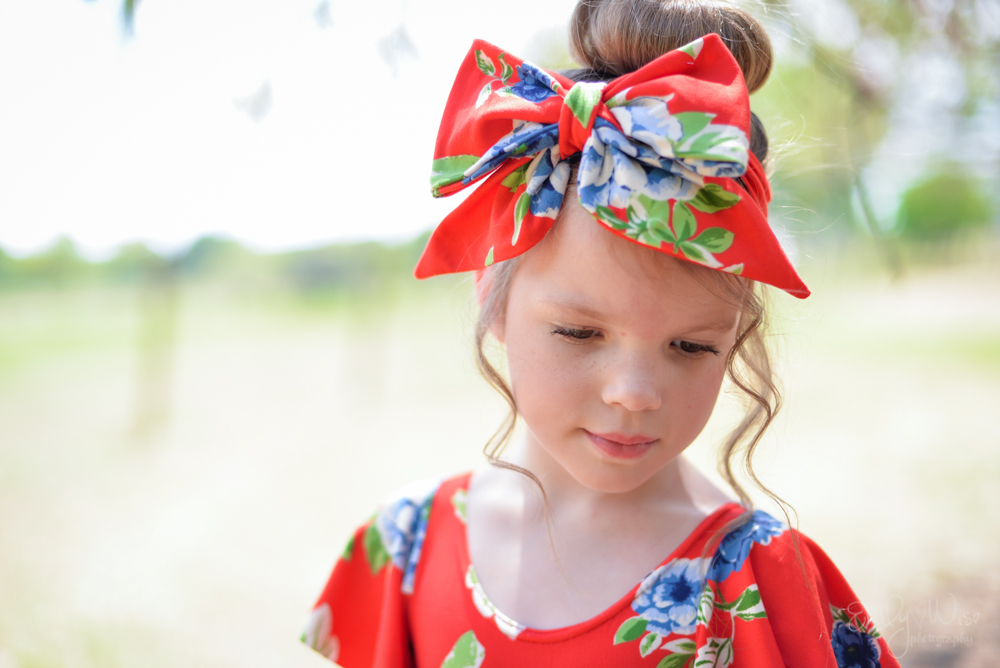
Today I used a Double Brushed Poly Knit from Sew So English, a go-to fabric shop we love and pairing it with Glady's Leotard. This pattern is stunning whether your dancer is headed to class, or pair it with jeggings for an all-around-town outfit.
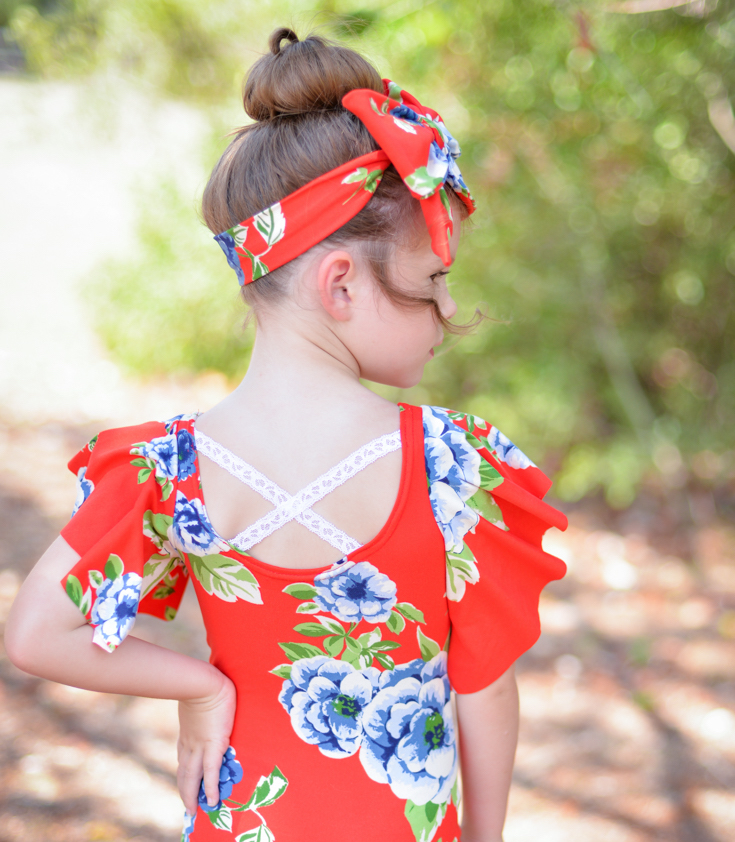
Here are some more adorable bow headbands to inspire you!

We cannot wait to see what you create! Please share your beauties with us in our Facebook Group or on Instagram @CKCPatterns.
Sew Inspired,
Emily