Posted by Kristen Nelson and Leah Gardner on 10th Feb 2022
2022 Bow Along: Retro Headband
Note from CKC: We are so pleased to share this post, perfect for any little one's precious hair, and originally from 2014, as part of our "Bow Along Sew Along" . In 2022, we will be highlighting posts from our old blog, knowing that they will gain new life here. And we are so thrilled to be putting many of our bows and hair accessories on the blog this week!
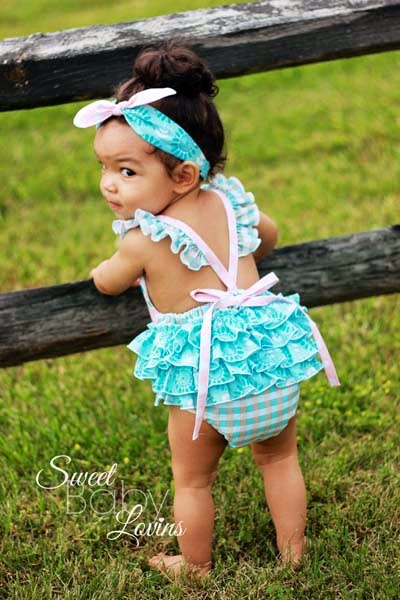
When I first saw the picture above I noticed three things:
#1 A super adorable baby. Am I right?
#2 The cutest little ruffle bum outfit ever.
#3 Her super precious retro headband. So cute!!
And that's when I knew I had to learn how to make that headband asap!
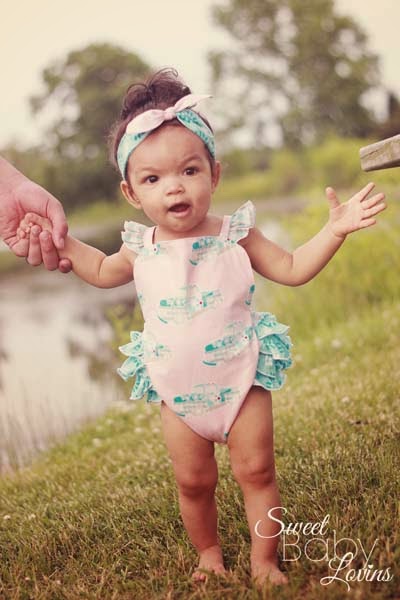
This outfit and headband (and baby, in fact) were all made by Leah Ann Gardner from Sweet Baby Lovins. Leah is a tester for CKC's baby clothing and today she has agreed to teach us all how to make a retro headband. Isn't she wonderful?! Here is Leah with today's tutorial:
Retro Headband Tutorial
Fabric (quilter's cotton recommended)
Matching thread
5/8" Fold over elastic
Scissors
Pins
Iron
Ruler
* The seam allowance when sewing will be 1/4"*
Step 1: First print out the pattern pieces. Cut out the bow piece and the headband piece in
the size needed.
Step 2: Cut 2 headband pieces and 2 bow pieces out of your fabric. When cutting, make
sure the pattern piece is placed on the fold of the fabric.
Step 3: Cut a 3.5" piece of elastic and set aside.
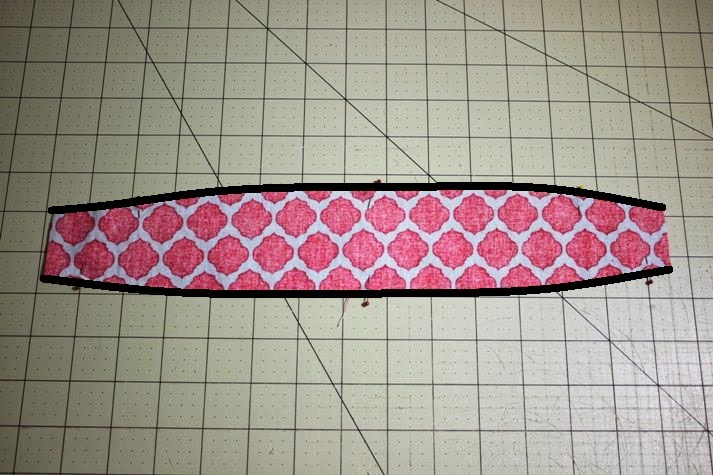
Step 4: Lay one of the headband pieces we cut out right side up. Place your second
headband piece on top of the first with the right side facing down. Pin in place and sew
along both of the long edges as indicated in black below.
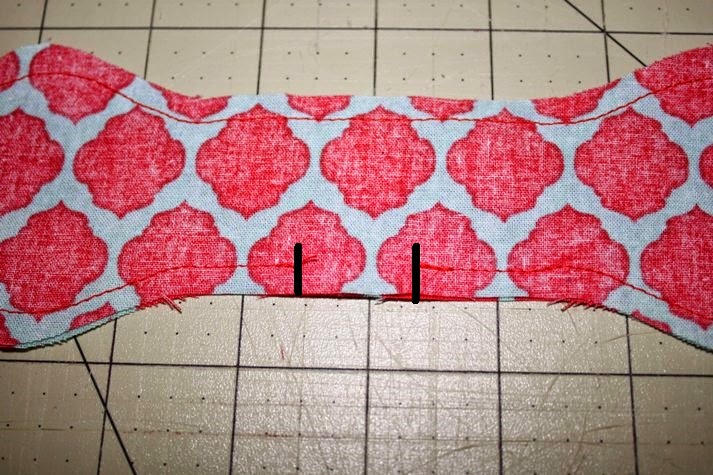
Step 5: Take one bow piece and lay it right side up. Place your second bow piece right
side down on top of the first and pin in place, as shown below.
You'll now sew along the entire edge of the
bow except for a 1" section in the center, as shown below. You'll need this 1" opening to turn the bow right side out. Now clip the curves of the bow.
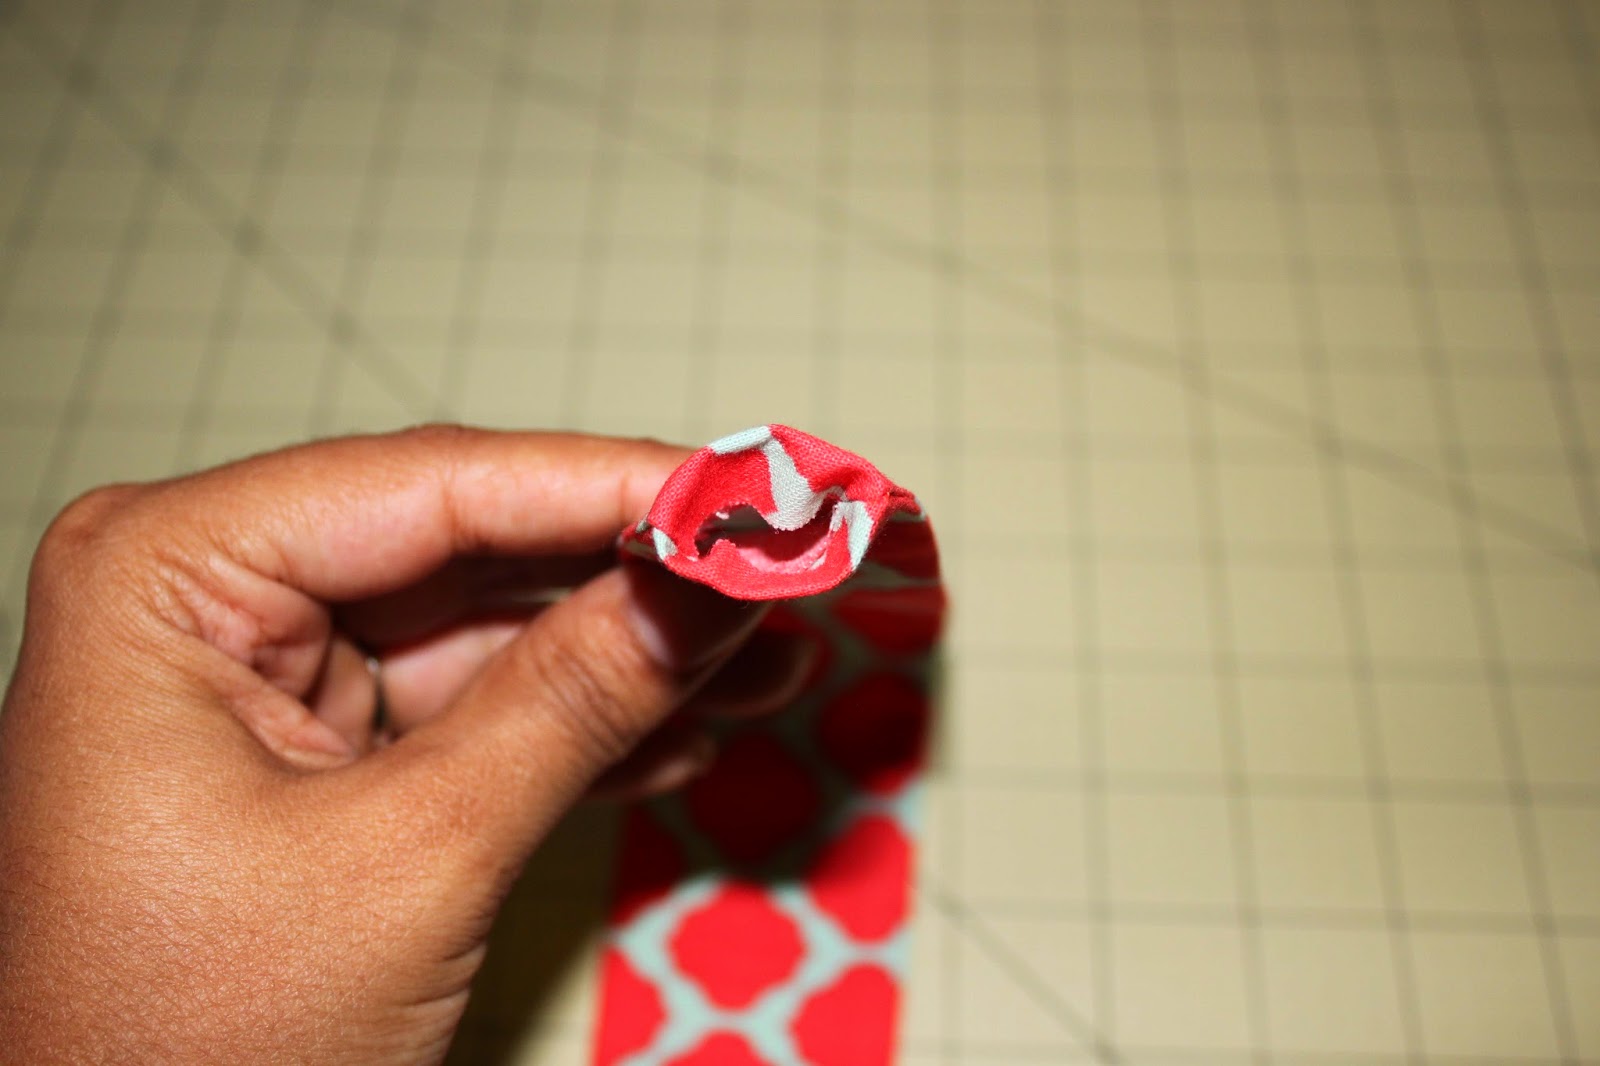
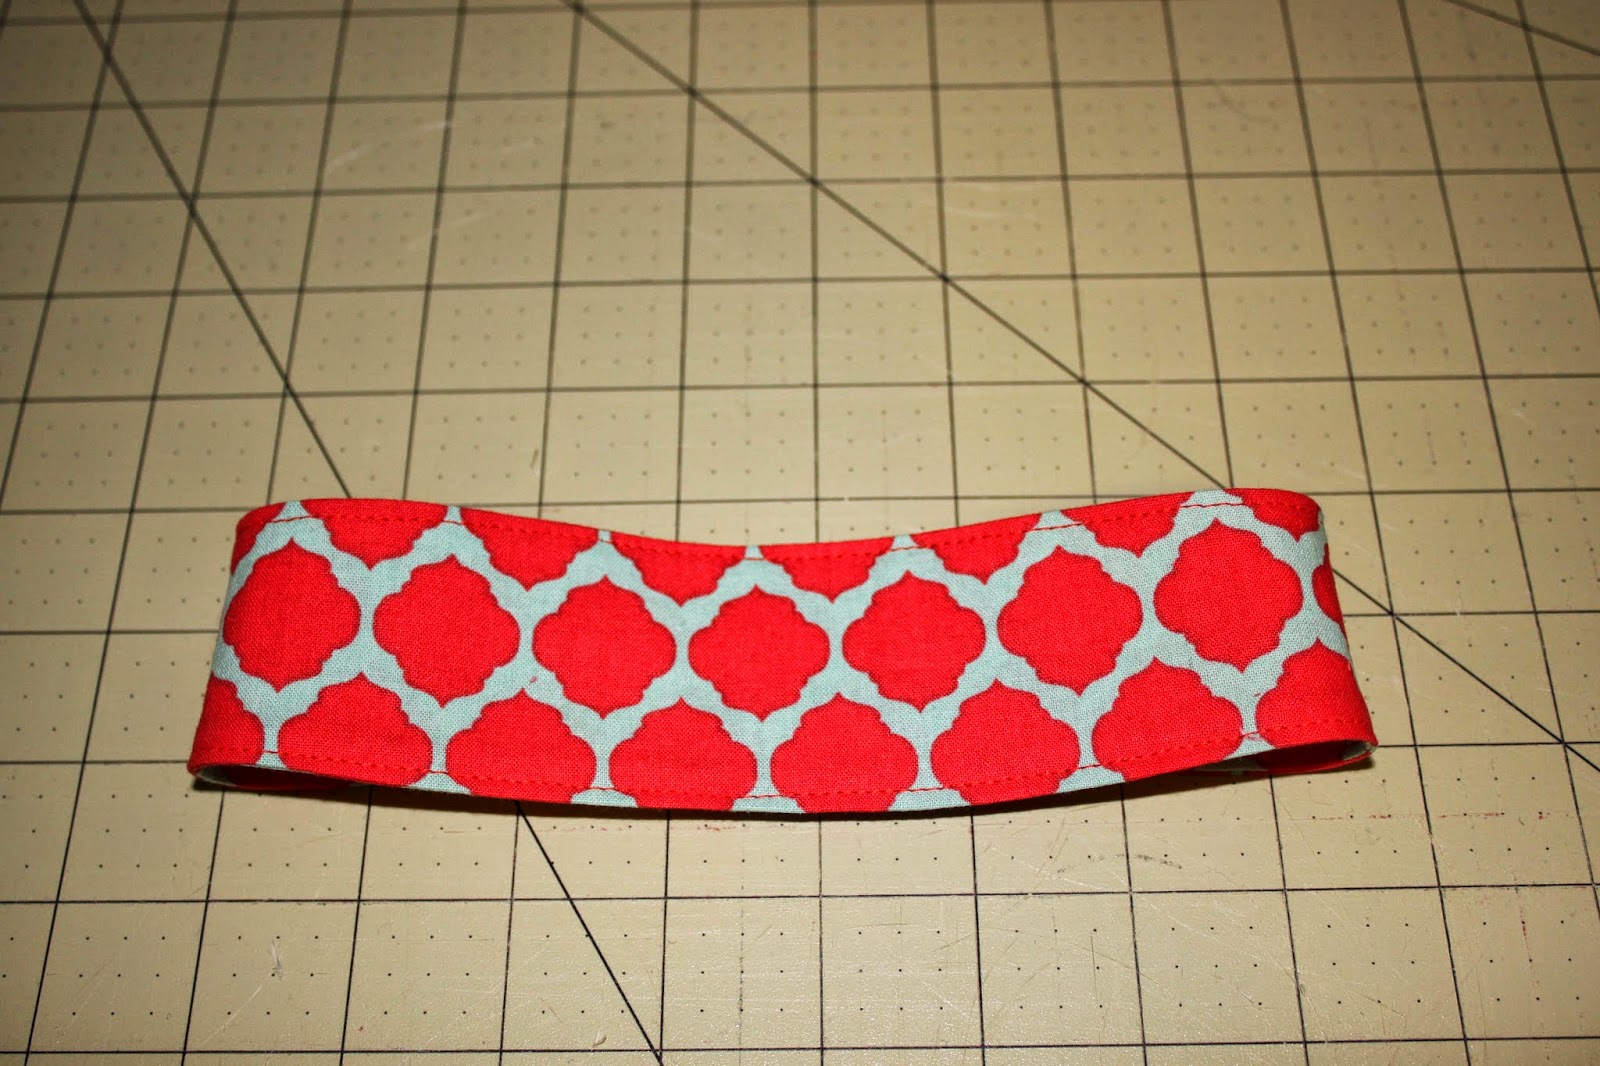
Step 6: Using a dowel or chopstick turn your headband piece right side out and iron.
You'll then take the headband piece and turn both ends in 1/4" and iron to set.
Step 7: Using a dowel or chopstick turn your bow piece right side out and iron. You can
now topstitch the bow. This step is optional. If you choose to not topstitch you'll still
need to sew the 1" opening closed. Simply sew 1/8 from the edge along the opening, as shown below.
Your stitching will mostly be hidden when we tie the bow.
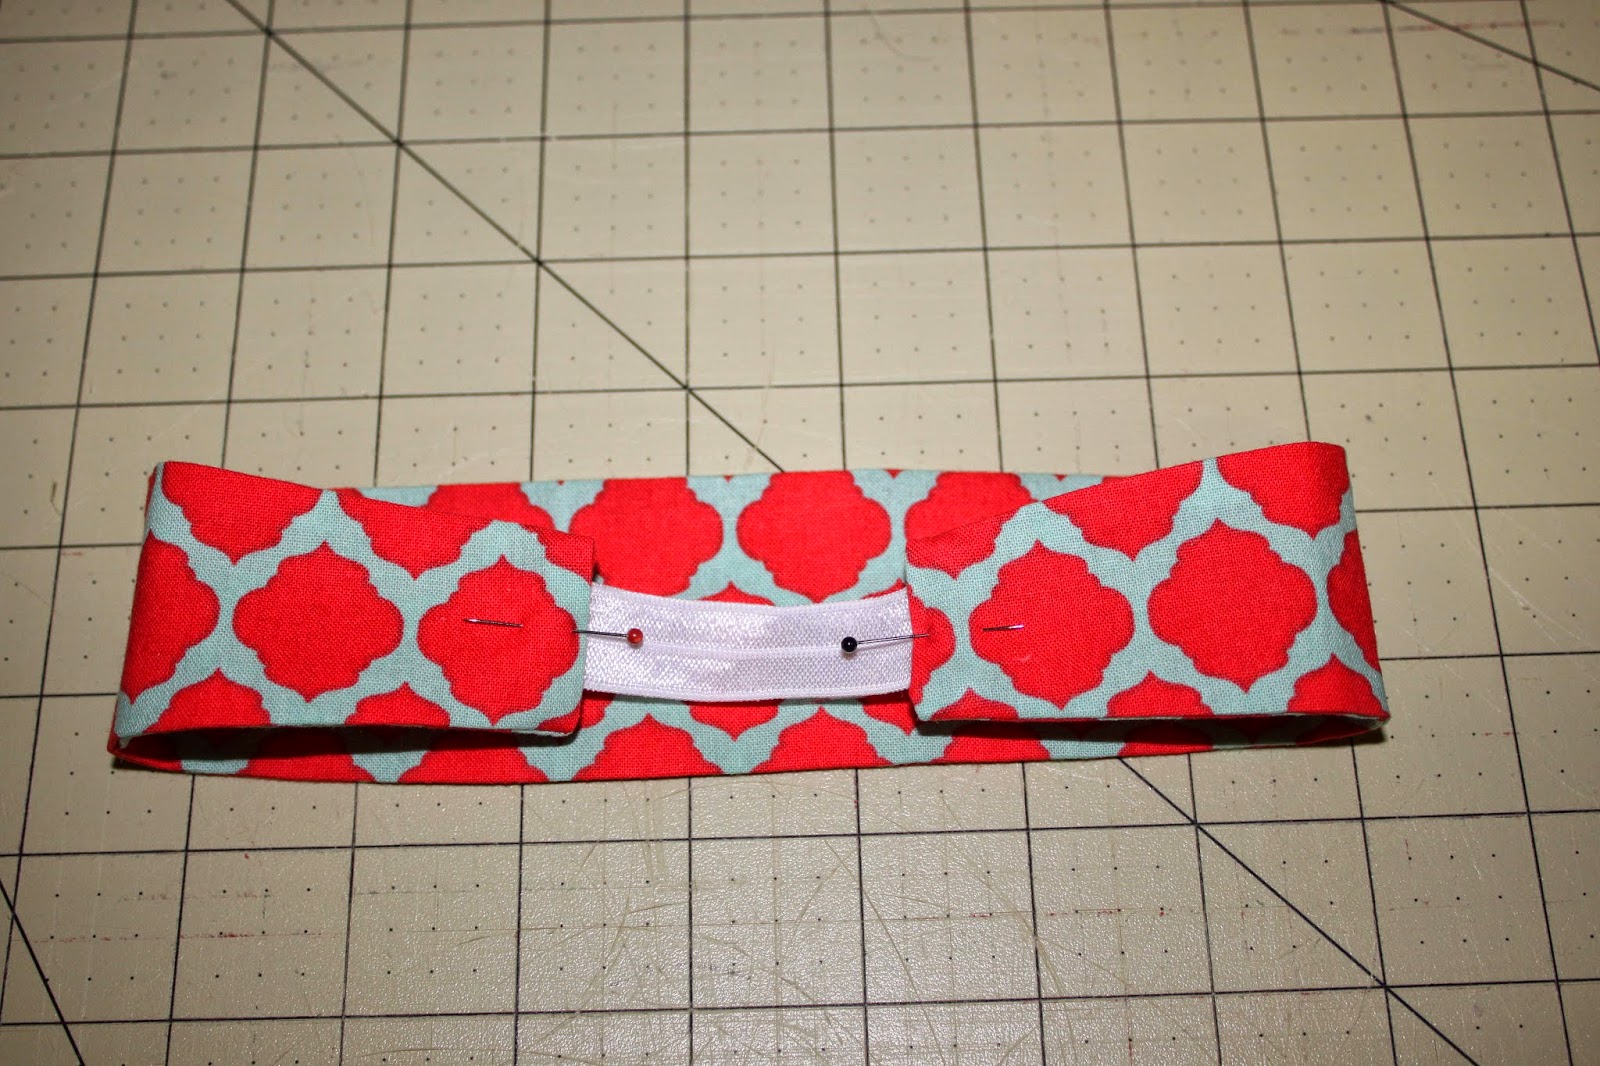
Step 8: Now take the headband and insert 1/2" of the fold over elastic into one end of the
headband and pin in place. Repeat with the other end. (Fold over elastic has a right side
and a wrong side. Make sure you have both the headband and the fold over elastic right
sides up.) You'll now have one continuous loop.
Step 9: You can now topstitch around the entire headband. (I recommend sewing down
the ends twice where the elastic is to make sure it's secure.) Topstitching is optional here also. If you prefer, you can sew only along the short ends were the elastic is.
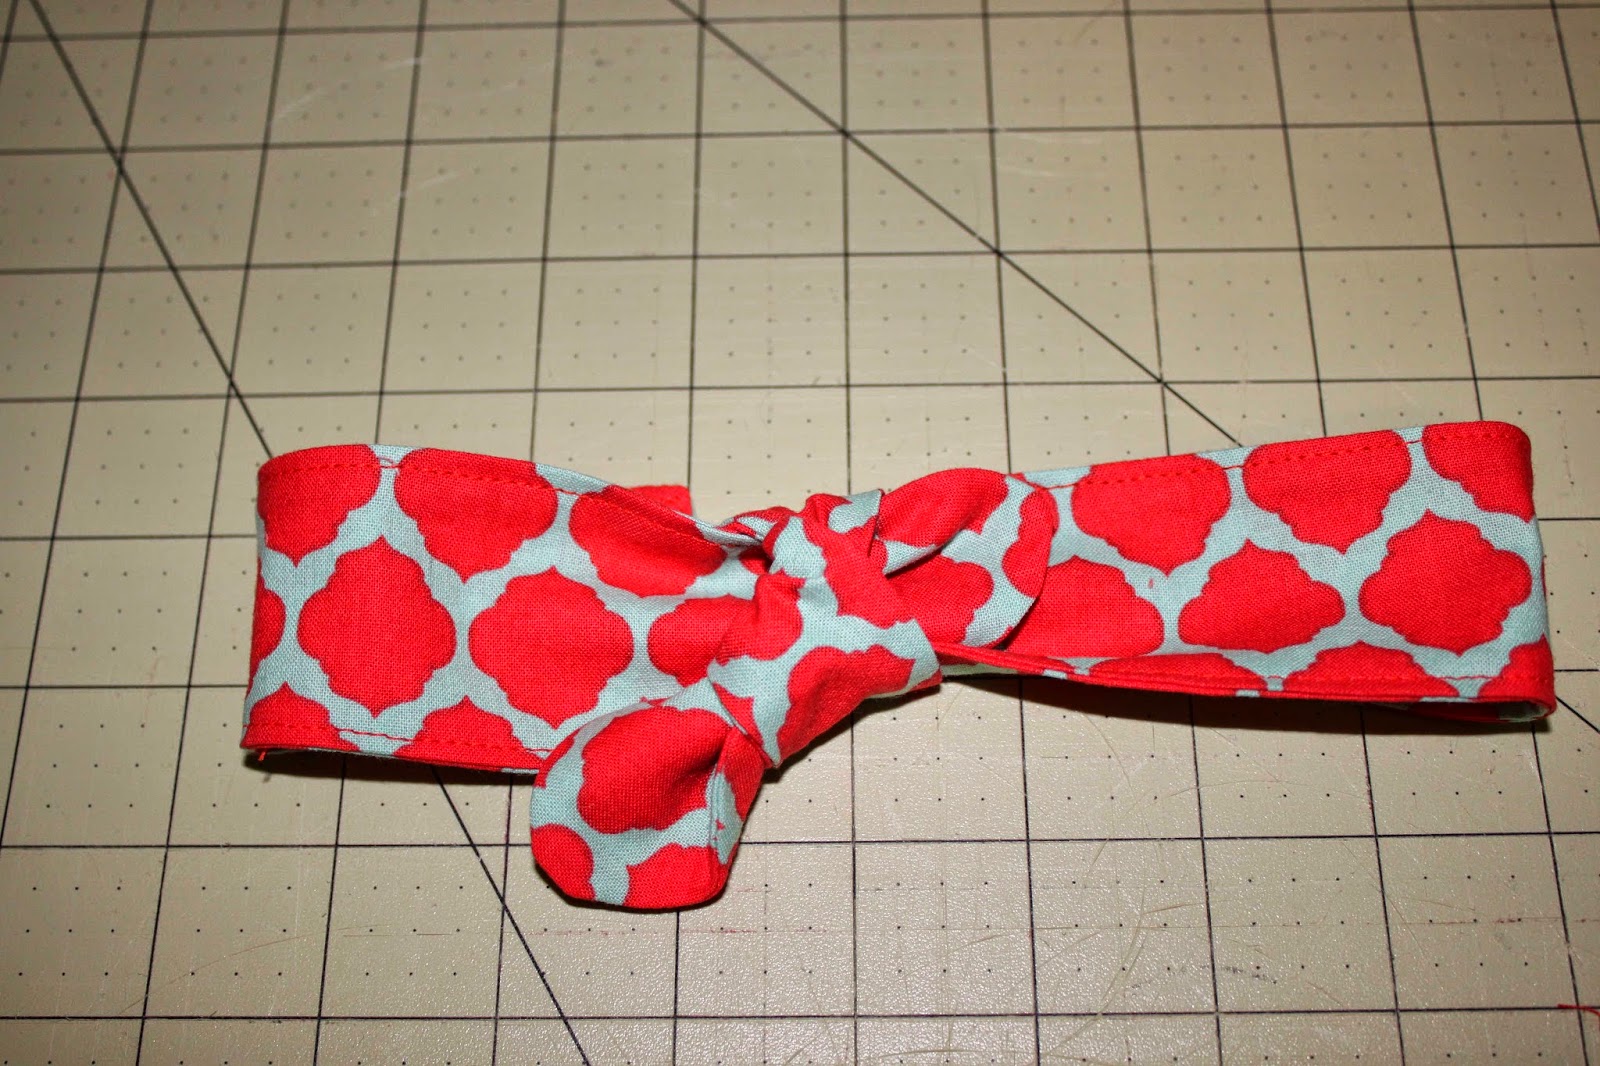
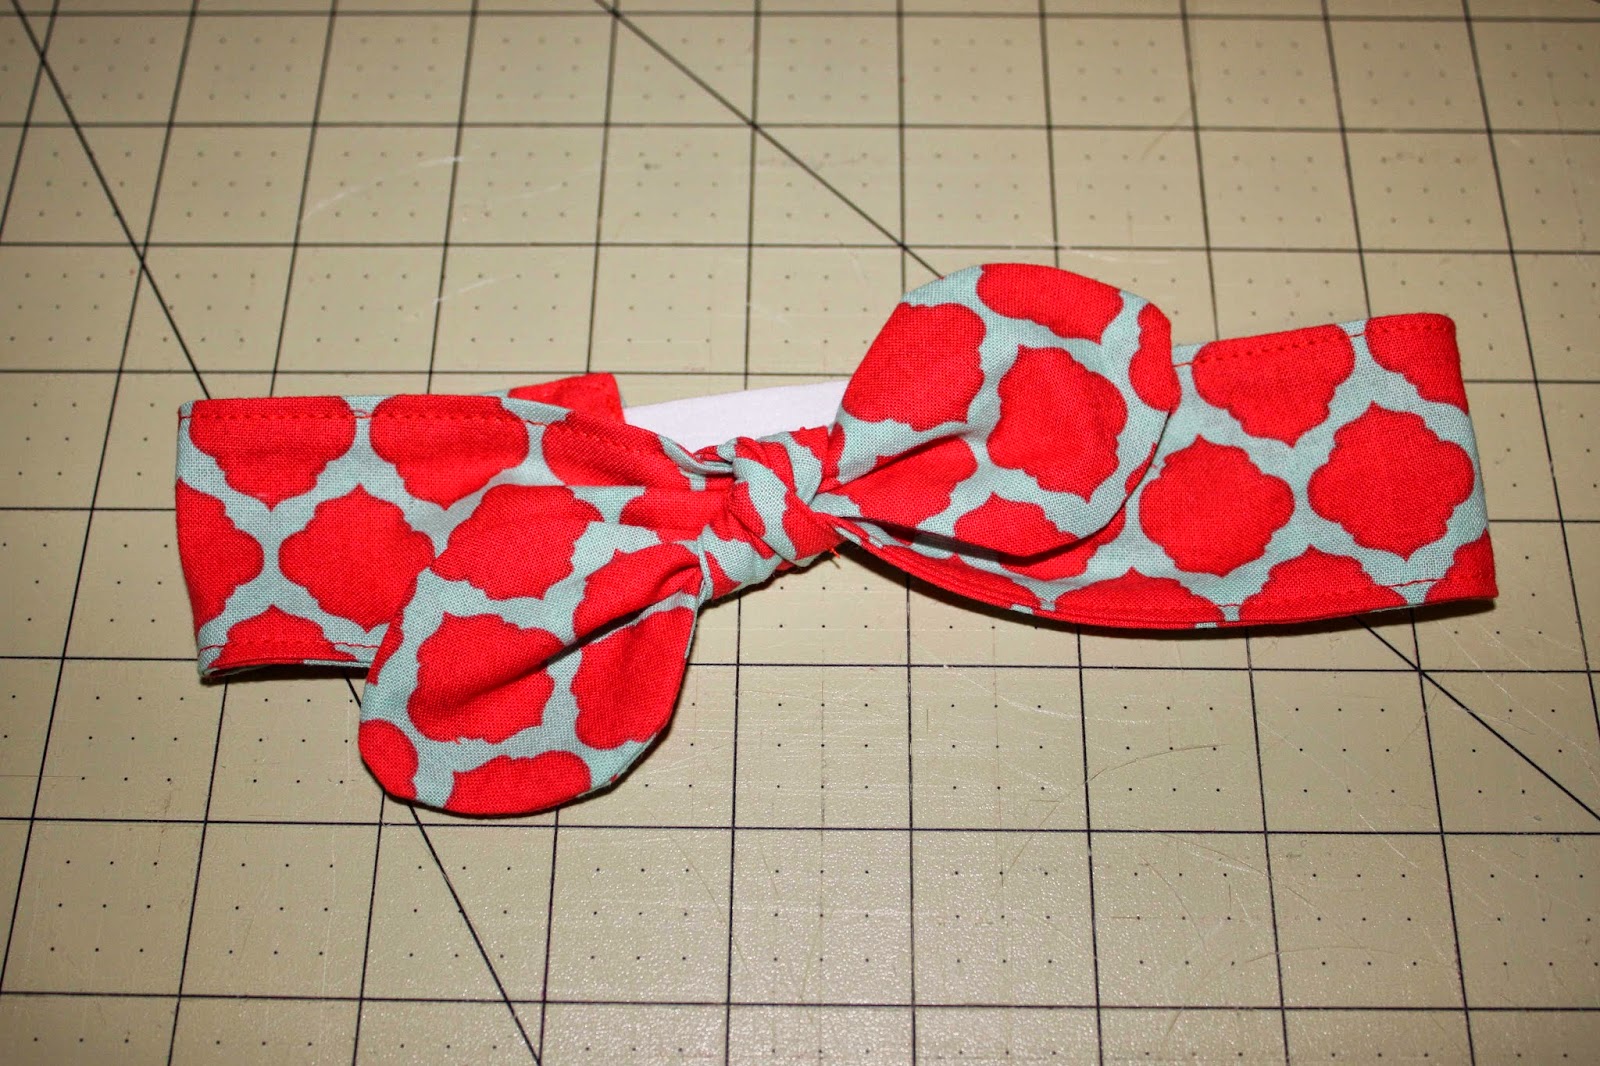
Step 10: Now you can tie your bow around the headband. Straighten out the headband if
it becomes twisted when you tie on your bow.
Now you have your retro headband!
Thank you so much, Leah, for sharing your unique tutorial with us!
Don't forget to go over and show Leah some love at Sweet Baby Lovins. She sells adorable baby and toddler accessories - including several styles I've never seen before.
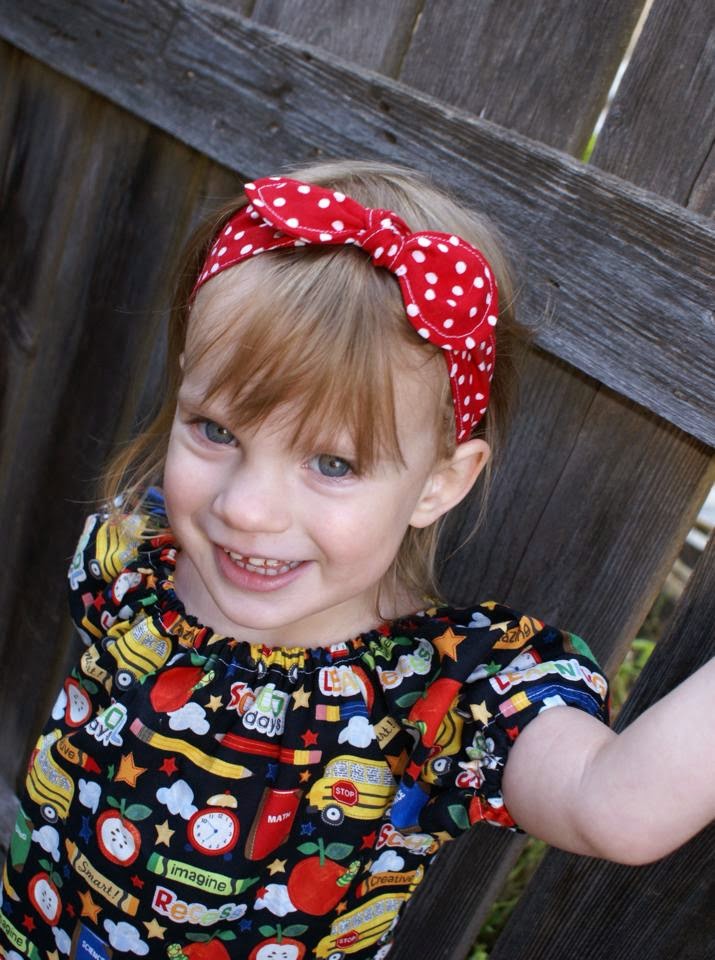
Before we go I want to show you some more headbands that our other testers have made using Leah's tutorial. We have been having way too much fun the past few days (they fit women too) and now it's your turn.
Let's Create! ~ Kristen

+(1).jpg)
.jpg)





edited.jpg)
edited.jpg)


