
Posted by Emily Foster Wise on 12th Jan 2022
Back to the Blog: Heart Pocket Tutorial

Note from CKC: We are so pleased to share this post, perfect for Valentine's Day and originally from 2019, as part of our "Back to the Blog" series. In 2022, we will be highlighting posts from our old blog, knowing that they will gain new life here. And this sweet add on pocket is amazing for all kinds of special dresses!

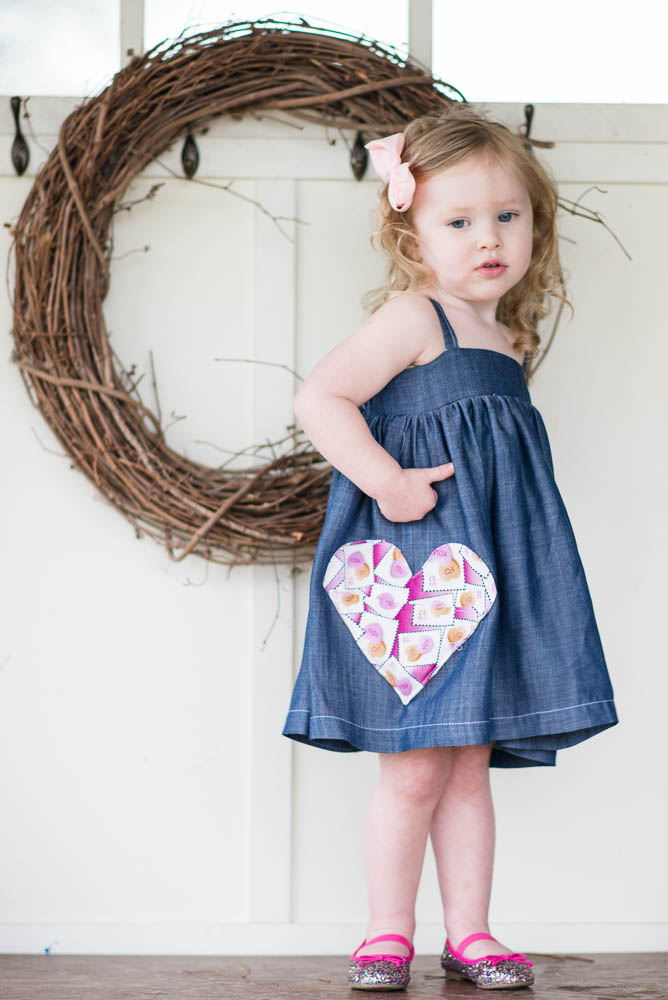
February is around the corner, and my holiday crafting heart was craving a sweet accessory to my daughter's new simple Hattie's Dress pictured above. I've had this vintage candy heart stamps fabric for a while, and knew it would be a fun touch. Hattie's is one of my all-time favorite CKC Patterns, and what could be better than Hattie's with a pocket? Let's make it a heart pocket!
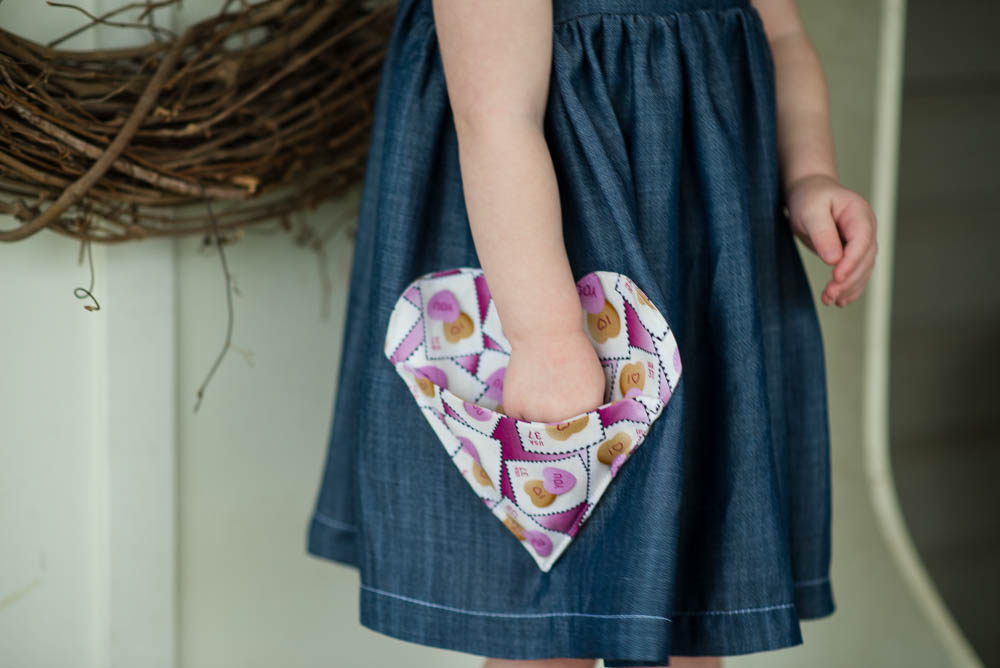
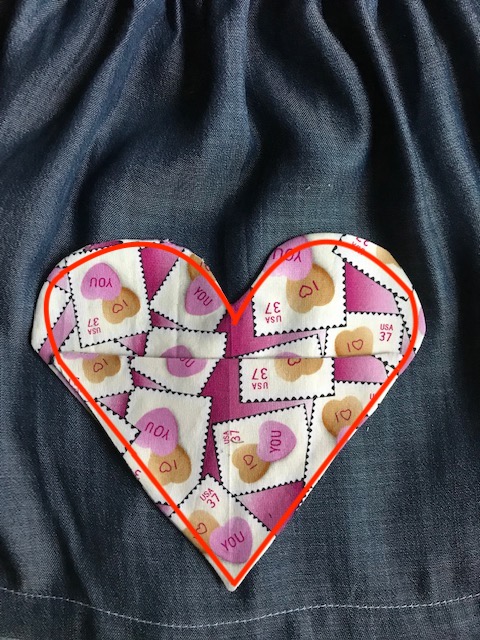
I love the way this heart pocket keeps its shape, and makes a big fun statement! Let's get started! First you'll need to download the pattern pieces here for the heart pocket. It comes in three sizes, the medium size is shown here.
Materials Needed:
Heart Pocket Template: Download Here
Fabric 1/4-1/3 yard
Basic sewing supplies (scissors or rotary cutter and mat, sewing machine, thread...)
Iron
*Seam Allowance is 1/4" for this project.
Cutting Out The Fabric:
When you have your pattern pieces cut out, open your fabric to its full width and fold both sides toward the center. Then line the two folded edges up so they are on top of one another. Pin your pattern pieces in place and cut out.
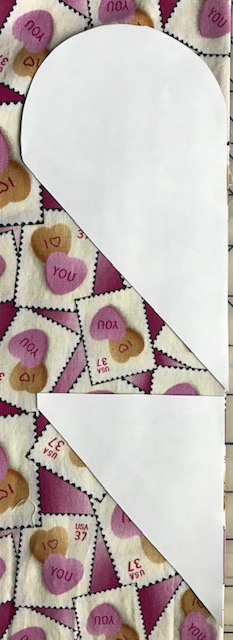
You will have two full heart pieces and two pocket pieces (that look like triangles).

Construction:
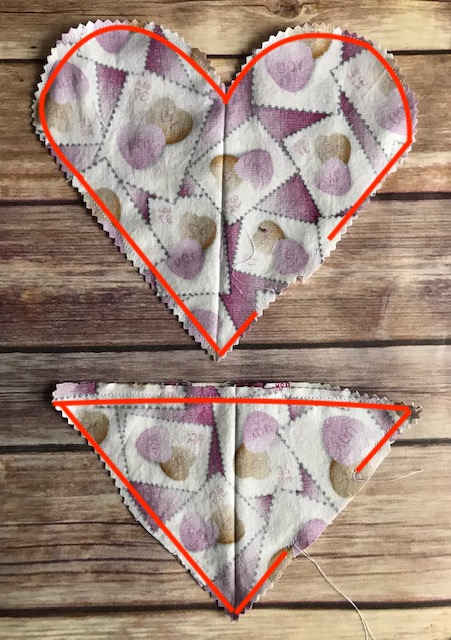
Place your heart pieces right sides together and pin in place. Starting about 1" from the bottom point, sew all the way around your heart leaving a 2" opening to turn the heart when you're done. Make sure you backstitch at the beginning and end. Repeat with the triangle pieces. Use pinking shears or scissors to clip the curves and tips of the heart and triangle pieces.
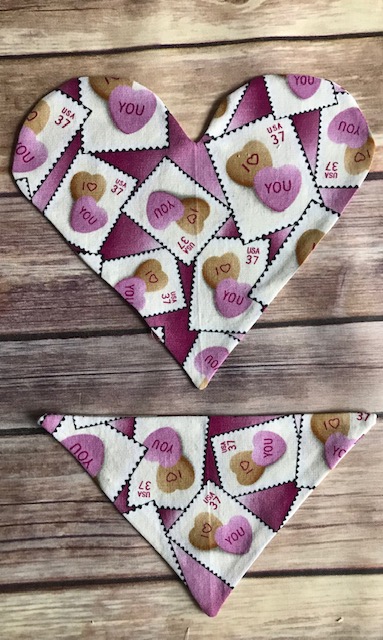
Turn the pieces right side out and press them with your iron. Make sure to get the corners and curves turned out nicely.
It's time to place your pocket on your finished project. I placed mine 1 1/2 " from the hem, but probably could have done 2" for my size 2T. This doesn't have to be an exact science, and you can have your child try on the outfit to decide exactly where you want it to go. I lined the left side of my left pocket up with the left seam of the skirt, and the right side of my right pocket with the right seam of the skirt. Pin in place and sew all the way around the heart.
And here you go! A lovely addition to your outfits for Valentine's Day or any time of year where a little love will add a big pop to your designs!

Please come over to our Facebook group or Instagram @CKCPatterns and share your heart pockets with us!
If you don't have Hattie's Simple Bow Dress Pattern, check it out here!
SEW Inspired,
Emily