Posted by Kristen Nelson on 30th Aug 2021
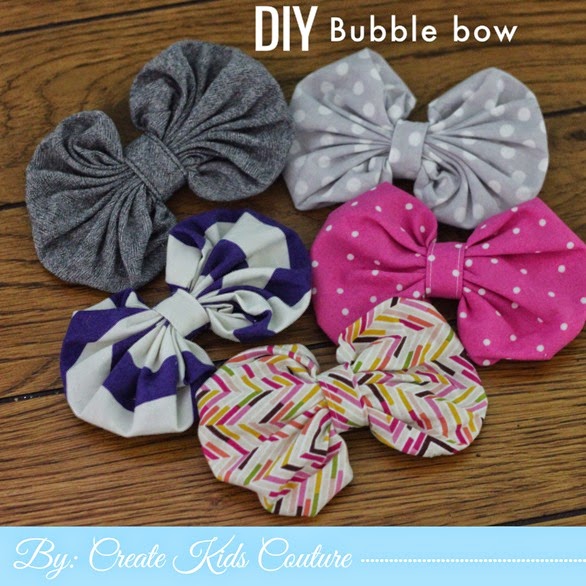
REPOST: 16th Day of Christmas: DIY Bubble Bow
It's the 16th Day of CKC Christmas and we have a new FREE pattern for you today! This one comes to us from Leah Gardner, one of our baby girl pattern designers. Leah is well known for her fabulous bow and headband tutorials on our blog and I'm so excited that she has another adorable one to teach us today! Here's Leah:
I love these bubble bows. They’re super easy to make and they can be made out
wovens, flannel, chiffon, knits, and just about any other fabric. You can use them
as hair bows or to embellish your favorite Create Kids Couture creations!
To get started you’ll need:
11” x 11” piece of fabric for the bow
4.5” x 2.5” piece of fabric for the bow center
Needle and thread
Glue gun
Hair clip, headband, or pin back
Step 1. Cut your bow using the template provided. I like to trace my template on
freezer paper and iron it onto the fabric and then cut it out.
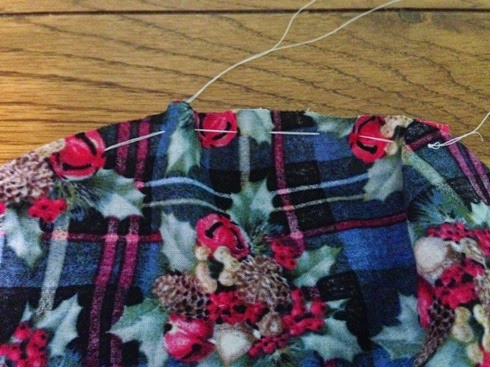
Step 2: Starting on the wrong side of the fabric, sew a long stitch ¼’ away from
the edge around the entire circle.
Step 3: Pull the thread tight and flatten it out. Make sure the hole is centered
and push the needle and thread through the center to the back side.
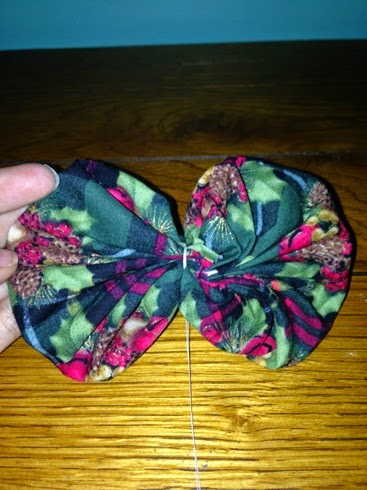
Step 4: Fold the circle in half and then fold back the ends of the top and bottom
to the center. Now it’ll look like a bow.
Take the thread and wrap it around the
center a few times and tie it off. Set aside.
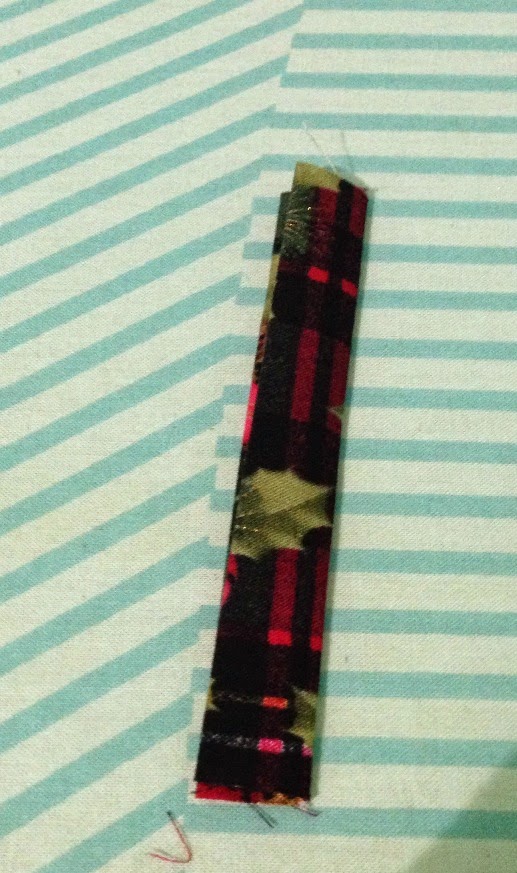
Step 5. Fold the bow center in half length-wise and iron so we have a nice crease.
Open the strip back up so the crease is going down the center. Now we will fold
both of the long sides in so that they meet at the crease in the center and iron.
Once ironed, fold it in half again lengthwise like we did in the beginning; the
original center crease we made will be along the right side and the two folds will be lined up along the left side. Repeat this step for both of the straps. Sew down both long
sides of each strap by sewing 1/8" from the long edges.
Step 6. Now you can wrap your center piece around your bow. Glue one end
down on the back of the bow.
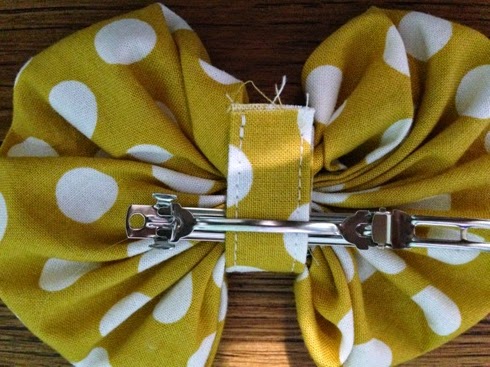
Step 7: Then glue your hair clip, headband, or pin back on top of the end of the
bow center we just glued on.
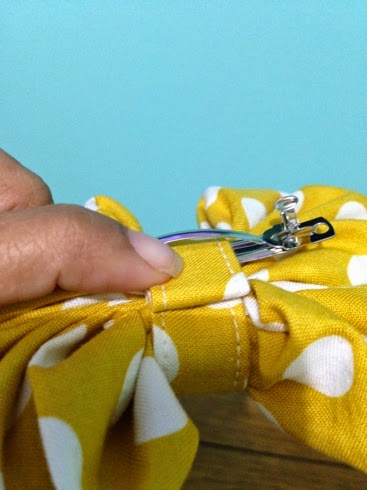
Step 8: Wrap the other end of the bow center over your hair clip, headband, or
pin back. Then fold under the raw edge and glue down.
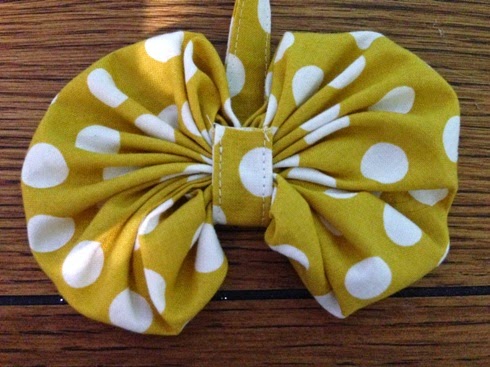
Now you have your bubble bow!
We hope you enjoy making these Bubble Bows for your own little girls! Please share a photo of your cuties wearing their bubble bows in our patterns group so we can admire your work!
Let's Create! ~ Kristen



.jpg)


.jpg)
.jpg)
.jpg)
.jpg)
.jpg)
.jpg)
