Posted by Courtney on 29th Nov 2021
Countdown to the 12 Days of Christmas: Felt Christmas Tree with Ornaments and Presents
Author's Note: This tree is a favorite to take out every year for my kids, so it was a no brainer to share as part of our 2021 Countdown to 12 Days of Christmas! This is not only a decoration, but a great way to keep little ones who feel the need to keep... decorating... busy all season long. Originally published in 2015, we are so thrilled to add it to our updated blog.
Welcome to our third day of the Twelve Days of Christmas blog series! Hi everyone- it's Courtney here today. I don't know about you, but I have three young kids who are obsessed with our Christmas tree- a new, twinkling object with cool "toys" attached- SO FUN! Until they start breaking the ornaments. :( And then get into trouble. booooo
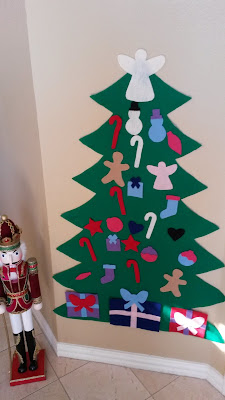
So this year I decided to make a Christmas tree that they can play with alllll day long- a felt Christmas tree with felt ornaments! I am not going to lie- they still love to play with our other trees. But at least this distracts them for a while!
Supplies:
Green felt
Colored Felt
Scissors
Ruler
Sharpie
Hot glue gun and glue sticks
Adhesive- poster tape, poster putty, painter's tape, Command Strips, etc.
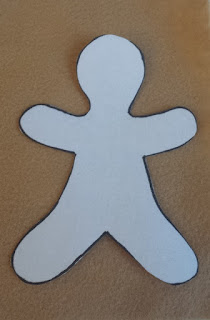
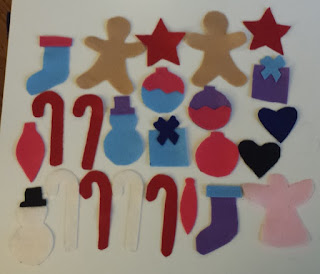
HERE to download your pattern pieces. We have pattern pieces for the tree; ornaments- an angel, gingerbread man, snowman with hat, star, heart, candy cane, present with bow, stocking, and three shape ornaments; an angel or star tree topper; and the bow for the top of the presents.
Our felt Christmas tree had to fit on a certain wall, so I made a pattern piece that fits that wall specifically. Feel free to download the pattern pieces- it fits a space 44.5" length x 31" width. If you need one with your own measurements, all you need to do is determine the length and width of your space. Fold your felt in half, and measure across the bottom so that it is HALF of your width. Mark it with chalk. Then measure up the fold to the height needed. Mark it with chalk. You can then use any tree shape you would like- a simple triangle works fine! Here's a hint- chalk is easy to get off of felt with a wet paper towel :) Cut out and you are done.
Now cut out your pattern pieces for the ornaments. I found it easiest to trace around the shape onto the felt with a Sharpie. Then cut!
If you want to create multi-color ornaments, you will need three of the same shape. We decided to cut a chevron pattern in the middle of one.
Then you will hot glue the top half of the split ornament onto one solid ornament and the bottom half on the other solid ornament!
If you have cut out the snowman hat and/or present bow, hot glue them on.
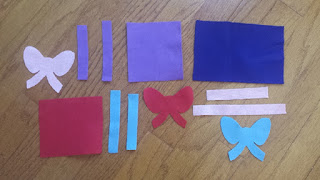
Now you can cut out presents for underneath your tree, if you prefer. I made two square presents- each 6" x 6". I then made a rectangular present - 6" x 9". If you want to do straight pieces of ribbon on your presents, you can! I made each ribbon piece 1" wide. So on the square presents, I cut two pieces of ribbon, each 6" x 1". For the rectangular present, I cut 6" x 1" and 9" x 1". Then cut out your present bow from the pattern piece.
Hot glue together! We liked how the presents looked with the bow on top and in the center.
It's time to start hanging your tree! We purchased poster tape but then chickened out when it came time to use it. I've seen other people use it successfully, but it said it needed to adhere to the wall for 2 hours! That scared me :/ So we used painter's tape :)
Place your adhesive on the tree- it's a good idea to use it on each "branch".
Hang it on your wall, and let your littles decorate to their hearts' content!
Hope you and your kids enjoy! Merry Christmas!
Courtney


