
Posted by Tosha Smith and Kristen Nelson on 4th Oct 2022
Sewing Days and Spooky Nights 2022: Yarn Wig
A note from CKC Patterns: We are so thrilled to be sharing some of our favorite past tutorials (and some brand new ones!) this spooky season as part of our Sewing Days & Spooky Nights blog celebration! All October, we will be posting blog patterns on Wednesdays and Fridays! BUT to kick off this cozy time of year (and to coincide with our 30% off site-wide SALE this week!), we are posting a blog tutorial everyday through Sunday!
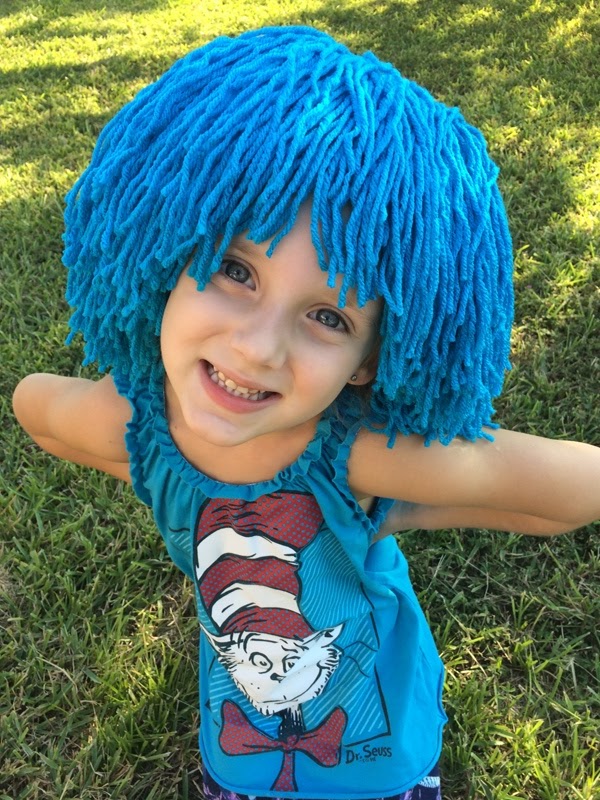
Today, we have the absolute CUTEST wig, an easy DIY for costumers everywhere! Originally published in 2016, this wig is ready for your Halloween costume... or even just your dress up box! Thank you Tosha, for sharing this great tutorial with us!
For today's free pattern, we have our talented Tosha here to teach us one of her favorite costume techniques!

These wigs are awesome! Not only do they look amazing, but underneath all that incredible "hair", there is a comfy beanie hat that stays in place comfortably. That's always a win! Plus you don't need any fancy crocheting or sewing skills for this pattern -- you'll soon see that it's not hard at all. You just need the right supplies and some time set aside to make it happen. Here's Tosha!
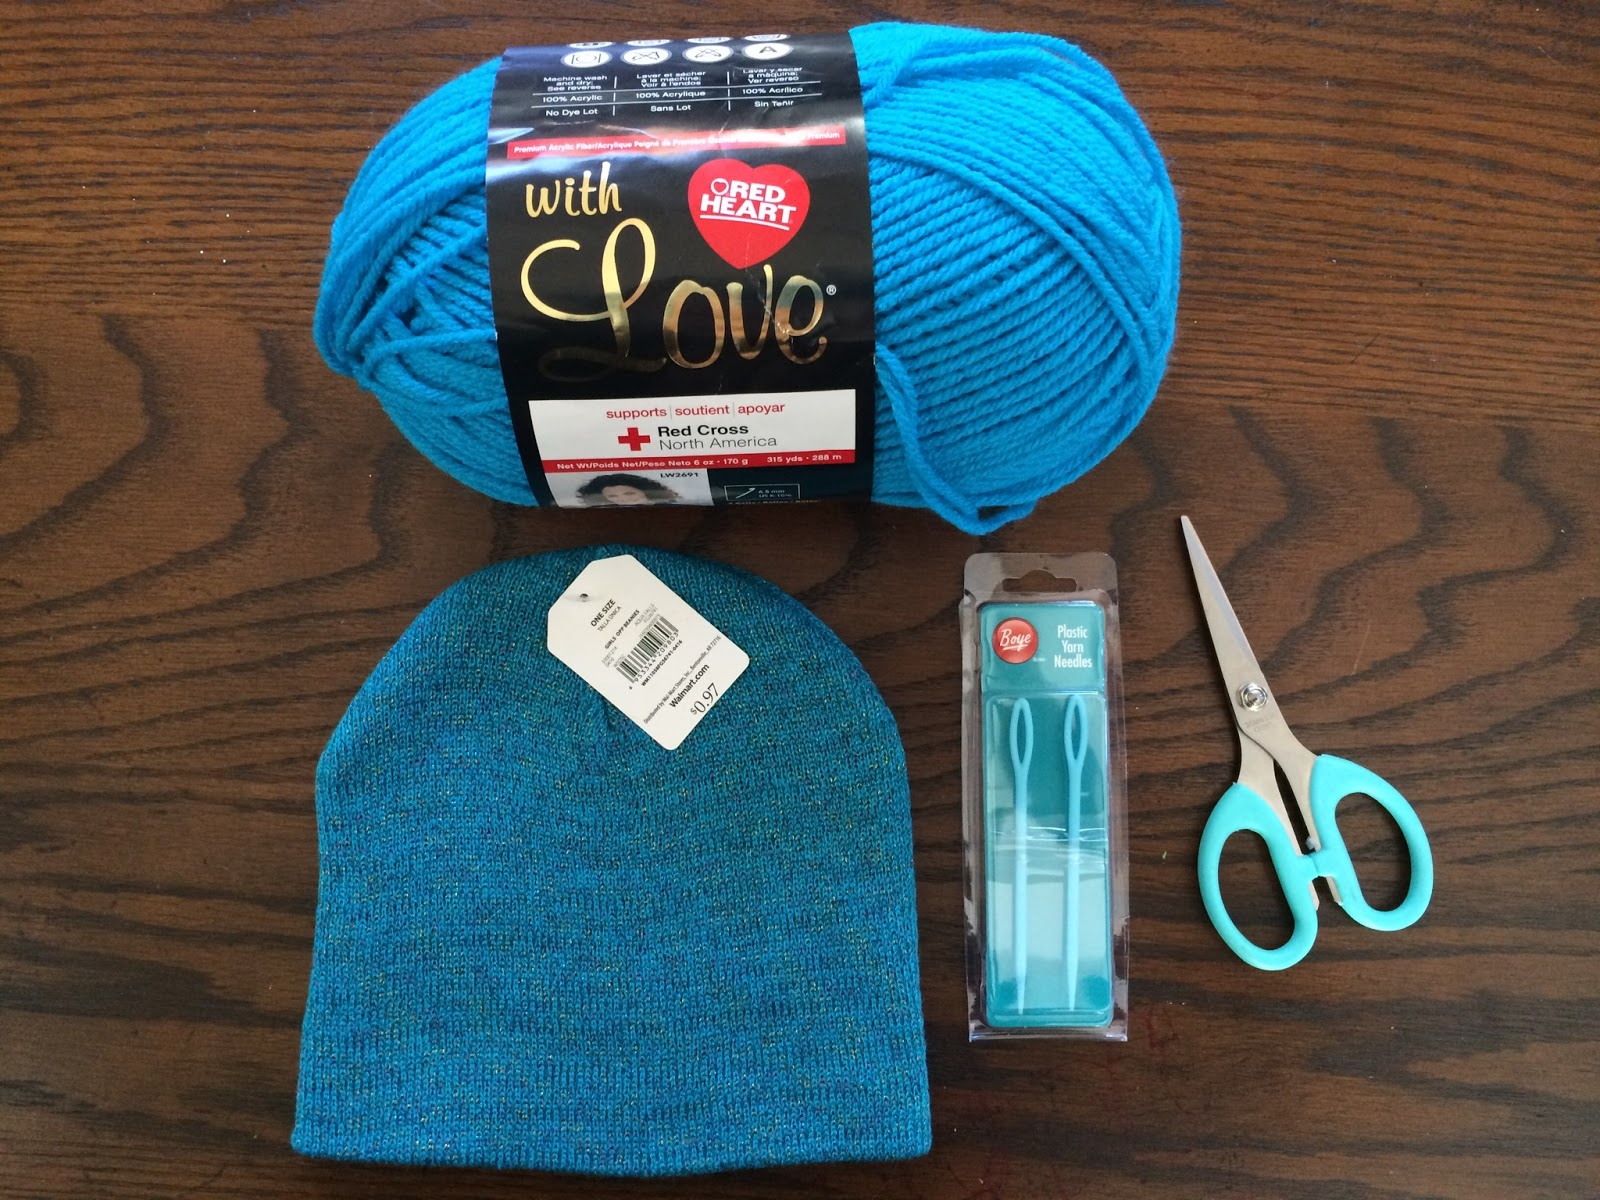
Supplies:
Yarn
Yarn needle
Scissors
Store bought beanie

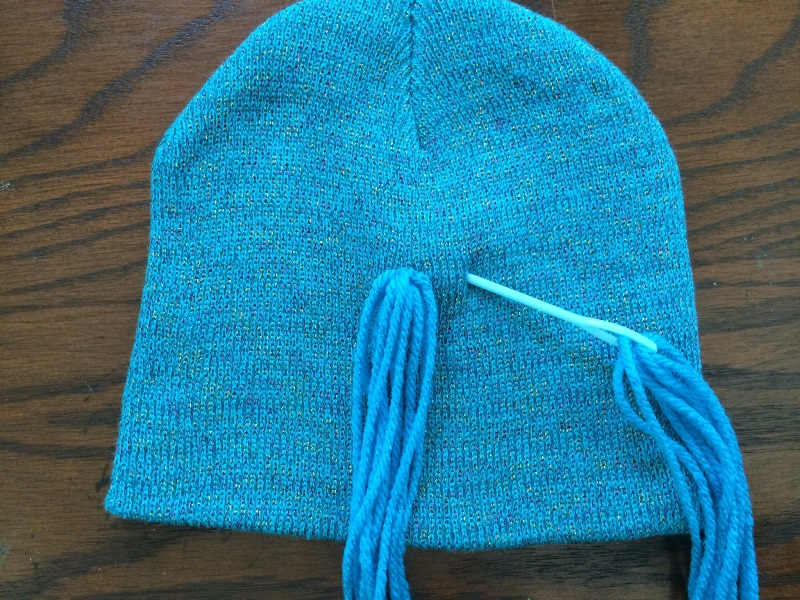
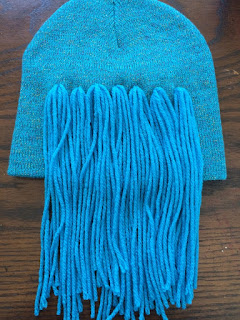
Step 1:Thread the end of the yarn through the needle. Place it against the beanie to determine the length you want. Cut yarn.

Step 2: Repeat step one until you have 5 pieces of yarn threaded onto the needle at once.

Step 3: Find the center of the beanie and push the needle and 5 pieces of yarn through about 2” or so.

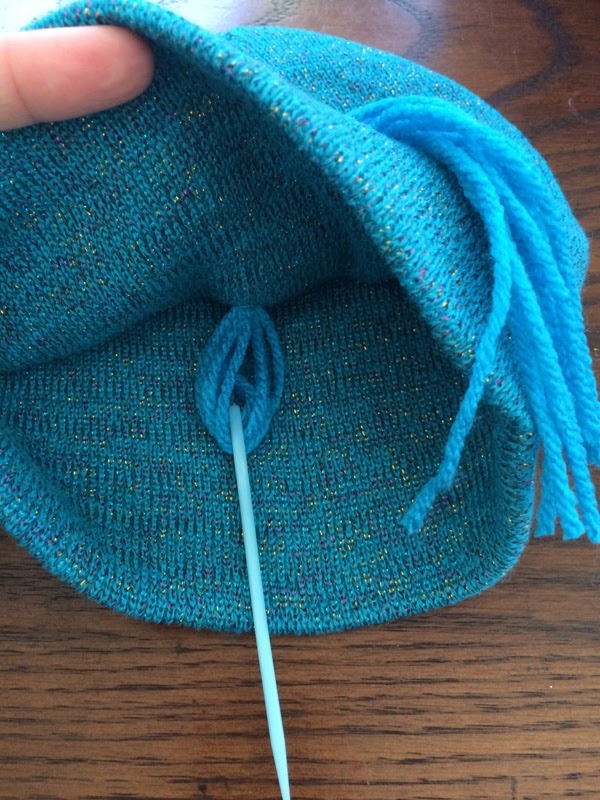
Step 4: Cut a 4” piece of yarn and tie it around the group of yarn pieces like shown in the photo. Tie 4-5 knots to make it bulky enough that it wont slide back through the hole in the beanie.
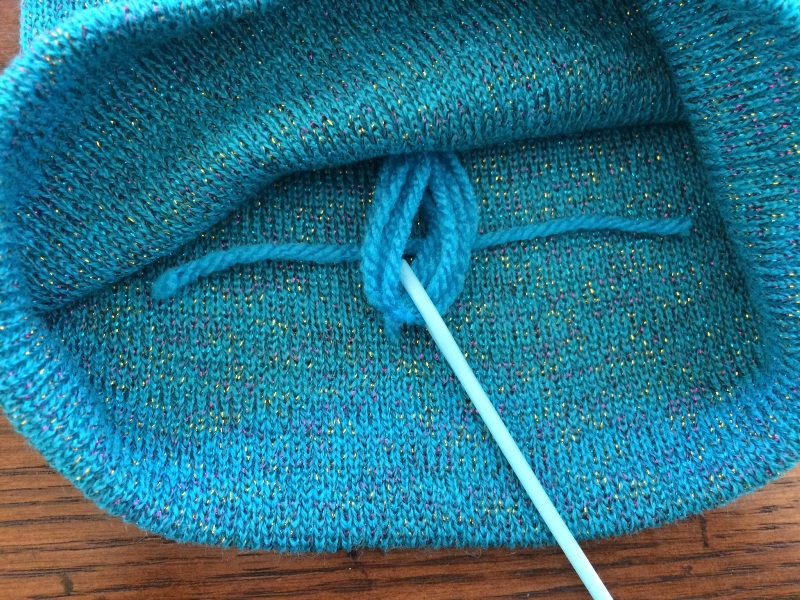
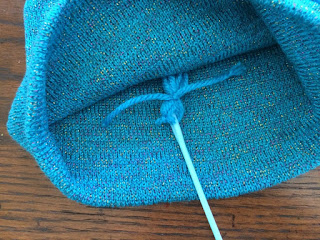

Step 5: Cut the yarn in the middle so you can release the needle.
Step 6: Gently tug the yarn from the front until the knotted backside is up against the inside of the beanie. Don’t pull too hard or you’ll yank all the yarn back through the hole you put it in.
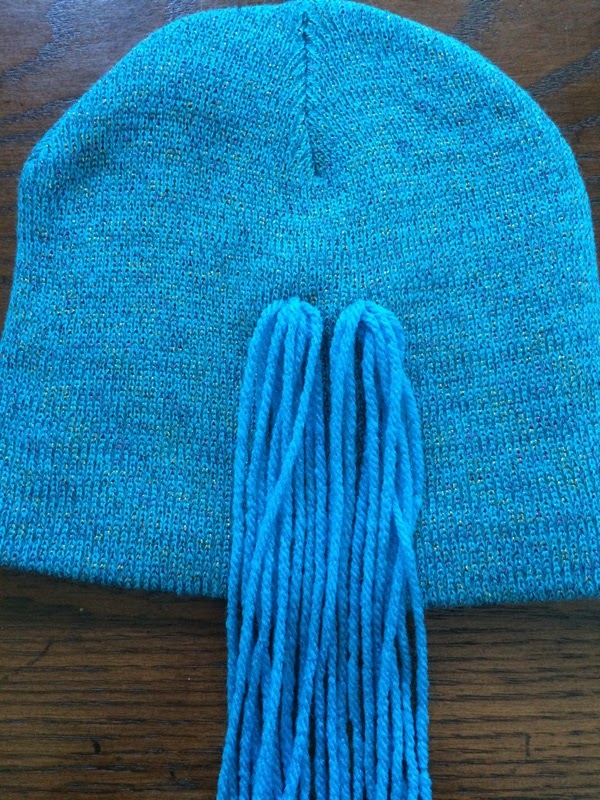
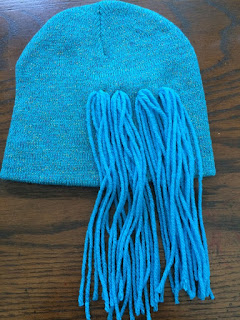
Step 7: Move over approx. 1” and repeat steps 1-6. Do this until you’ve gone completely around the beanie.
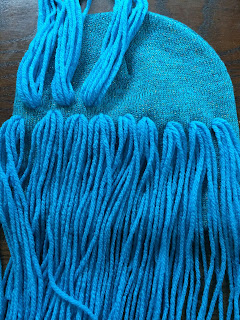
Step 8: Now you move up 1” and make another row around your beanie. Continue moving up 1” and inserting groups of yarn until your beanie is covered.
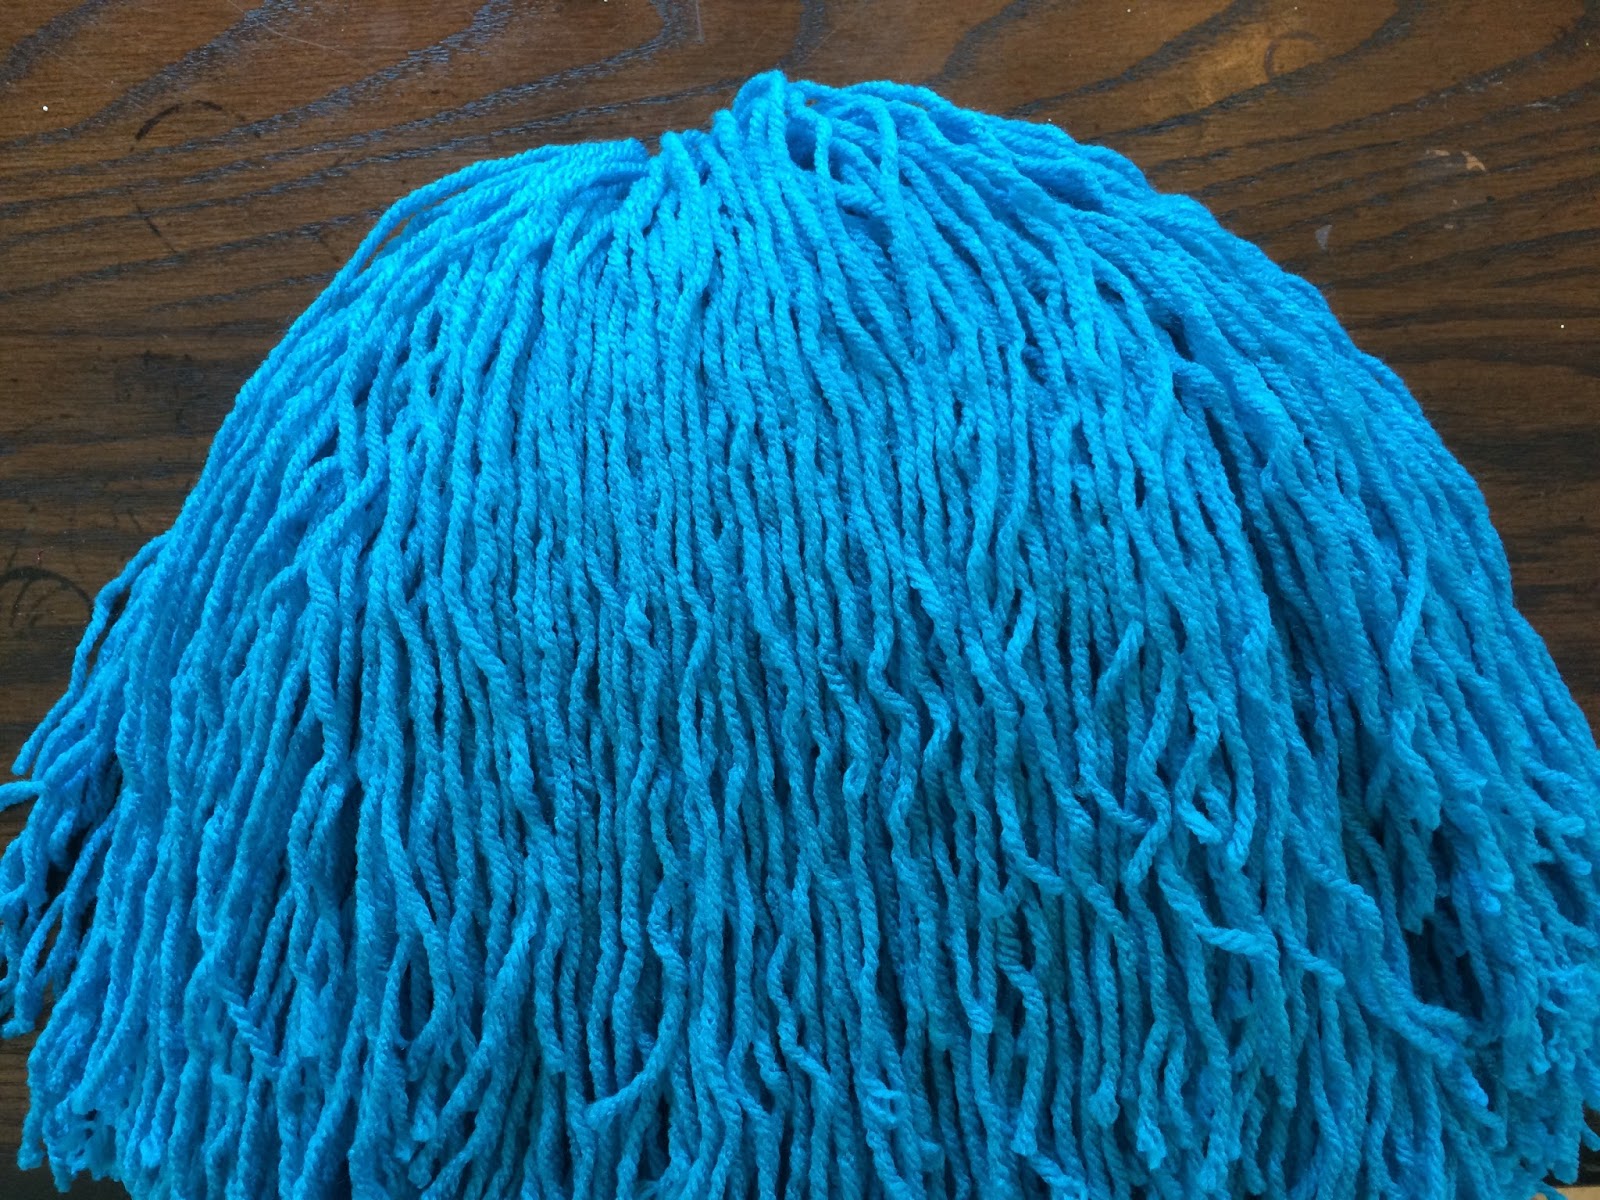
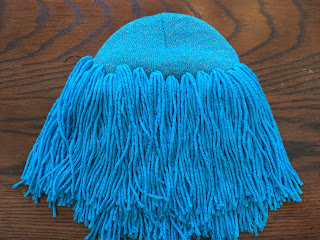
Step 9: Once your beanie is covered you can choose to trim the yarn in areas to create bangs or layers depending on what look you’re going for.
And that's it! You will end up with a super cute yarn wig and a very happy kiddo! Of course this tutorial works for adults as well -- you simply use an adult size beanie. Now it's your turn! We can't wait to see what characters you design. Be sure to show us on Facebook or tag us on Instagram!
Let's Create! ~ Kristen and Tosha