Posted by Tosha Smith and Kristen Nelson on 15th Nov 2021
Fleece Mohawk Hat
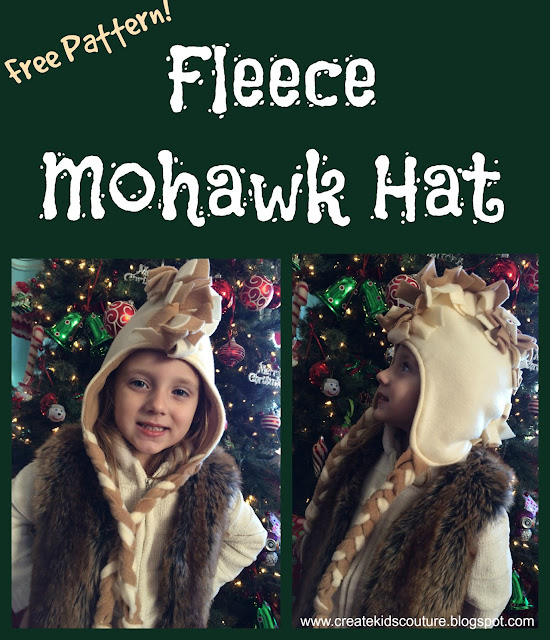
Are you ready for another FREE pattern? Today is the 9th Day of Christmas at CKC and Tosha has another fun fleece project for us!
Your kiddo is sure to love its comfy warmth and stylish flair! And you don't even have to tell them how easy it was to sew. It's a great way to use up scraps and make the most of that cute fleece you stocked up on! Here's Tosha with the tutorial:
First, download the pattern pieces here. Print and tape them together, and then cut out.
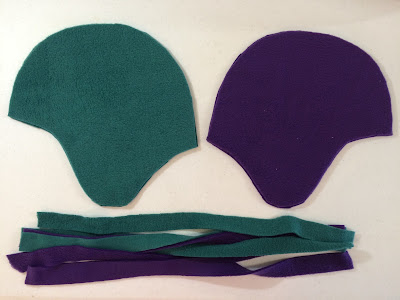
Use the pattern piece to cut the following out of fleece:
Cut 2 of Main (mirrored)
Cut 2 of Lining (mirrored
Cut 6 strings for braids 1"x 18" each
When you have it all cut, you should have a pile similar to the photo above!
Take 3 braid strings and tie them together in a knot at one end. Do the same with the other 3 strings.
Put something heavy over the knotted ends to hold them while you braid the three strings on each. Stop 1" from the ends.
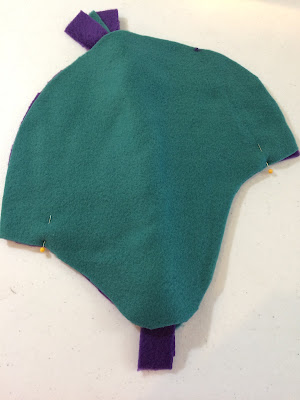
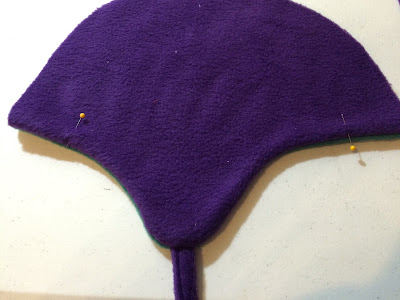
Pin the loose end of the braid to the right side of your main fabric, at the ear curve. Repeat on the other ear.
Mark your main fabric with a pin following the dotted lines on the pattern piece. This will be the seam between the hat and Mohawk.
Then with right sides together, sew the main fabric to the lining fabric along the bottom curves, between the two pins, making sure to sew through all thicknesses. Repeat with the other side of the hat. Clip the curves.
Turn the hat out and topstitch the curve, making sure not to go past the pins again. Repeat with the other side of the hat.
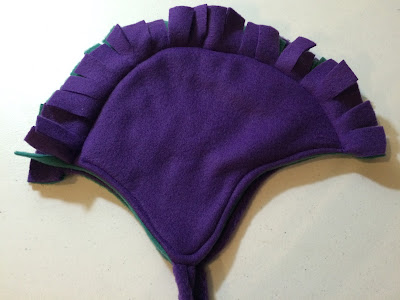
Now put the two sides of the hat together, with lining sides together, and sew along the top dotted curve that you marked, through all thicknesses. See photo above.
Use sharp scissors to clip every 1" along the top, creating your Mohawk. Make sure not to cut through your stitching. Your hat is now complete!
That wasn't tough at all, was it? And look what an adorable gift this hat will make! You can use crazy colors, fun colors, or subtle colors -- whatever your kiddo will like best! Thanks to Tosha for this fun pattern, and stay tuned for another free project here on the blog tomorrow!
